Do you have a question about the Noctua NH-U14S TR5-SP6 and is the answer not in the manual?
Adjust NM-AFB11 brackets to +3mm or +6mm positions for clearance adjustments on motherboard.
Mount heatsink, align screws with CPU socket threads, and tighten using the mounting tool.
Reattach fans with clips and connect to motherboard fan headers, using splitter if needed.
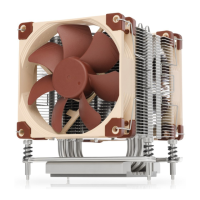
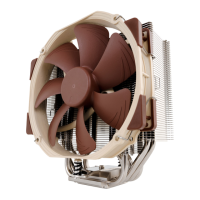
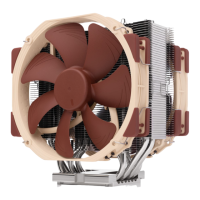
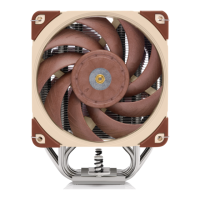
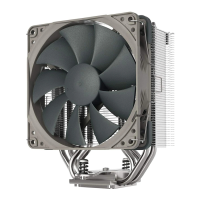
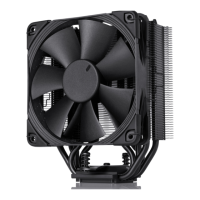
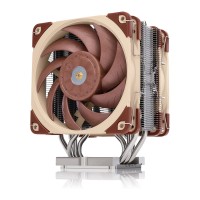
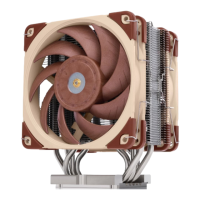
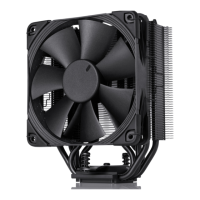
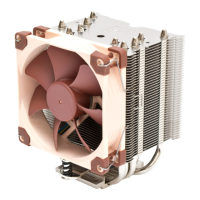
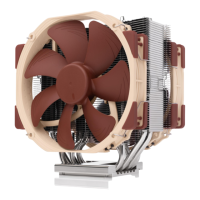
The Noctua NH-U14S TR5-SP6 is a high-performance CPU cooler designed for AMD Threadripper and Epyc processors, specifically those using the TR5/SP6 socket. It is engineered to provide quiet and premium-grade air cooling for workstations and servers, building upon Noctua's legacy in this specialized market.
The primary function of the NH-U14S TR5-SP6 is to dissipate heat generated by high-performance AMD CPUs, ensuring stable operation and optimal performance. It achieves this through a combination of a large heatsink and two high-quality fans. The cooler's design is optimized for the specific thermal and mechanical requirements of TR5/SP6 sockets, which are typically found in demanding computing environments. The pre-applied thermal compound on the heatsink base facilitates efficient heat transfer from the CPU to the cooler.
The NH-U14S TR5-SP6 offers several user-friendly features that enhance its installation and adaptability:
The design of the NH-U14S TR5-SP6 incorporates aspects that facilitate maintenance and ensure long-term performance:
In summary, the Noctua NH-U14S TR5-SP6 is a robust and adaptable cooling solution for high-end AMD platforms, designed with ease of installation, flexible configuration, and long-term maintainability in mind. Its features cater to the specific demands of workstation and server environments, ensuring efficient and reliable thermal management.
| Type | Air cooler |
|---|---|
| Airflow | 140.2 m³/h |
| Bearing type | Self-Stabilising Oil-pressure Bearing (SSO) |
| Fan diameter | 140 mm |
| Quantity per pack | 1 pc(s) |
| Suitable location | Processor |
| Rotational speed (max) | 1500 RPM |
| Supported processor sockets | sTRX5, sWRX9, SP6 |
| Fan 2 rotational speed (min) | 300 RPM |
| Fan 2 noise level (high speed) | 24.6 dB |
| Mounting kit | Yes |
| Package type | Box |
| Fan voltage | 12 V |
| Fan power consumption | 1.56 W |
| Fins material | Aluminum |
| Product color | Light brown |
| Number of fans | 2 fan(s) |
| Base plate material | Copper |
| Number of fan blades | 7 |
| Depth | 111 mm |
|---|---|
| Width | 150 mm |
| Weight | 1136 g |
| Package depth | 142 mm |
| Package width | 223 mm |
| Package height | 227 mm |
| Package weight | 1682 g |
| Radiator depth | 52 mm |
| Radiator height | 165 mm |