EasyManua.ls Logo

Nokia 5630 XPRESSMUSIC

Nokia 5630 XPRESSMUSIC
30 pages
To Next Page IconTo Next Page
Loading...
5630 XpressMusic RM-431, RM-432
Service Manual Level 1&2
1 CONFIDENTIAL
SERVICE MANUAL
Level 1&2
Transceiver characteristics
Band:
RM-431: GSM/EGPRS 850/900/1800/1900
WCDMA 2100/900 and HSDPA/HSUPA
RM-432: GSM/GPRS/EGPRS 850/900/1800/1900
Display:
QVGA display (320 x 240 pixels) 2.2”/ active
area 33.5 mm x 44.6 mm colour display,
Up to 16M colors
Camera:
3.2 Mpix EDOF with flash
Operating System:
S60 3rd Edition, Feature Pack 2
Connections:
Bluetooth 2.0 +EDR, 3.5 mm AV connector, Micro
USB, MicroSD card up to 16 GB, WLAN (RM-431
only)
Transceiver with BL-4CT battery pack
Talk time Standby Note
Up to 7 h (GSM)
Up to 4 h
(WCDMA)
Up to 400 h
(GSM)
Up to 400 h
(WCDMA)
Depends on
network
parameters
and phone
settings
Issue 1 Copyright © 2008 NOKIA. All rights reserved.
Question and Answer IconNeed help?

Do you have a question about the Nokia 5630 XPRESSMUSIC and is the answer not in the manual?

Nokia 5630 XPRESSMUSIC Specifications

General IconGeneral
BrandNokia
Model5630 XPRESSMUSIC
CategoryCell Phone
LanguageEnglish

Summary

Change History

Copyright and Legal Information

Warnings and Cautions

General Warnings

Safety warnings regarding vehicle systems, explosive atmospheres, and medical devices.

Service Cautions

Cautions for qualified personnel, static protection, approved parts, and correct reassembly.

ESD Protection

Care and Maintenance

Battery Information

Exploded View

Service Devices

Software Update

Disassembly Instructions

Assembly Hints

Assembling the LCD FLEX

Instructions for positioning and attaching the LCD FLEX and connector to the PWB.

Assembling the EARPIECE

Procedure for assembling the earpiece, including removing protective tape.

Assembling the 2 ND CAMERA BOOT

Steps for assembling the 2nd camera boot onto the camera before UI SHIELD.

Assembling the UI SHIELD

Guide for correctly assembling the UI SHIELD, ensuring clips are secured.

Assembling the CAMERA

Procedure for placing and securing the new camera into its socket.

Assembling the Antenna

Steps for attaching the antenna module to the PWB, including torque specifications.

Assembling the C-COVER

Instructions for attaching the C-COVER, ensuring the camera boot is positioned correctly.

Assembling the A-COVER

Guide for assembling the A-COVER, including keymat placement and clip closure.

Torque Information

Specifications for screw torque values during assembly procedures.
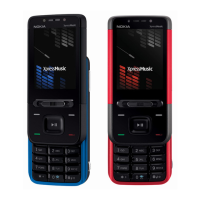
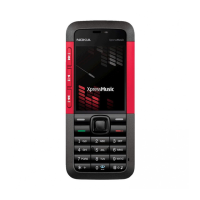
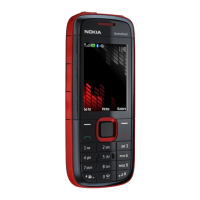
Solder Components

Related product manuals