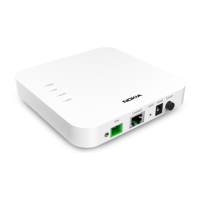
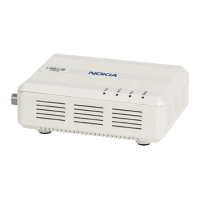
Installing DNT2Mi
DN01145897 © Nokia Corporation 23 (128)
Issue 2-0 en Nokia Proprietary and Confidential
5 Installing DNT2Mi
This chapter provides instructions on how to mechanically install and connect
DNT2Mi. The menu settings required for bringing the unit into use can be found
in Chapter 6.
5.1 Electromagnetic compatibility
DNT2Mi complies with EMC specifications (refer to Chapter 10) when the
following conditions are fulfilled:
• The securing screws of the multiport DNT2Mi cover are properly fastened.
• All multiport DNT2Mi ports are provided with adapters, or unused ports
provided with dummy plates.
• The DTE cables and connectors are provided with reliable shielding.
• The connector’s connecting screws are properly fastened, so that shielding
integrity from the metal housing of the equipment to the cable shield over
the interconnecting interface is secured.
• A grounded 3-conductor mains cord and a grounded mains outlet for
mains-powered DNT2Mi terminals, or a similar grounding for DC-
powered versions, is used.
5.2 Grounding of DNT2Mi
The AC-powered version of DNT2Mi is grounded properly when the mains cord
is connected to a grounded mains outlet.
The DC-powered version of DNT2Mi has a separate pin reserved for the ground
connection, refer to Section 5.8.