56 Copyright © Nokia 2003
• SEND CONTACT INFORMATION
1 In the contacts directory, scroll to the card you want to send.
2 Select Options > Send bus. card then select the method.
The choices are Via text message, Via e-mail (available only if the correct
e-mail settings are in place), and via Bluetooth. The contact card you want to
send has now become a “business card”. For further information, see the
“Messaging” chapter, and
“Send data” on page 121.
You can add received business cards to your Contacts directory. See “Receive smart
messages” on page 79 for further information.
Note: Contact information can only be sent to or received from
compatible devices.
Glossary: When you send or receive contact information, the term
“business card” is used. A business card is a contact card in a format
suitable to be sent in a text message, usually in “vCard” format.
• MANAGE CONTACT GROUPS
You can create contact groups, which can, for example, be used as distribution lists
for sending text messages and e-mail. See also
page 55 for how to add a ringing
tone for a group.
Options in the Groups list view are Open, New group, Delete, Rename, Ringing
tone, Contacts info, Help, and Exit.
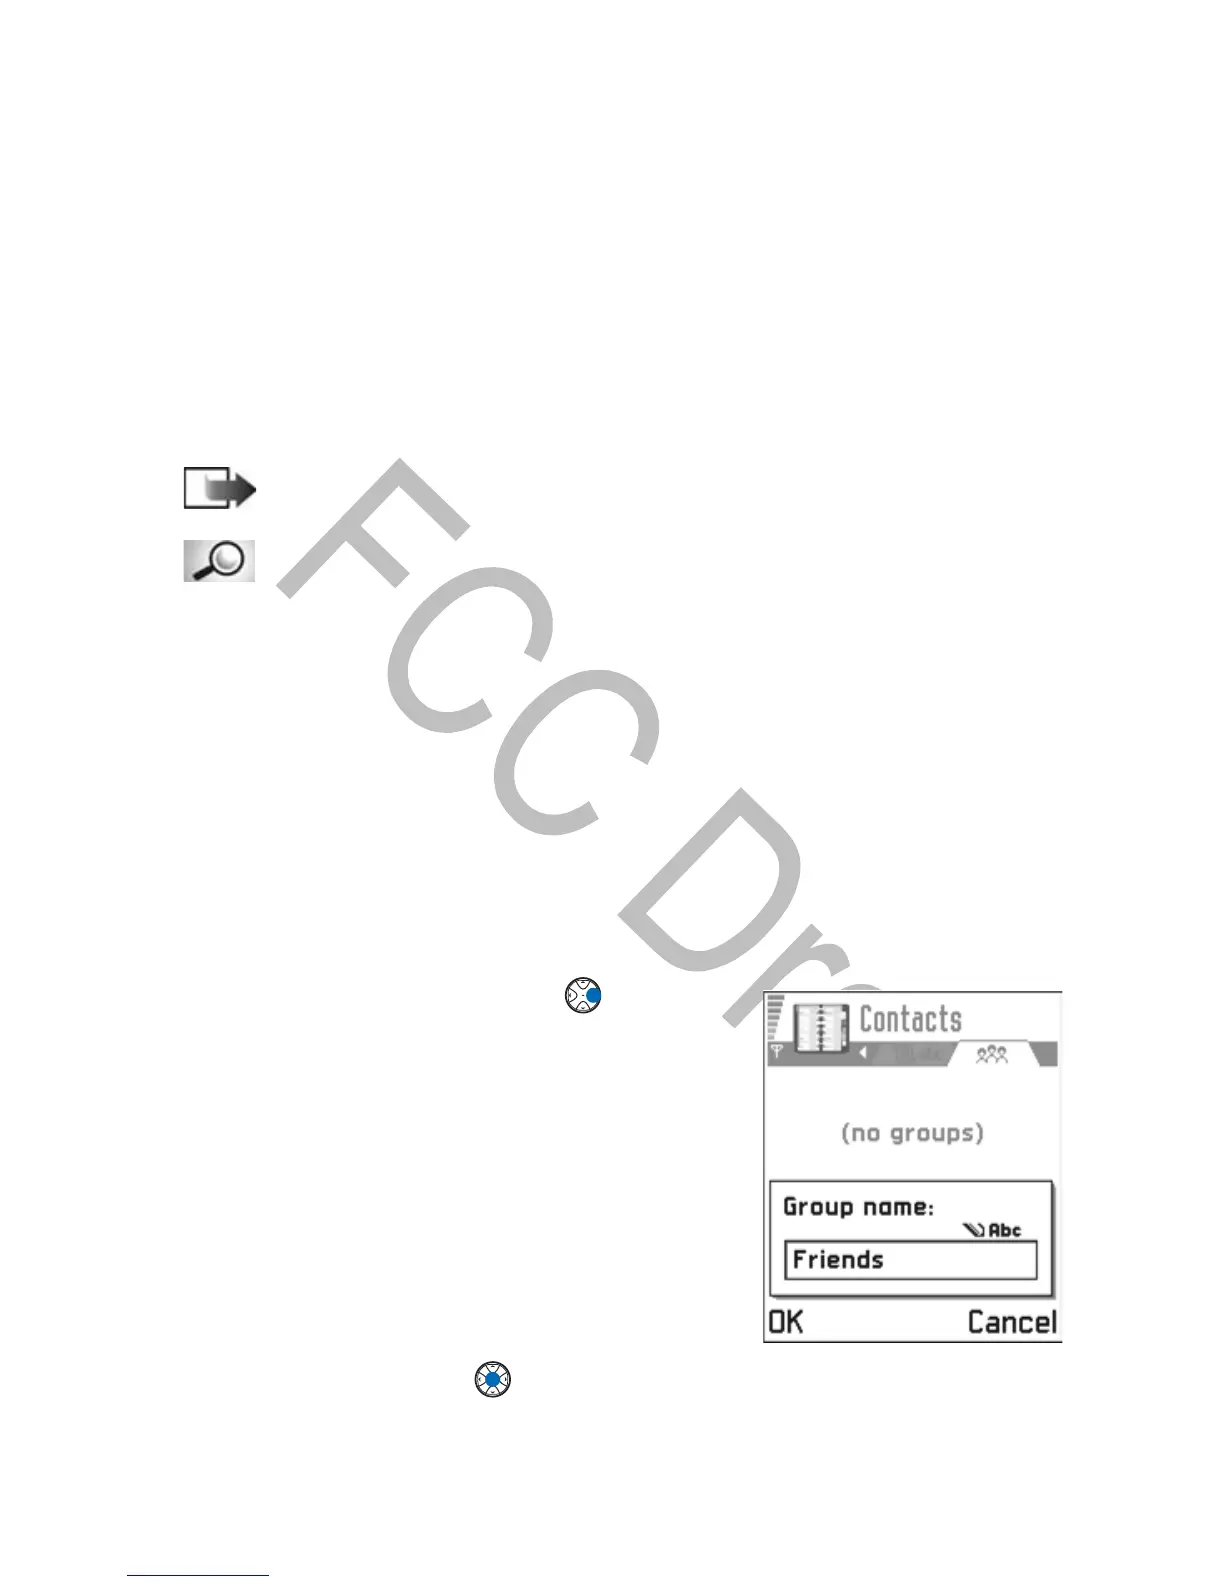
Create contact groups
1 In the contacts directory, press to open the
groups list.
2 Select Options > New group.
3 Write a name for the group or use the default
name Group and press OK.
Add members
1 In the contacts directory, scroll to the contact
you want to add to a group and select
Options
> Add to group.
A list of available groups opens.
2 Scroll to the group to which you want to add
the contact and press
.
You can also add multiple members.
 Loading...