NC-X
2
Instalation Manual Ver. 240130 10 Nomadic Cooling Co
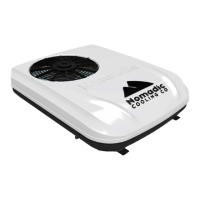
Our gaskets are used for vibration
absorption. It is very high density and
can’t be compressed more than 10%.
Use gasket tension to control AC unit’s
distance from roof surface.
AC unit should be resting on foam gasket
and not on the vehicle’s roof.
Over compression of the unit to the
roof may cause the internal fan to rub
against the fan housing.
Be sure the fan bades rotate freely
prior to starting the unit.
12. Install and connect LCD control panel
before connecting to power to avoid
blowing internal fuse.
An appropriately-sized fuse must be
paced between your power source
and the AC unit:
48V = 30A fuse
24V = 50A fuse
12V = 70A fuse
13. Connect DC power wires to unit. “Quick
Connection to DC Wiring Harness” included.
12V systems use an Anderson connector,
24V and 48V systems use a simiar Ander-
son style connector.
Make sure wiring is appropriately
sized and is no smaller than 4AWG.
14. Attach LCD control panel and AC
wiring harnesses.
15. Attach thermostat wires to control panel
wiring harness.
Details of control panel connections are
shown in electrical diagram on page 12.
Condenser is always to the left of the
back wire. Be careful not to break
these wires.
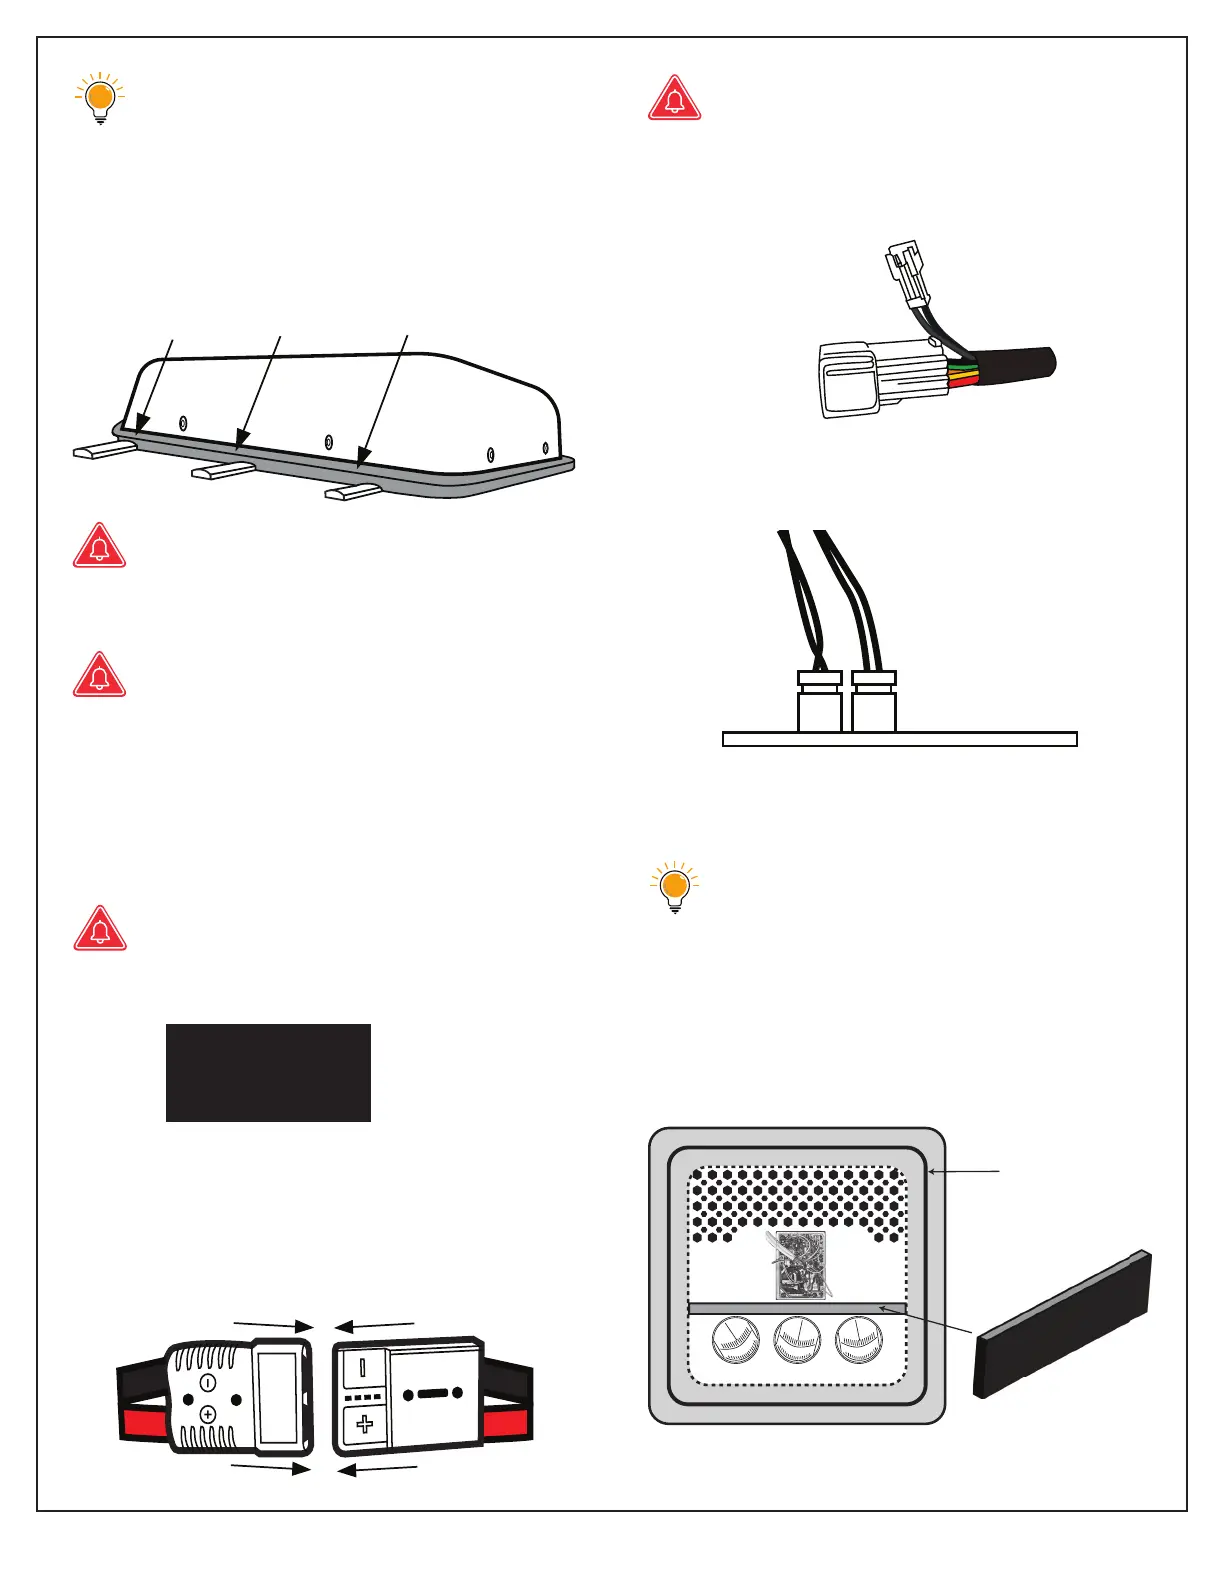
16. Use the foam separator to properly sepa-
rate hot air from cold air as it enters and
exits the AC unit.
AC unit centered
on foam gasket
Foam separator
AIR IN AIR OUT
To AIR-OUT sensor
To Control Panel