GATEWAY QUICK START GUIDE
May 2019 Information subject to change without notice. 3
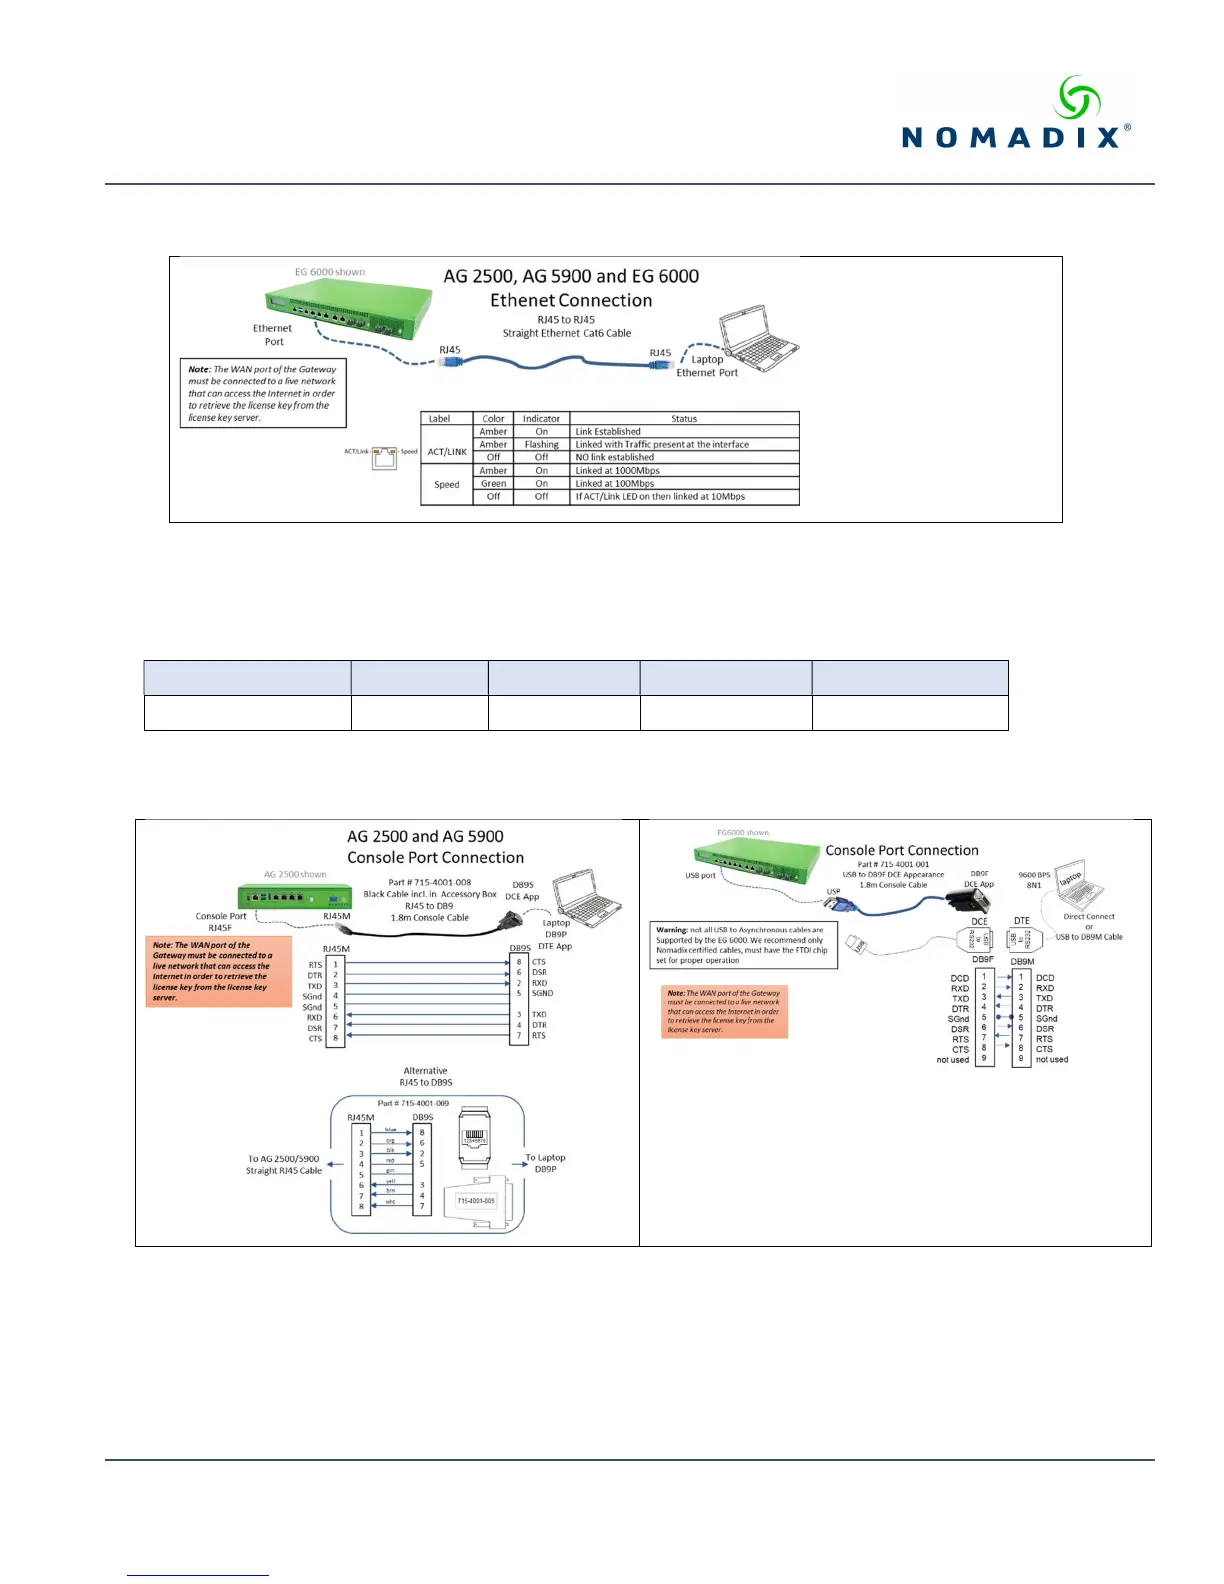
Install the Ethernet cable between the AG 2500, AG5900 or the EG 6000 Eth1 port and the laptop’s Ethernet port and check
the status as shown [illustration 1].
Illustration 1: Ethernet connection and status
Asynchronous Console Port Connection
On the PC/laptop start the asynchronous terminal emulation application, using PuTTY, Hyperterm, Procomm (or equivalent)
application using the following configuration parameters for the comm port [Table 2].
Bits Per Second Data Bits Parity Stop Bits Flow Control
9600 8 NONE 1 NONE
Table 2: Comm port settings.
On the AG 2500 and AG5900 use the RJ45 console port, on the EG 6000 use the USB console port. Please note: the EG 6000
console port is only on the USB port. Both methods are depicted below [illustration 2]:
Illustration 2: Console Port connections
With everything connected and powered up, you are now ready to configure the configure the Gateway’s WAN for a static IP
address, DHCP Client or PPPoE client using appropriate configuration guidelines that follow in order to obtain the license key.
Once the key has been obtained, the web management interface (WMI) can be used to continue and finish the configuration.
 Loading...


