Assemblyrequirestwopersons.SetthetreadmHUinaclearedareaandremoveaHpackingmateriaUs.Donot
disposeof the packingmaterialsuntilassemMyis completed.
Note:TheundersideofthetreadmHUwaUkingbeUtiscoatedwithhigh-performanceUubrbant.Duringshipping,a
smallamountof DbrbantmaybetransferredtothetopofthewaUkingbeUtortheshippingcarton.Thisisa normaU
conditionanddoesnotaffecttreadmHUperformance,ifthereisUubrbantontopofthewaUMngbeUt,simpUywipeoff
theUubricantwithasoftclothanda mild,non-abrasivecleaner.
Assemblyrequirestheincludedallenwrench _ andyourownphilHpsscrewdriver_ and
c'- _. ....
wire cutters _=_._. For help identifying the assembly hardware, see the hardware drawings below.
€@
3/4" Tek Screw (44)-4
1" Tek Screw (82)-2
Short Console Star Washer (67)-8
<ssg }
Extension Screw
(87)-4
3/4" Screw (7)-2
Pulse Bar Bolt (66)-4
Console Bolt (72)-2
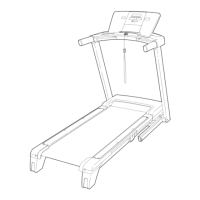
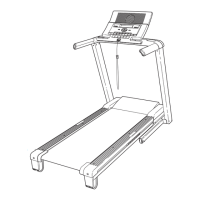
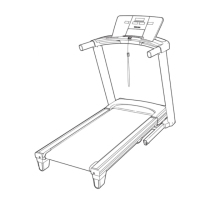
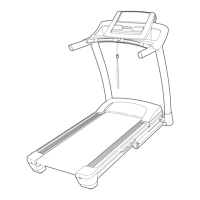
1. With the help of a second person, carefully raise the
Upright Base (85) and the Frame (55) to the position
shown,
While the other person holds the Frame (55) and the
Upright Base (85), insert the Base Extension (90) into
the two brackets on the lower end of the Upright Base.
Make sure that the Base Extension is turned so the
Base Pads (81) are beneath it. Note: it may be helpful
to tip the Upright Base forward as you insert the Base
Extension.
81
90
85
81
I
6

 Loading...