9
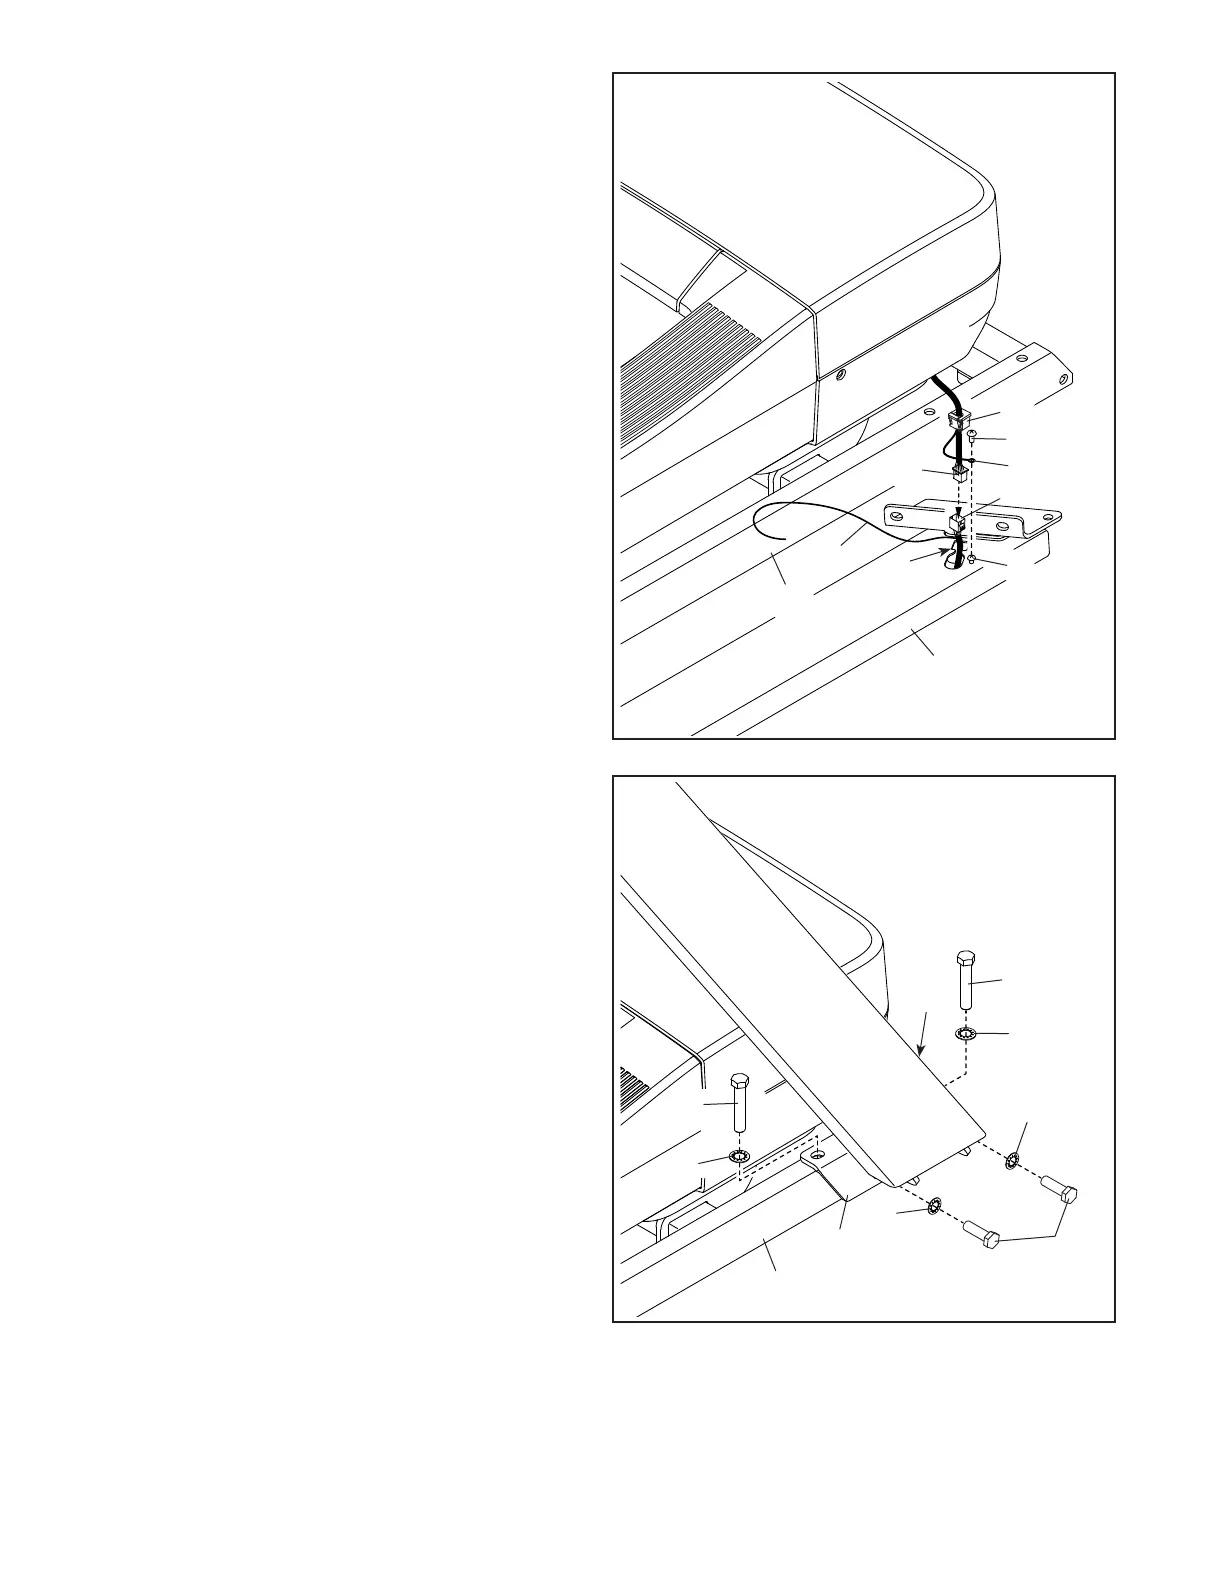
2. Make sure that the power cord is unplugged.
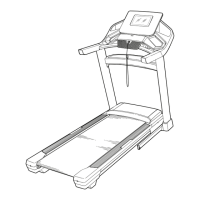
Identify the Right Upright (85), and lay it near the
Upright Base (94) as shown.
Next, connect the Belly Pan Wire (107) to the
Upright Wire (82) in the Right Upright (85).
IMPORTANT: The wire connectors should
slide together easily and snap into place with
an audible click. If they do not, turn one con-
nector and try again. If you do not connect
the wires properly, your treadmill will not
function properly. Then, remove the tie (N).
Next, insert the Wires (107, 82) into the indicated
square hole (A), and press the Grommet (86)
into the square hole.
Then, remove and discard the indicated
screw (B), and attach the ground wire (C) to the
Right Upright (85) with a Ground Screw (3).
82
3
C
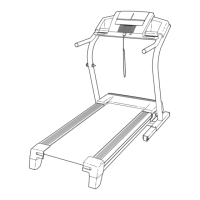
3. Have a second person hold the Right Upright
(85) against the Upright Base (94). Make sure
not to pinch the Belly Pan Wire (107).
Insert two 3/8" x 2 1/4" Screws (2) with two 3/8"
Star Washers (6) into the top of the bracket on
the Right Upright (85), and partially tighten the
Screws into the Upright Base (94); do not fully
tighten the Screws yet.
Finish attaching the Right Upright (85) with
two 3/8" x 1 1/4" Screws (1) and two 3/8"
Star Washers (6); do not fully tighten the
Screws yet.
Attach the Left Upright (not shown) in the
same way. Note: There is not a wire on the left
side.
3
6
94
85
1
2
2
6
85
107
6
6
2
B
107
86
94
A
N
 Loading...