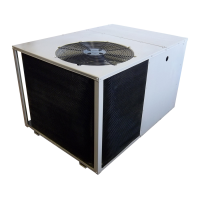
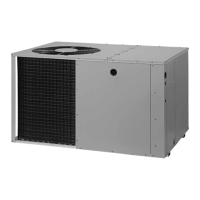
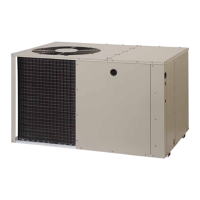
, Donotplacetheunitin a confinedspace.
, Ifpractical,placetheheatpumpwhereitand
theductswillbeshadedfromtheafternoon
sunwhentheheatloadisgreatest.
, Trytoselectasitefortheunitthatisasclose
as possibleto the proposedreturngrille
location.
Keepinmindthatthelengthofthesupplyand
returnductsshouldbekeptto a minimum
withnosharpradiusedbends.
2. UNPACK THE UNIT
It is recommended that the unit be unpacked at
the installation site to minimize damage due to
handling.
CAUTION:
Do not tip the unit on its side. Oil may
enter the compressor cylinders and
cause starting trouble, if unit has been
set on its side, restore to upright
position and do not run for several
hours. Then run unit for a fewseconds.
Do this three or four times with five
minutes between runs.
a. Remove the bands from around the unit.
b. Unfold the top and bottom cap flanges.
c. Carefully remove the top cap and tube.
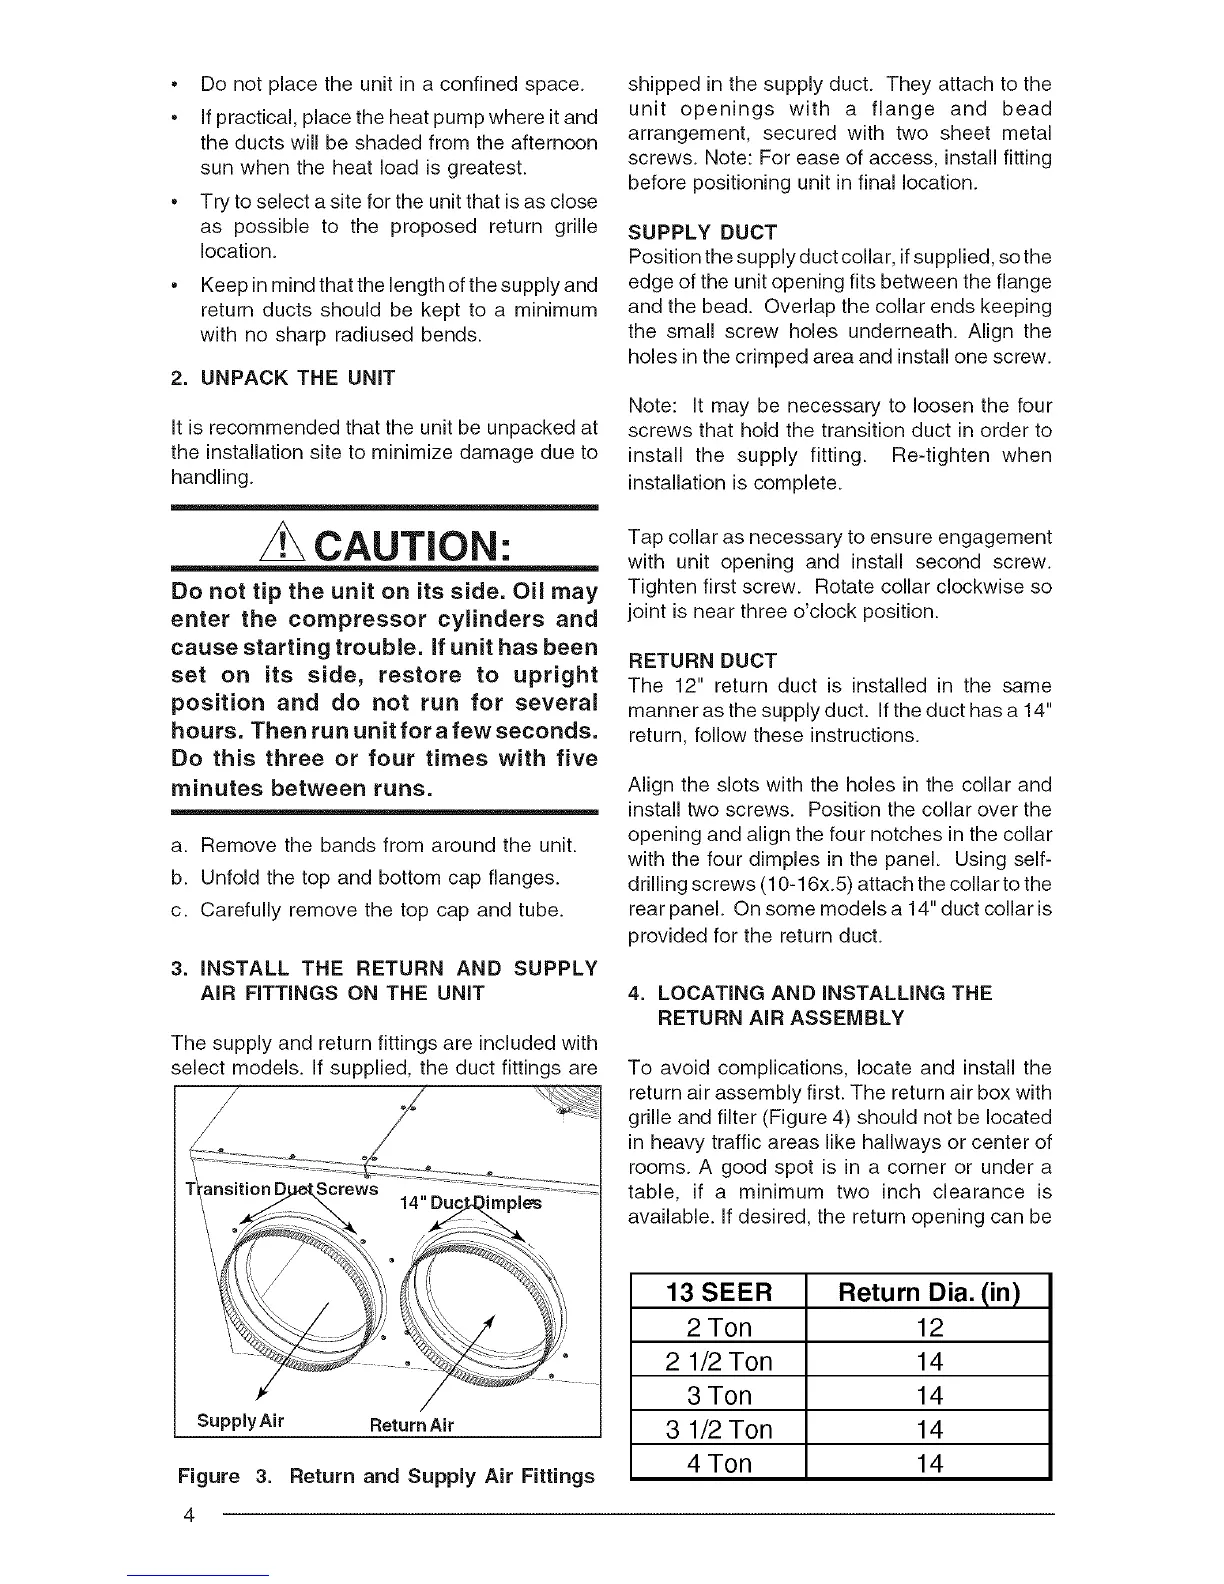
3. INSTALL THE RETURN AND SUPPLY
AiR FiTTiNGS ON THE UNIT
The supply and return fittings are included with
select models. If supplied, the duct fittings are
SupplyAir
Figure 3.
4
Return Air
Return and Supply Air Fittings
shipped in the supply duct. They attach to the
unit openings with a flange and bead
arrangement, secured with two sheet metal
screws. Note: For ease of access, install fitting
before positioning unit in final location.
SUPPLY DUCT
Position the supply duct collar, if supplied, so the
edge of the unit opening fits between the flange
and the bead. Overlap the collar ends keeping
the small screw holes underneath. Align the
holes in the crimped area and install one screw.
Note: It may be necessary to loosen the four
screws that hold the transition duct in order to
install the supply fitting. Re-tighten when
installation is complete.
Tap collar as necessary to ensure engagement
with unit opening and install second screw.
Tighten first screw. Rotate collar clockwise so
joint is near three o'clock position.
RETURN DUCT
The 12" return duct is installed in the same
manner as the supply duct. If the duct has a 14"
return, follow these instructions.
Align the slots with the holes in the collar and
install two screws. Position the collar over the
opening and align the four notches in the collar
with the four dimples in the panel. Using self-
drilling screws (10-16x.5) attach the collar to the
rear panel. On some models a 14" duct collar is
provided for the return duct.
4. LOCATING AND INSTALLING THE
RETURN AiR ASSEMBLY
To avoid complications, locate and install the
return air assembly first. The return air box with
grille and filter (Figure 4) should not be located
in heavy traffic areas like hallways or center of
rooms. A good spot is in a corner or under a
table, if a minimum two inch clearance is
available. If desired, the return opening can be
13 SEER Return Dia. (in)
2 Ton 12
2 1/2 Ton 14
3 Ton 14
3 1/2 Ton 14
4 Ton 14