Verifying a successful installation 37
Step Action
1
Turn the power switch on each power supply to the off position.
2
Wait 1 minute.
3
Turn the power switch on each power supply to the on position.
—End—
Verifying a successful installation
In a normal power-up sequence, the LEDs light as follows:
Step Action
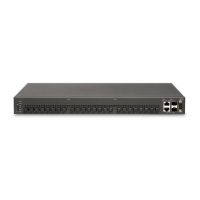
1 When power is applied to the Ethernet Routing Switch 8000 Series,
the green LED on each power supply and fan tray turns on, and the
Online LED for each module lights amber.
2
Each module initiates a self-test, during which the port and module
LEDs display various patterns to indicate the progress of the self-test.
3
Upon successful completion of the self-test (within 2 or 3 minutes
after power is applied for a fully loaded chassis), the module Online
LED transitions from amber to green.
4
After one minute of operation, the fan tray Pass LED lights steady
green.
—End—
If the LEDs on the modules light in this sequence, your installation is
successful. Contact your network administrator to verify that the Ether net
Routing Switch 8000 Series is now connected to the network.
Nortel Ethernet Routing Switch 8600
Quick Start
NN46205-310 01.01 Standard
4.1 21 December 2006
Copyright © 2006 , Nortel Networks Nortel Networks Confidential
.