2
MOUNTING
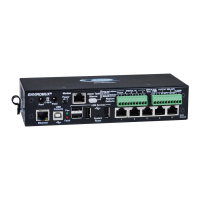
The E-DI16DOR16-V2 comes with surface/wall mount tabs on the bottom of the case. These are easily removed and rotated for
attachment to any flat surface. It also includes mounting holes for the installation of rack ear brackets. To mount in a rack as a
single unit, order E-DI16DOR16-V2R to receive hardware for single unit mounting. To mount in a rack as a dual unit, order E-
DI16DOR16-V22R to receive hardware for dual unit mounting.
Follow the instructions below for assembly and installation.
To mount to a wall or other flat surface, remove the screws that secure the mounting tabs, rotate the tabs 180 degrees, and
reinstall the screws.
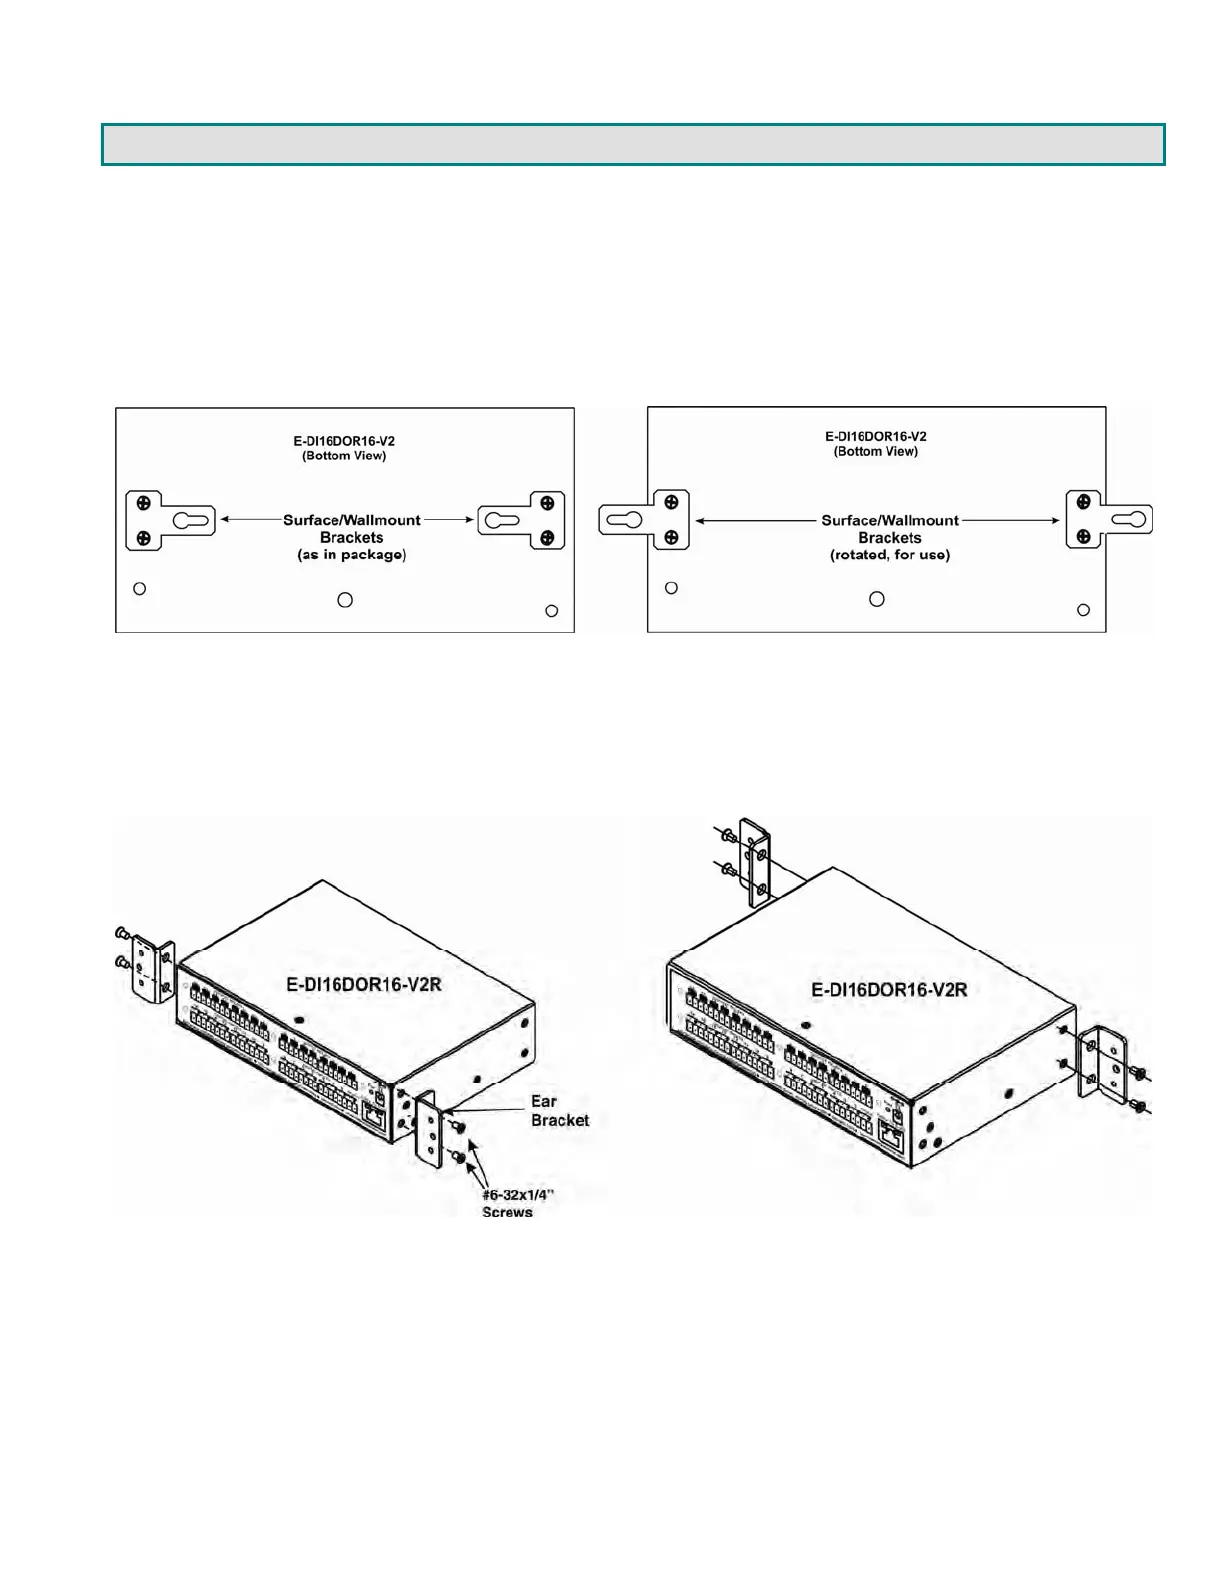
If the Expander will be mounted as a single or a double, brackets will need to be attached to the case to enable mounting ears or
a connector plate to be attached.
1. Attach the ear brackets to the Expander
. The holes in the brackets should line up with pre-threaded holes in the sides of
the Expander. Tighten the screws securely.

 Loading...