quipped with an efficient grounding
system, which should be connected to the
machine using the green and yellow wire.
Always protect the machine with an
automatic safety cut-out switch that is
compatible with the mains power supply.
The Company cannot be held responsible
for any damage to persons or property cau-
sed by failure to observe the safety stan-
dards in force.
For the correct functioning of the machine,
mains water pressure should not exceed 4
bars and if this is not the case, a pressure
reducer should be fitted upstream of the
water softener.
The water inlet tube should have an internal
diameter of no less than 8 mm.
PLEASE NOTE: Before connecting the
machine to the mains power supply, first
make sure that the supply voltage corre-
sponds to that shown on the nameplate
attached to the machine (Fig. 1-2, no. 12)
and if this is not the case, carry out the
necessary modifications (Figs. 4-5-6).
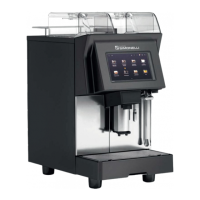
Starting the Machine
Filling the Boiler
Although, all Nuova Simonelli machines are
fitted with an automatic filling device, it is
good practice, during the initial operation
phases, to fill the boiler manually in order to
avoid damaging the electric resistance, the-
reby causing the electronic protection devi-
ce to be triggered (this locks the machine if
the automatic filling device remains swit-
ched on for longer than 90 seconds. Should
this occur, it is sufficient to switch the
machine off and then on again, to complete
the boiler filling operation). Please refer to
the part relative to refill errors in the diagno-
stic section.
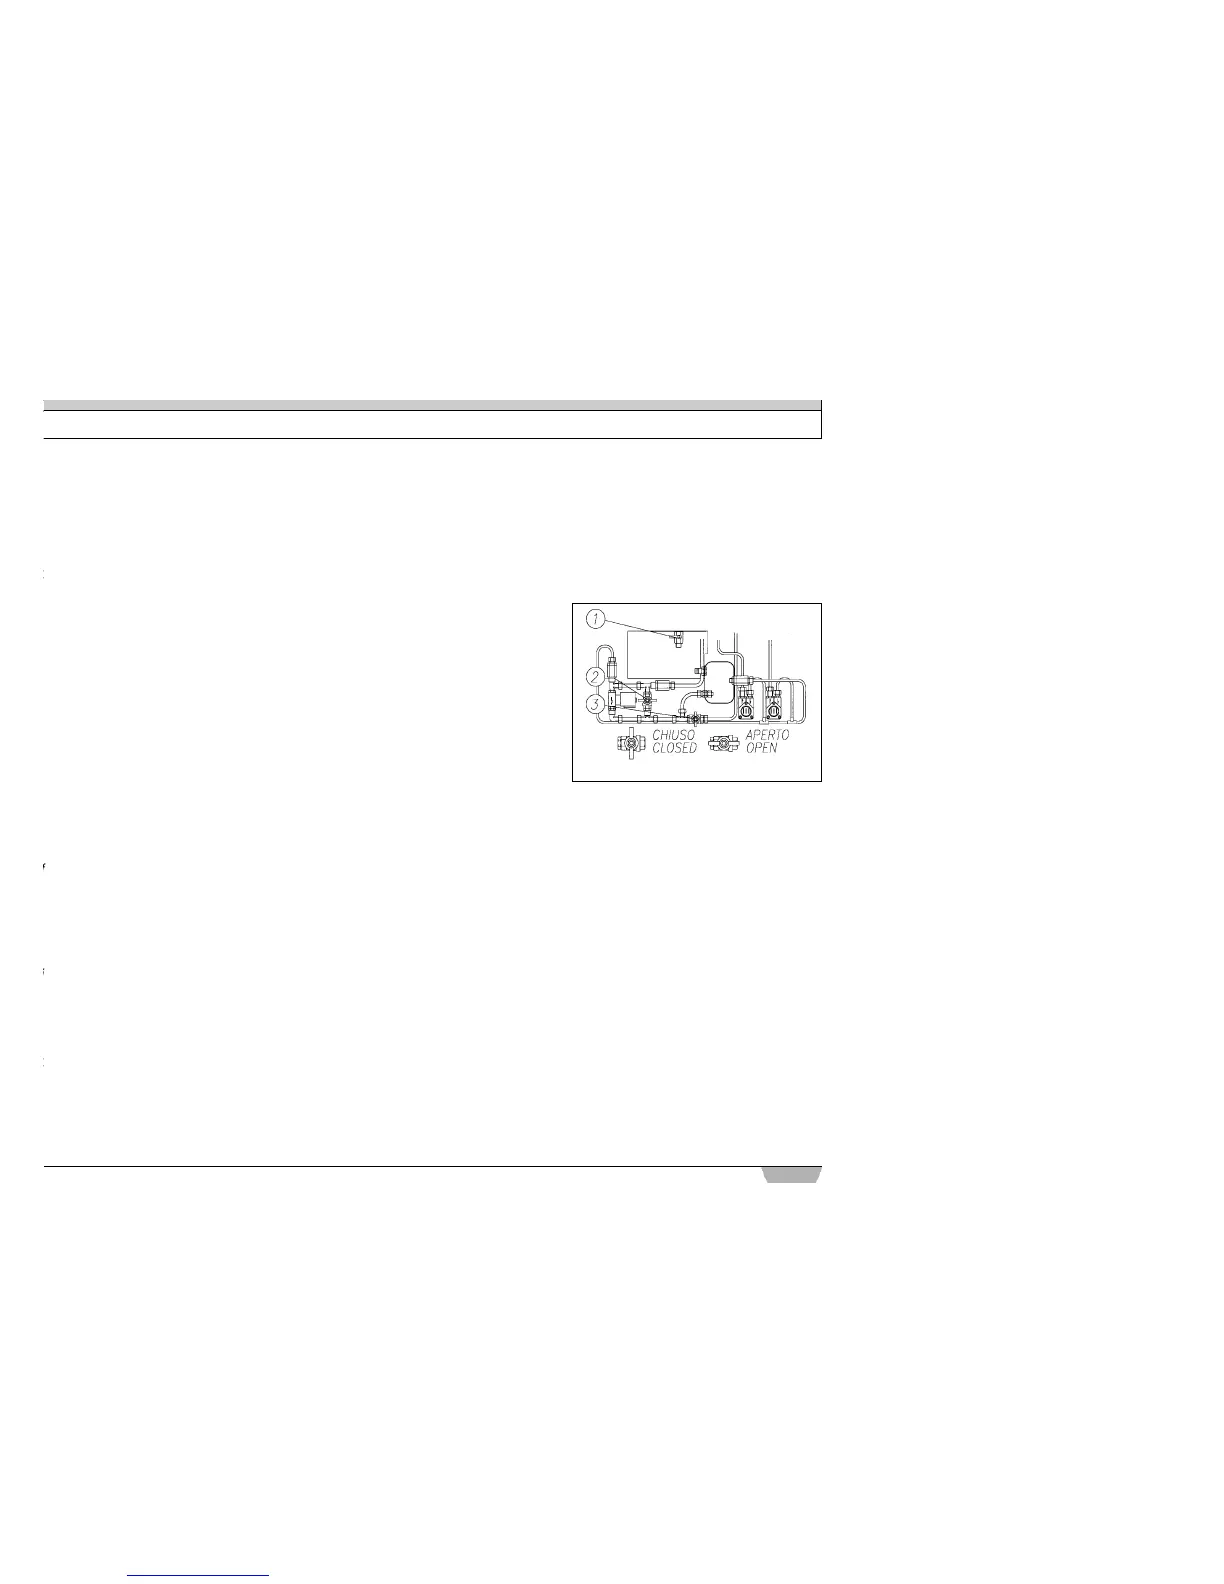
To fill the machine, use the manual filling
taps (Fig. 7) found underneath the work top
(remove the safety closure beforehand).
A) Filling the boiler manually: turn on tap 1;
turn on tap 2; turn on tap 3. Once the cor-
rect level has been reached (shown on the
water gauge), turn off tap 2.
B) Normal operating conditions: tap 1 on;
tap 2 off; tap 3 on.
C) Automatic filling device cut-out. Should
the automatic filling device malfunction (it
continues to load water), turn off tap 3.
Should it be necessary to fill the machine
m a n u a l l y, (the device does not load any
water), turn on tap 2.
INSTALLATION INSTRUCTIONS
Figure 7