DGX-2 System DU-09224-001 _v09|74
Chapter18. I/O Tray Removal and
Installation
18.1. I/O Tray Replacement Overview
This is a high-level overview of the procedure to replace the I/O tray on the DGX-2 System.
1. Get a replacement I/O tray from NVIDIA Enterprise Support.
2. Shut down the system.
3. Label all I/O tray cables and unplug them.
4. Remove the I/O tray, place on a solid, flat surface, and then open the lid.
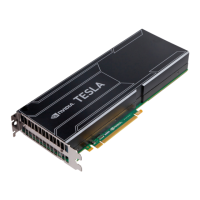
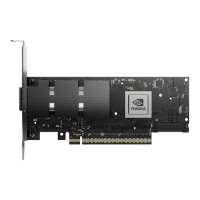
5. Remove all ConnectX-5 cards by removing the screw that attaches the card and then
removing the card.
6. Install all the ConnectX-5 cards into the new I/O tray.
7. Close the lid on the I/O tray, then insert the tray into the system.
8. Plug in all cables using the labels as a reference.
9. Power on the system.
10.Verify that all ConnectX-5 cards are healthy and accessible using nvsm health.
18.2. Replacing the I/O Tray
CAUTION: Static Sensitive Devices: - Be sure to observe best practices for electrostatic
discharge (ESD) protection. This includes making sure personnel and equipment are
connected to a common ground, such as by wearing a wrist strap connected to the
chassis ground, and placing components on static-free work surfaces.
1. Power down the system.
2. Label all the network ports (0-7) connected to the I/O tray for easy identification when
reconnecting.
 Loading...