5
WARNING: The drain plugs on the back and bottom of the dispenser may loosen during shipping. Securely tighten
the drain plugs before starting the water dispenser. A loose drain plug may leak, causing oor damage.
IMPORTANT: The dispenser should only be connected to a potable drinking water supply with water pressure
between 35 - 100 psig [0.2 - 0.7 MPa].
WARNING: A pressure regulator, such as a Slow Flow regulator, must be installed in front of the water inlet if the
water pressure (including any possible pressure spikes) could exceed 100 psig.
IMPORTANT: MAKE SURE THAT THE DISPENSER IS NOT PLUGGED IN AND THAT THE HOT TANK SWITCH IS OFF
BEFORE CONTINUING.
1. After unpacking, wipe dispenser with a soft cloth.
2. Place the dispenser on a hard, at surface, making certain the dispenser is level. The dispenser should not be
placed near direct sunlight or any other source of heat.
3. It is best to place the dispenser in an area with good air circulation. Make sure there is at least 6 in (15cm)
of clearance in back and on both sides of the dispenser for proper ventilation.
4. Locate the water inlet tting on the back of the dispenser.
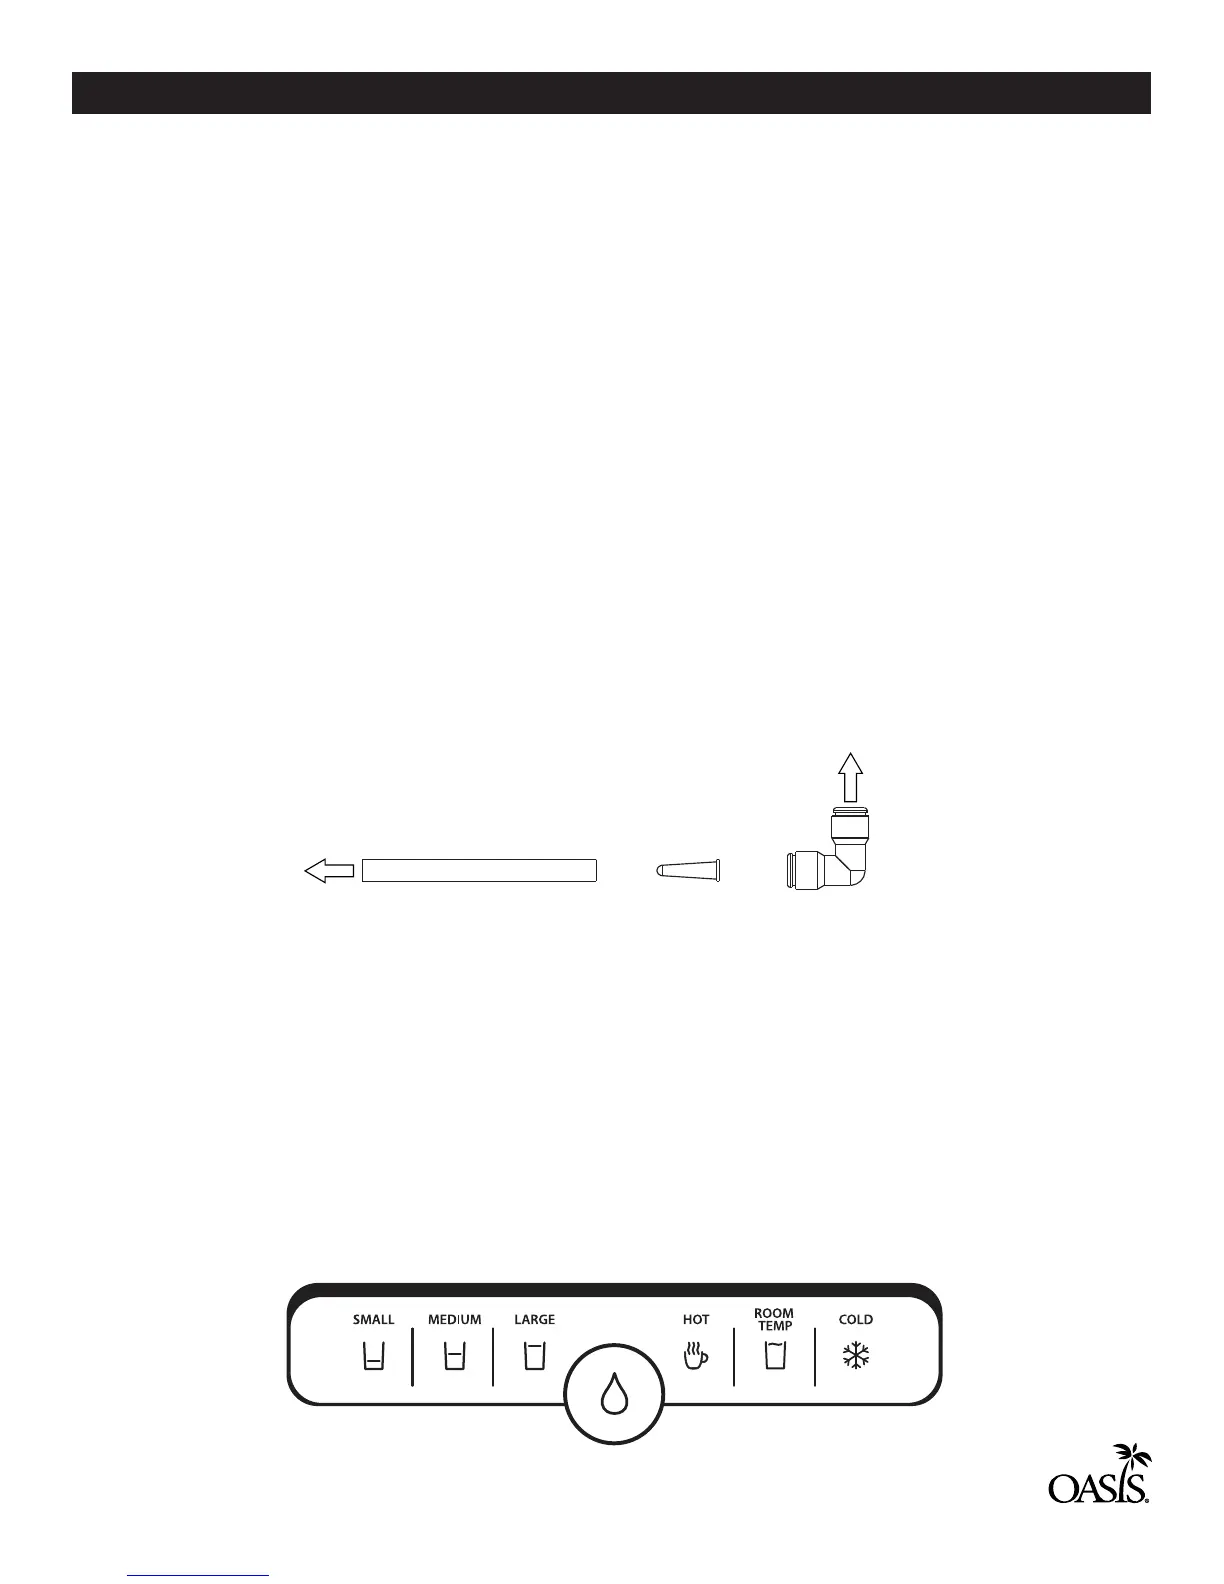
5. Locate the inline strainer provided (in a bag on the back of the dispenser). Insert the strainer into a length of
1/4" O.D. tubing as shown. Attach a quick connect tting and connect to the water supply. Connect the other
end of the tubing to the water inlet tting on the rear of the dispenser.
IMPORTANT: For proper assembly of a quick connect tting, refer to the
section "QUICK CONNECT FITTING INSTRUCTIONS".
6. Plug the cooler into a grounded GFCI power outlet.
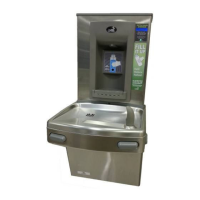
7. Select the cold water icon and then press and hold the water drop icon until water ows out of the water
dispense point.
8. Select the hot water icon and then press and hold the water drop icon until water ows out of the water
dispense point.
9. Flip the hot water switch on the back of the dispenser to the ON position.
10. The rst time the dispenser is used, you will have to wait at least 1 hour for cold water and 15 minutes for
hot water
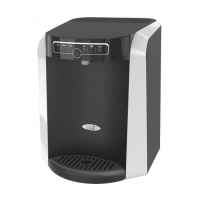
INSTALLATION
CONTROL PANEL
1/4" O.D. Tubing
(not provided)
Inline Strainer
(provided)
Quick Connect
Fitting
(not provided)
Connect to
Water Supply
Connect to
Water Inlet
Fitting
 Loading...