Do you have a question about the Oasis Kalix Series and is the answer not in the manual?
List of components required for the expansion tank installation, including part numbers and quantities.
Steps for exchanging the spout, involving fitting a mesh and o-ring into the new spout.
Instructions for installing a new solenoid valve, connecting wires and tubes, and securing it with tie cables.
| Brand | Oasis |
|---|---|
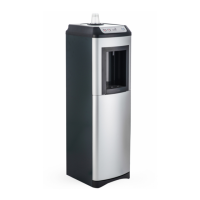
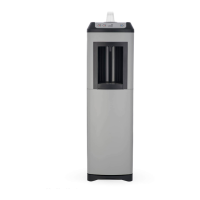
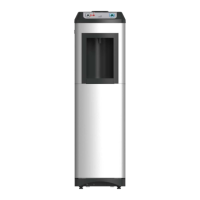
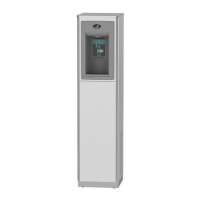
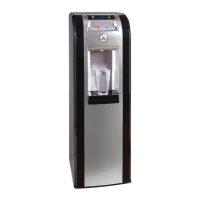
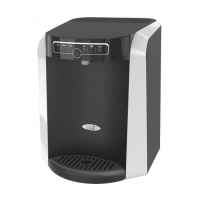
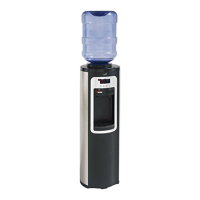
| Model | Kalix Series |
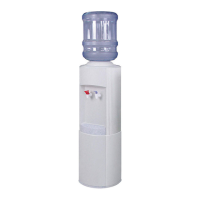
| Category | Water Dispenser |
| Language | English |