ODYS Slim X6
19
EN
5 Advanced operation
5.1 Using the flash
If there is not enough available light for your photo, the built-in flash
can provide the additional light required.
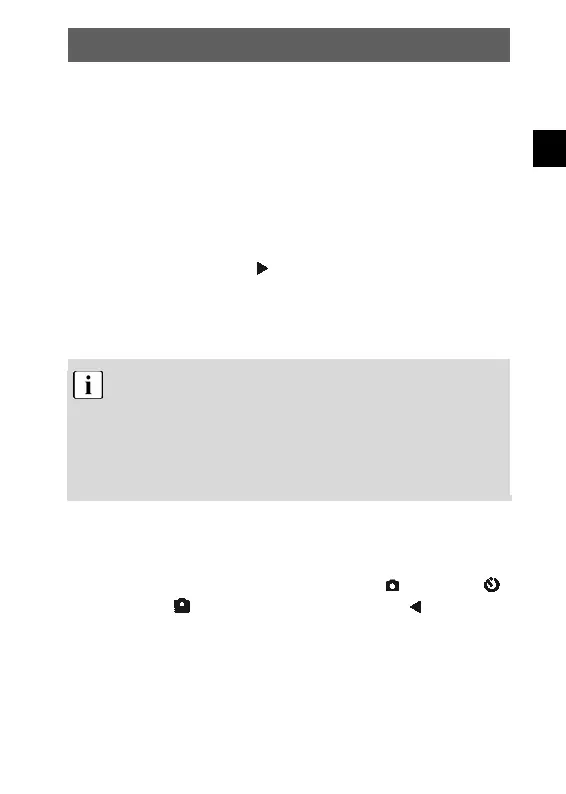
1
Switch the camera on and select the photo mode (single shot
or self-timer mode).
2
Press the right button once or repeatedly to set one of
three flash modes. The flash mode changes from “Auto” to
“Always on” to “Off” each time you press the button. The
corresponding status symbol for the flash mode is shown in
the upper left corner of the LCD.
The flash is activated automatically when the light level is too
low if the flash is set to “Auto”. When “Always on” is set the
flash is used for every shot. When “Off” is selected, the flash
is deactivated. The flash only works in single shot mode and
self-timer mode. It does not work in burst and video mode.
Please note that using the flash increases battery
consumption.
5.2 Using direct access buttons
Selecting photography mode directly
In photography mode, you can access the “Single”
, “SelfTimer”
and “Sequence” modes by pressing the left button repeatedly.
The corresponding symbol is displayed at the top left of the LCD.
Selecting the resolution directly
In photography mode, the OK button can be used to select the
resolution progressively. The current resolution is displayed at the
top left of the LCD.
 Loading...