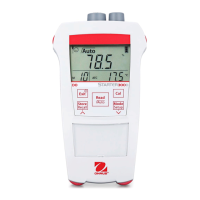
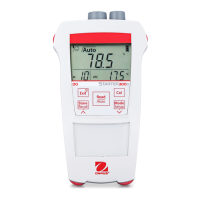
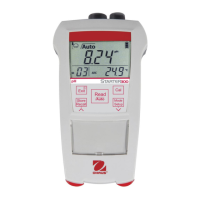
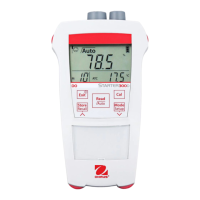
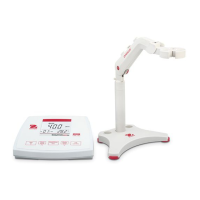
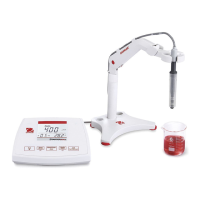
STARTER 300 Portable pH Meter EN-11
When STARTER 300 is in pH measurement mode (see 4.2) and Auto End point Mode.; place
the pH electrode in your chosen calibration buffer, stir for 10 seconds, and wait 30-60 seconds,
then:
Press button- . “Cal 1” displays on the bottom left of the screen and “Cal ” is blinking.
and appear on the top of the screen, is blinking during calibration.
The meter reaches the calibration (e.g. 7.00) value with the temperature display on the
screen.
The 1-point calibration is finished. There are now 3 options (OHAUS recommends conducting at
least a 2 point calibration);
1. Press button- to store the 1-point calibration and exit, the offset and the
slope are shown on the display for 3 seconds then return to the measurement
screen.
2. Press button- to reject the calibration, the meter then returns to the
measurement screen.
3. Rinse pH electrode then put into another buffer, press button- to do the 2-
point calibration.(see 4.1.3)
4.1.3 Performing 2-point calibration
Perform 1-point calibration as described above.
Rinse the pH electrode with pure water.
Place the electrode in the next calibration buffer, stir and wait, then press button- , “Cal
2” displays on the bottom left of the screen and “Cal ” is blinking. and appear on the
top of the screen, is blinking during calibration.
The meter reaches the calibration (e.g. 4.01) with the temperature display on the screen.
The 2 point calibration is finished. There are now 3 options :
1. Press button- to do the 3-point calibration.
2. Press button- to reject the calibration, the meter then returns to the
measurement screen.
3. Press button- to store the 2-point calibration and exit, the offset and the
slope are shown on the display for 3 seconds then return to the measurement
screen.
Note: To perform a 3 point calibration, follow the instructions for performing a 2 point calibration
using a third buffer.


 To Next Page