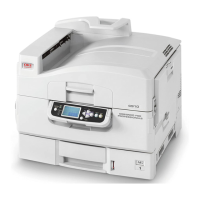
The yellow station is the one
nearest the paper exit.
The yellow station has 7 screws – 1 at the
rear far left side, 1 at the front, 2 at the
rear and 3 that secure the duct assembly to
the toner cartridge guide assembly.
There are also 2 clips to be released at the
front of the guide assembly.
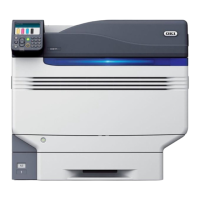
NOTE:
DO NOT SEPARATE THE DUCT
ASSEMBLY FROM THE TONER CARTRIDGE
GUIDE ASSEMBLY!
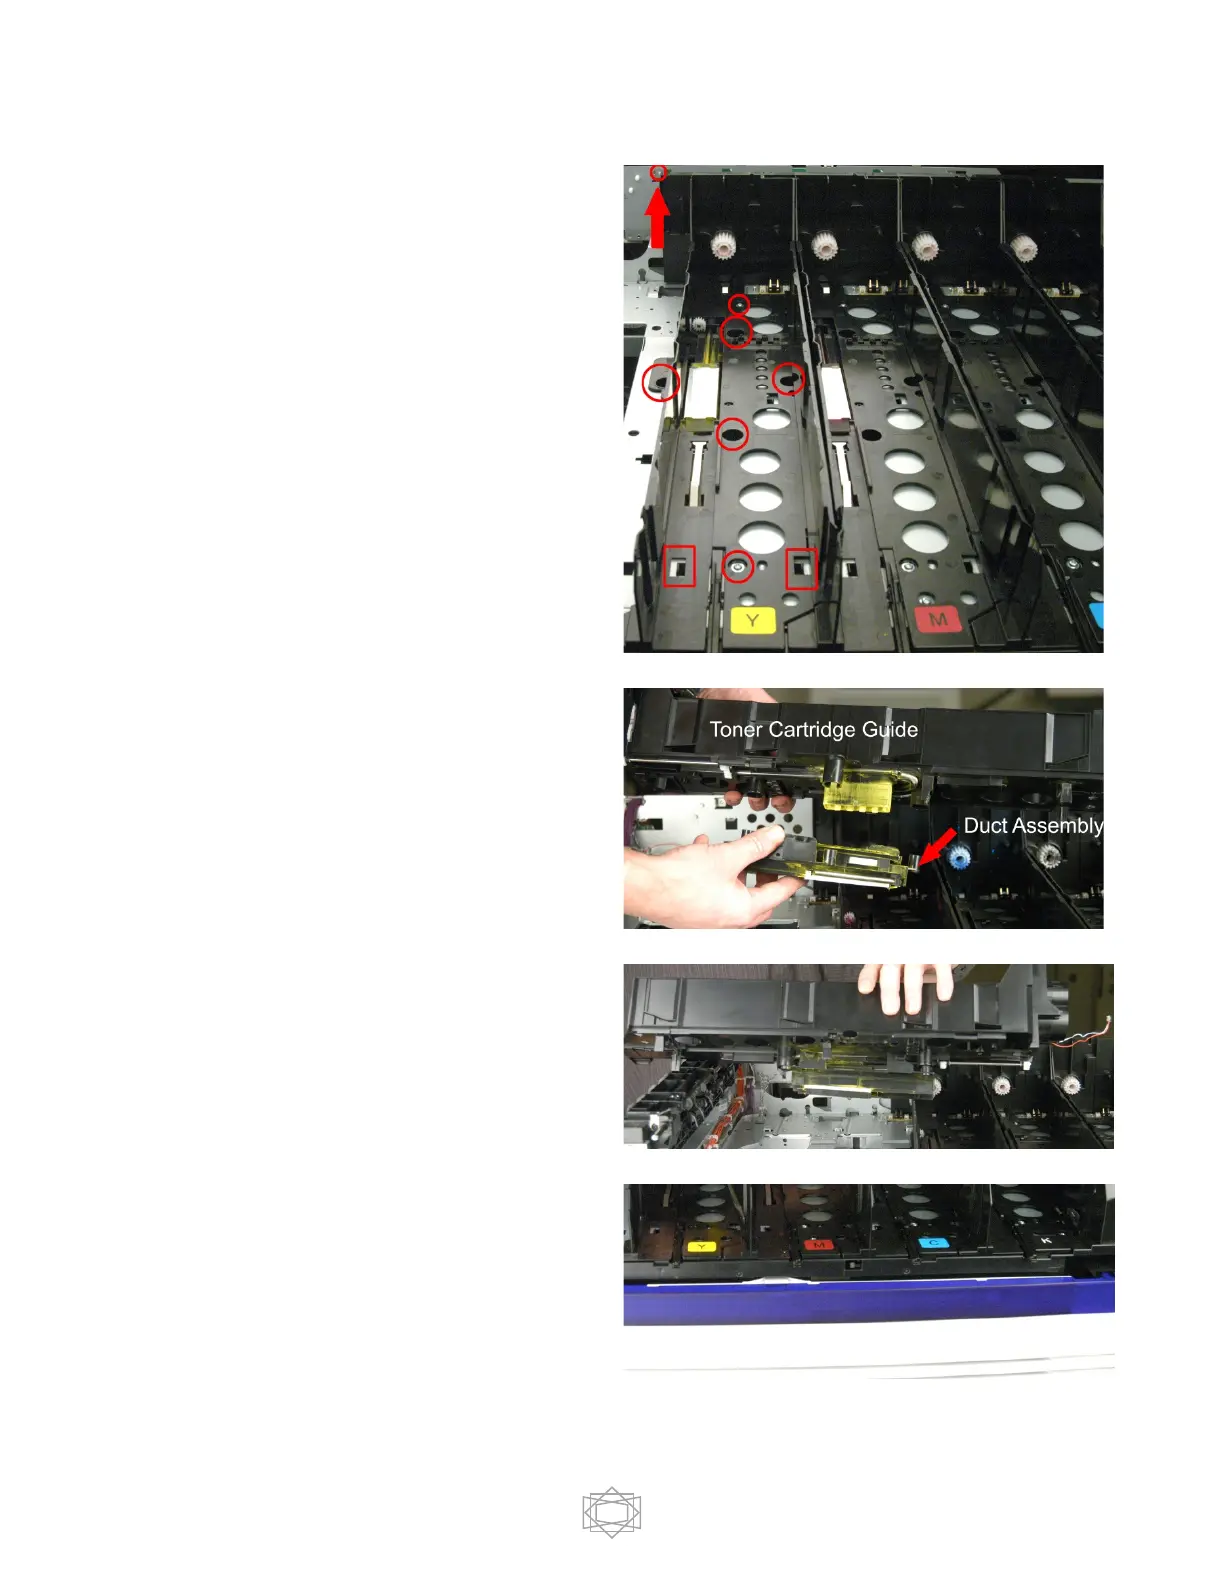
Starting at the left most station (yellow in
this model) and gently lift the station out.
CAUTION: There is a cable on the
rear of each station.
Cartridge Guides are removed
left to right (Spot – Yellow – Magenta –
Cyan – Black).
They Must Be Reinstalled Right to Left!
Black (right most) – Cyan – Magenta –
Yellow – Spot (left most).

 Loading...