- 110 -
Printing from a Computer
5
Printing
For USB Connection
Follow the procedure below to connect a
USB cable and install a printer driver on your
computer.
For Mac OS X 10.5 to 10.7
Note
● Disable the anti-virus software before starting this
procedure.
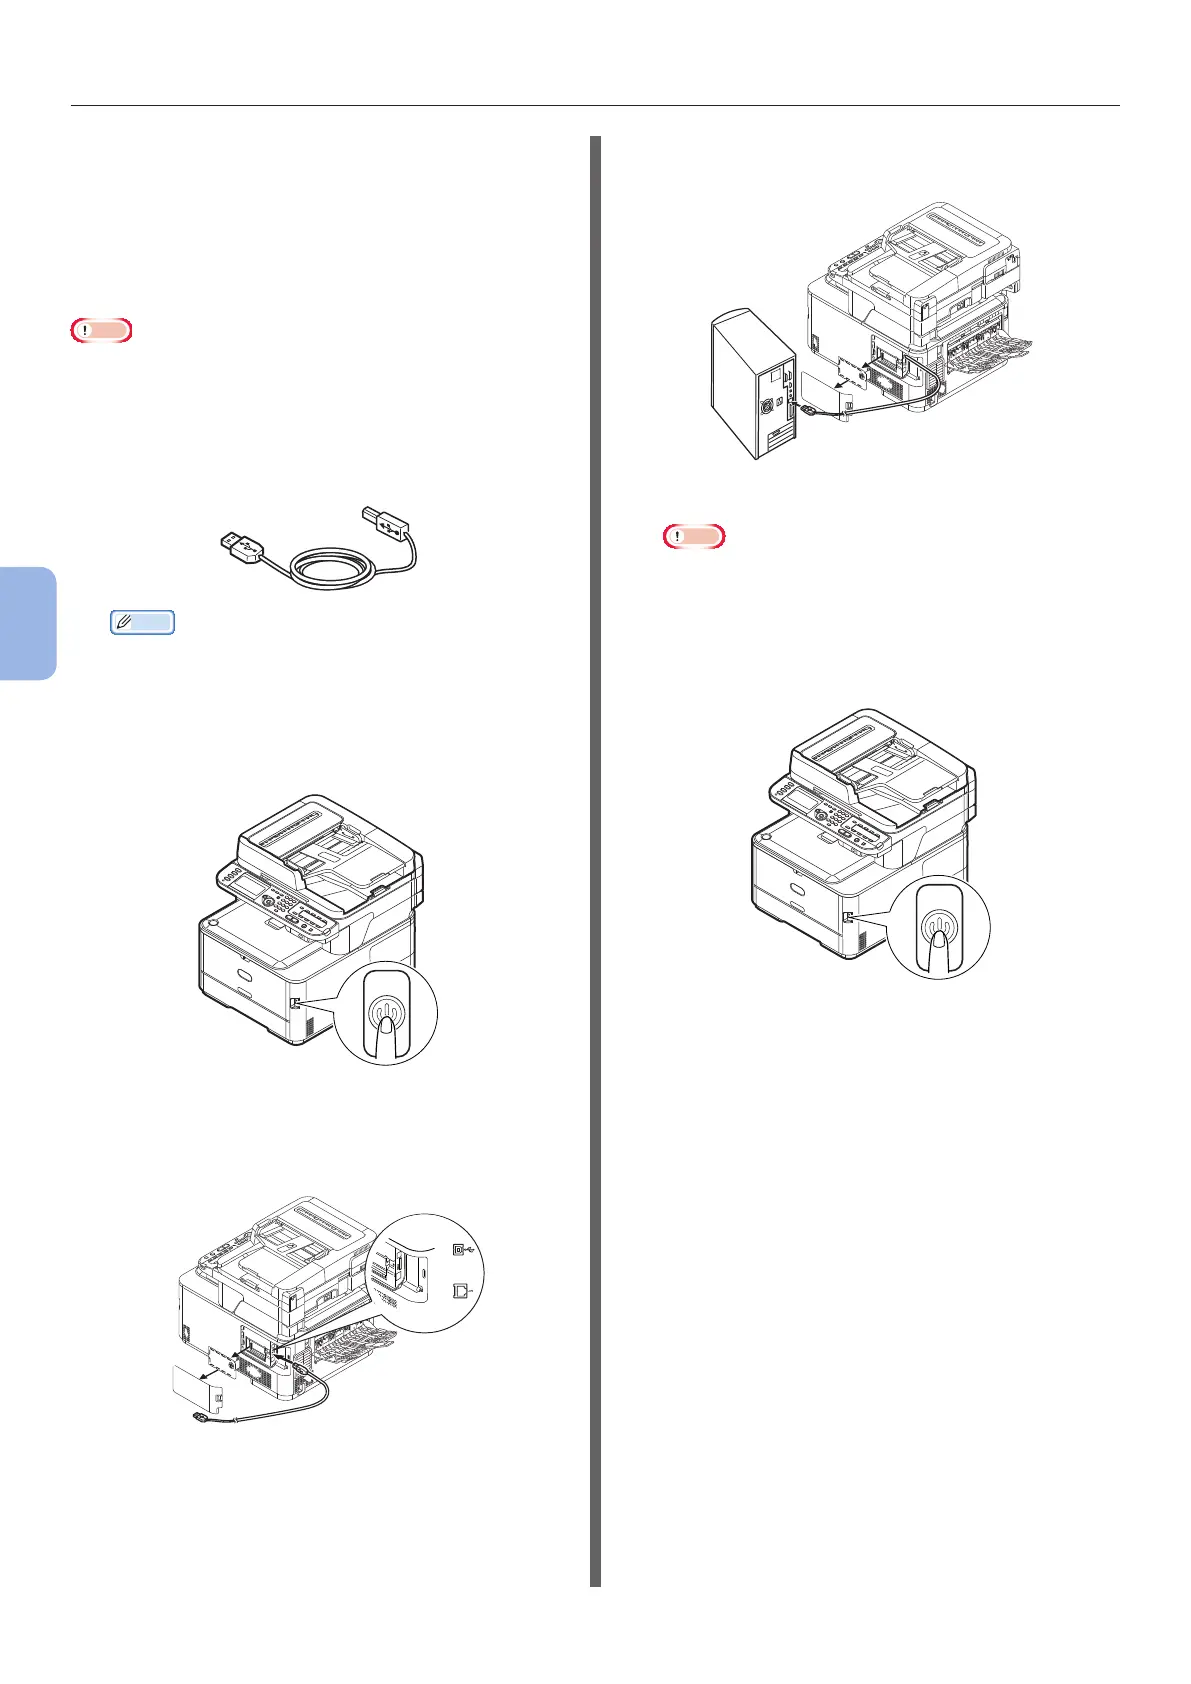
1 Prepare a USB cable.
A USB cable is not supplied with your machine.
Prepare a USB 2.0 cable separately.
Memo
● Use a USB 2.0 Hi-Speed cable for a USB 2.0 Hi-
Speed connection.
2 Hold down the power switch for
approximately one second to turn off the
power. And turn off the computer.
3 Plug one end of the USB cable into the
USB interface connector on the back of
the machine.
4 Plug the other end of the USB cable into
the computer’s USB interface connector.
Note
● Do not plug the USB cable into the network interface
connection. Doing so may cause a malfunction.
5 Hold down the power switch for
approximately one second to turn on the
power. And turn on the computer.
6 Insert “Software DVD-ROM” into the
computer.
7 Double-click the [OKI] icon on the
desktop.
8 Double-click [Drivers] folder > [PS]
folder > [Installer for MacOSX].
Follow the instructions displayed on the screen to
complete the installation.
9 From the Apple menu, select [System
Preferences].
10 Click [Print & Scan] (Mac OS X 10.5
and 10.6: [Print & Fax]).