- 71 -
Scanning to Network PC
4
Scanning
a Press , , , to select the
character you want, and then
press
OK
.
- The selected character is entered in the
text eld.
- If you have entered an incorrect value,
press the <CLEAR> key and then enter
the correct value.
b Repeat step a until all characters
required are entered.
c Press the and to select [Enter]
and press
OK
.
7 Press the to select [Target URL] and
then press .
8 Enter the value of C-1 and C-5 as
“\\C- 1\C-5”.
Example: \\PC1\SalesDev
Note
● If there is no DNS server on the network, you cannot
specify the computer by using the computer name
(C-1). In such a case, you can congure the settings
by using the computer’s IP address.
Example: \\192.168.0.3\SalesDev
Memo
● In order to enter the “\” sign while using a QWERTY
keyboard, press <CTRL> and then press <\>.
9 Select [Enter] and then press
OK
.
10 Press the to select [User Name] and
then press .
11 Enter the information in C-2.
Note
● If domain management is done, enter “C-2@domain
name”.
● When carrying out domain management, if
you cannot connect even after entering “C-2@
Domainname”, delete “@Domainname”.
Access the machine’s website again, and set the
NetBIOS domain name in [Workgroup Name]
within [Admin Setup] > [Network] > [NBT/
NetBEUI].
*For the domain name, please check with the
network manager.
12 Select [Enter] and then press
OK
.
13 Press the to select [Password] and
then press .
14 Enter the value of C-3.
15 Select [Enter] and then press
OK
.
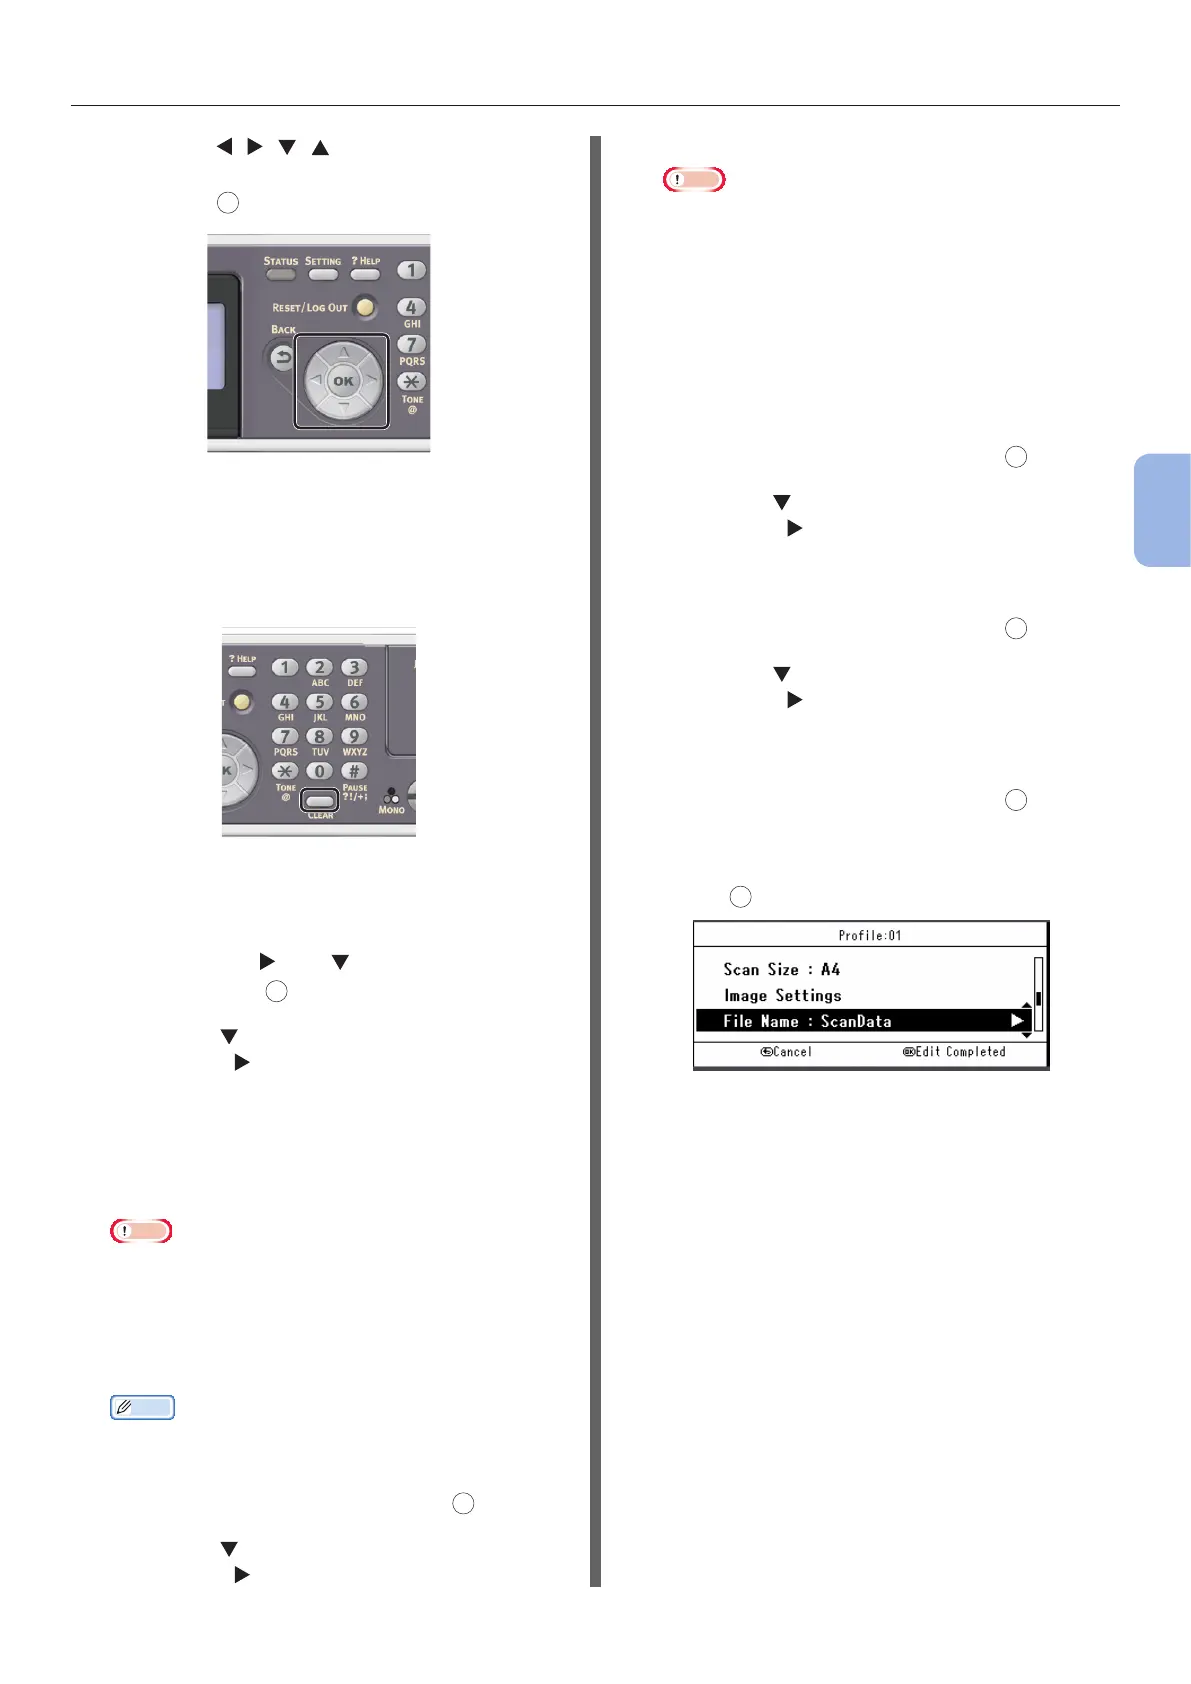
16 Press the to select [File Name] and
then press .
17 Enter the information in C-6.
18 Select [Enter] and then press
OK
.
19 Congure other items if necessary.
20 Press
OK
to register the settings.
The setup for Scan to Network PC is complete.