170 - Português
Nota
• Não coloque transparências acima da
linha que indica a capacidade máxima
da bandeja.
• Não coloque papéis de tamanhos, tipos ou
gramaturas diferentes ao mesmo tempo.
• Ao adicionar papel, remova o papel da
bandeja multifuncional e endireite as
bordas de ambas as pilhas de papel
e recoloque-as.
• Não coloque nada diferente de papel para
impressão. Não aplique muita pressão na
bandeja multifuncional.
Impressão do Relatório de
configuração
Você pode verificar as informações detalhadas da
sua unidade, como as configurações e o status,
imprimindo o Relatório de configuração.
1 Pressione <SETTING> (Ajuste) no painel
de controle.
2 Use a tecla de seta para baixo para selecionar
[Reports] (Relatórios) e pressione <OK>.
3 Use a tecla de seta para baixo para
selecionar [Configuration] (Configuração) e
pressione <OK>.
4 Quando a mensagem de confirmação
aparecer, pressione a tecla de seta para a
direita ou para a esquerda para selecionar
[Yes] (Sim) e depois pressione <OK>.
Definição das configurações
de bandeja
Mídia de impressão de
tamanho padrão
Nota
Para percorrer as várias seleções na tela,
pressione a tecla de seta para baixo
repetidamente.
\
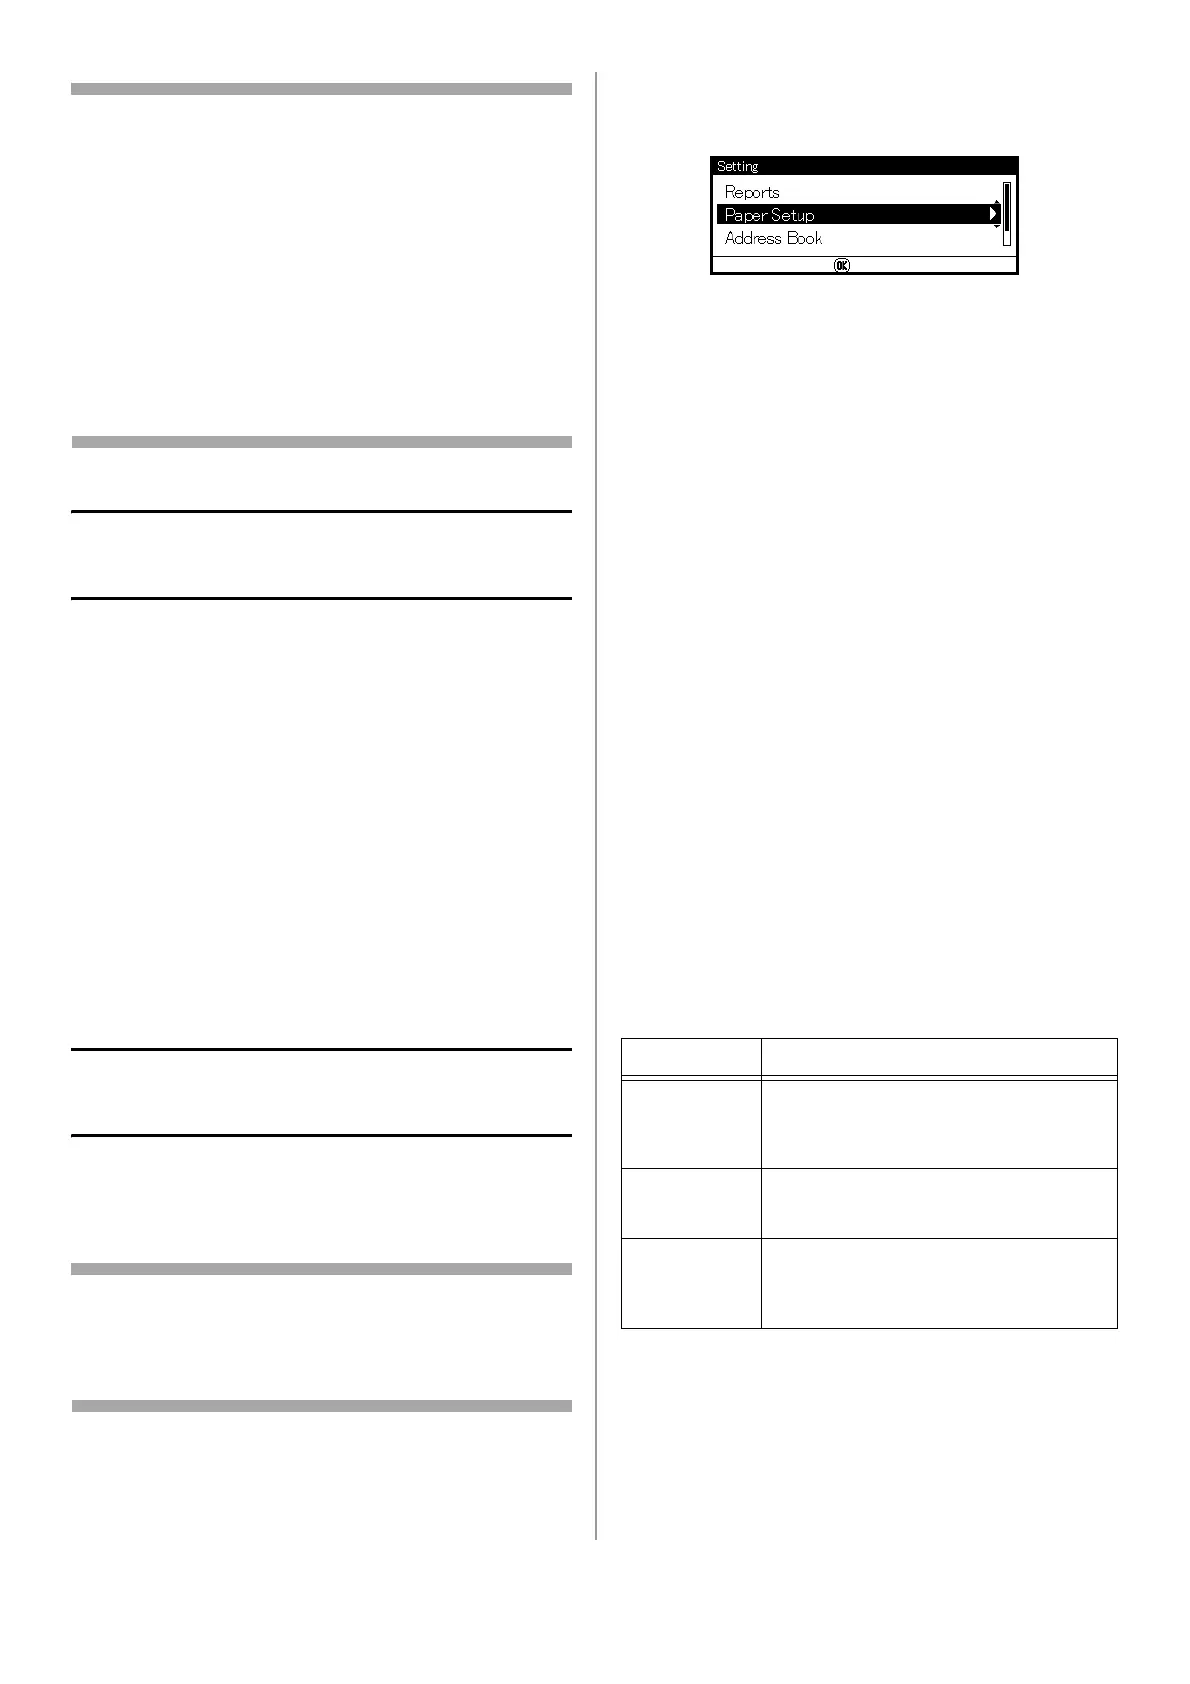
1 Pressione <SETTING> (Ajuste) no painel
de controle.
2 Use a tecla de seta para baixo para selecionar
[Paper Setup] (Configuração do papel) e
pressione <OK>.
3 Use a tecla de seta para baixo para
selecionar a bandeja de papel aplicável
e pressione <OK>.
4 Use a tecla de seta para baixo para
selecionar [Paper Size] (Tamanho do papel)
e pressione <OK>.
5 Use a tecla de seta para baixo para
selecionar o tamanho do papel carregado
e pressione <OK>.
6 Use a tecla de seta para baixo para
selecionar [Media Type] (Tipo de mídia) e
pressione <OK>.
7 Use a tecla de seta para baixo para selecionar
o tipo de mídia carregada e pressione <OK>.
8 Use a tecla de seta para baixo para selecionar
[Media Weight] (Gramatura da mídia) e
pressione <OK>.
9 Use a tecla de seta para baixo para
selecionar a gramatura do papel carregado
e pressione <OK>.
Mídia de impressão de
tamanho personalizado
Para colocar papel de tamanho personalizado,
você precisa registrar a largura e o comprimento
dele antes de imprimir.
Bandeja Faixa de tamanhos disponíveis
Bandeja 1 Largura:
4,1 a 8,5 pol. (105 a 216 mm)
Comprimento:
5,8 a 14,0 pol. (148 a 356 mm)
Bandeja 2
(opcional)
Largura: o mesmo que a Bandeja 1
Comprimento:
8,3 a 14,0 pol. (148 a 356 mm)
Bandeja
multifuncional
Largura:
2,5 a 8,5 pol. (64 a 216 mm)
Comprimento:
5,0 a 52,0 pol. (127 a 1321 mm)