- 71 -
Scanning to Shared Folder
4
Scanning
4 Select [User can not change
password] and [Password never
expires], and then click [Create].
Memo
● If [User must change password at next logon]
is selected, deselect so that you can select [User
can not change password] and [Password never
expires].
5 Click [Close].
6 Double-click [User] and check that the
user created in step 4 is displayed.
7 Close the window.
8 Create a new folder on the computer
with the name entered in C-5.
Memo
● It is recommended that the folder be created in the
local drive (C drive or D drive), not on the desktop,
[My Documents], or network drive.
9 Right-click the folder created in step 8
and then select [Sharing].
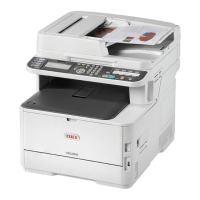
10 Select [Share this folder] and then
click [Permissions].
11 Click [Add].
12 Enter the value in C-2 in the entry eld
and click [OK].
13 Select the [Allow] checkbox for [Full
Control], and then click [OK].
14 Ensure that the icon of the shared folder
created in step 8 changes into the icon
with a hand, and then close the window.
Proceed to “Step 2-4 Creating a Prole for Scan
to Shared Folder” P.74.
For Mac OS X 10.5 to 10.7
1 From the Apple menu, select [System
Preferences].
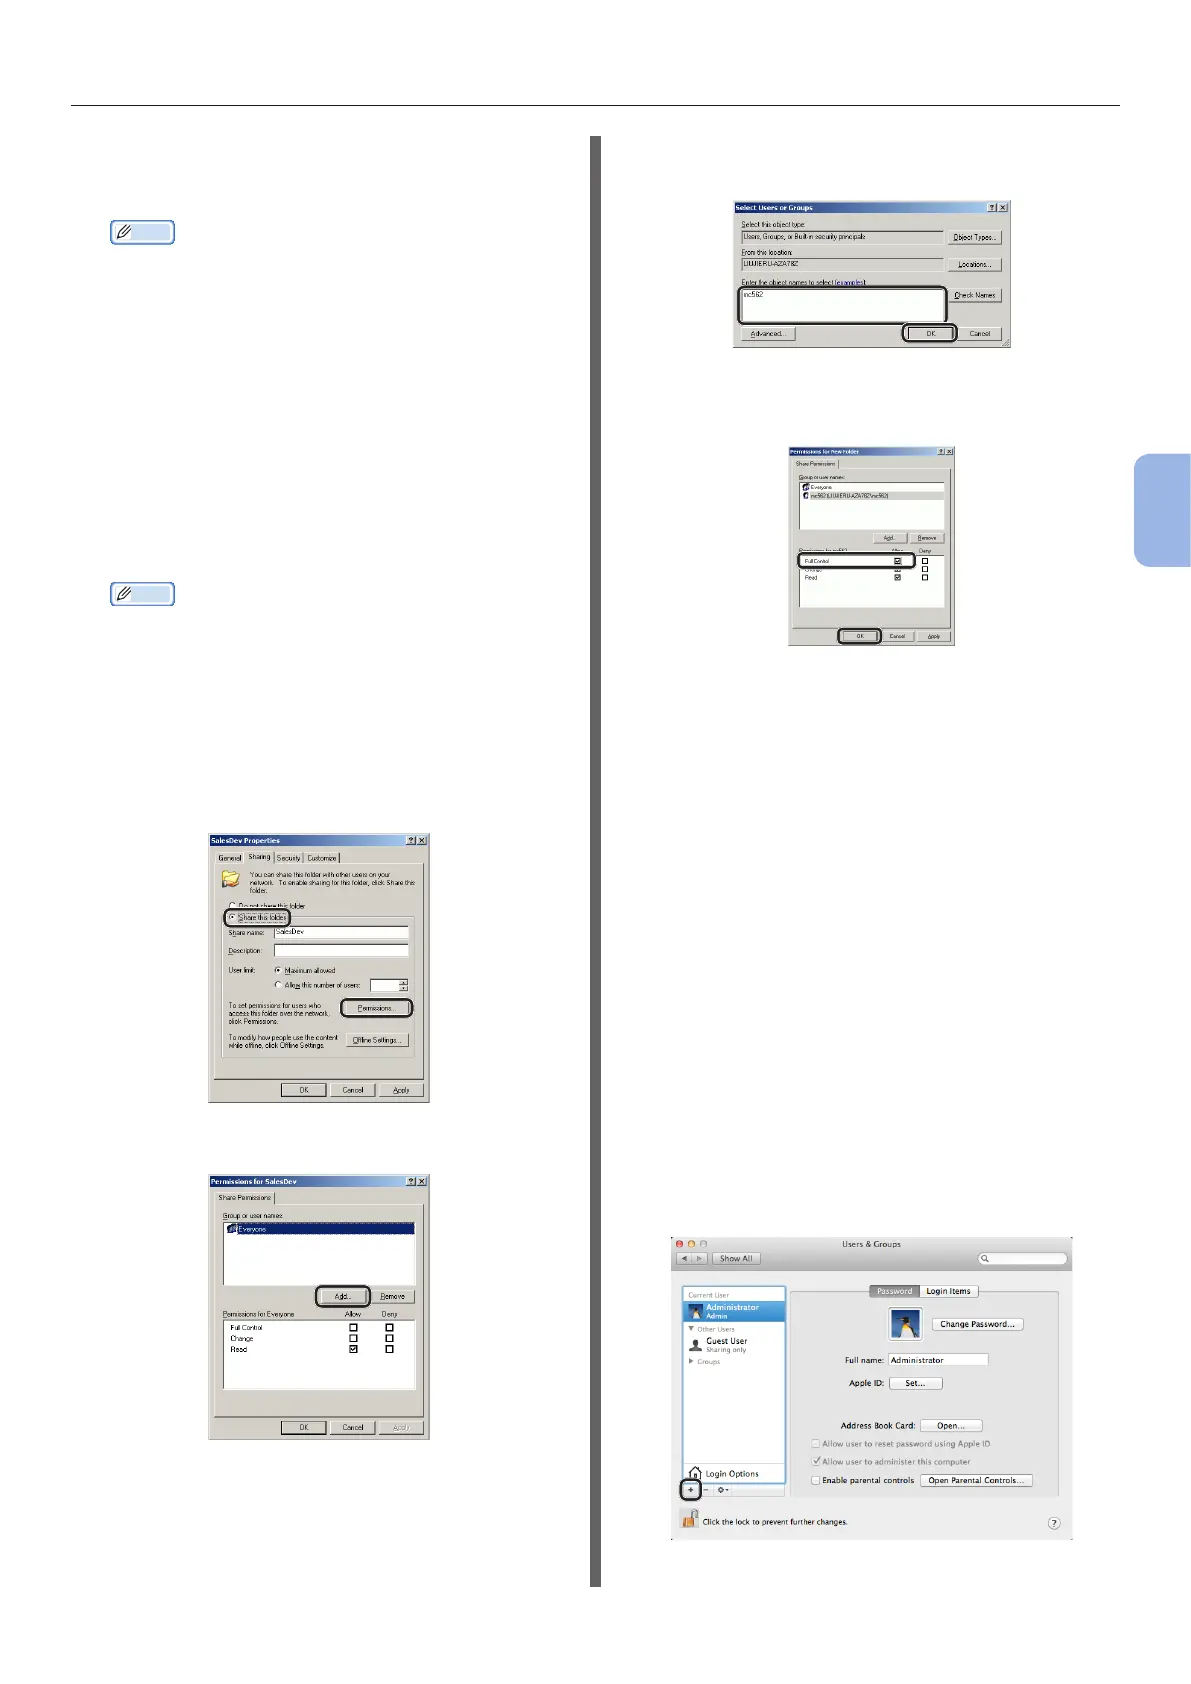
2 Click [Users & Groups] (for Mac OS X
10.5 and 10.6: [Accounts]).
3 Click [Click the lock to make
changes.] at the bottom left of the
screen and enter the administrator’s
password. Then, click [Unlock] (for Mac
OS X 10.5 and 10.6: [OK]).
4 Click [+].

 Loading...