46
5.2.2. Copy
In order to make the programming of ALL CHANNELS less TIME-CONSUMING when the same
programming is required for a number of channels, it is recommended that the “COPY” menu
should be used (see Section IV-2 on Menus) by means of the keypad and the “Programming” key.
Then, the instructions in this menu should simply be followed.
5.3. Calibrations
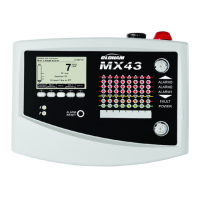
When it is first switched on, with the unit and measuring channels programmed, CALIBRATING
operations must be carried out on the UNIT and the DETECTORS.
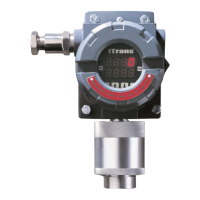
Case 1
Measuring channel connected to a detector with no integrated electronics (explosive gas
detector, CAPTEX, CEX800, CEX810, etc.).
• Prepare the detector for calibration:
- Calibration consists in adjusting the detector ZERO in PURE AIR and its sensitivity to
the STANDARD GAS.
- If the detector zero is set with natural diffusion in pure air, the surrounding atmosphere
must be calm (wind speed of less than 1 m/s).
REMARK
The authorized wind speed is increased to 4.1 m/s when the detector is fitted with a weather
protective device.
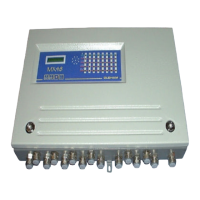
• Prepare the measuring channel for calibration:
- Open and swivel the front panel of the MX48 unit.
- Manually set the channel to be calculated using keys + and - on the MX48 keypad
(item B, Fig. 4).
- Press the CALIBRATION key (item D, Fig. 4).
- At the bottom right-hand side of the display panel, the letter C flashes and the yellow
LED for the relevant channel flashes, indicating that the measuring channel is in the
“CALIBRATION” position.
REMARK
When a measuring channel is in the CALIBRATION position, all the alarm relays are inhibited (in
order to avoid interfering with the slaving control networks) and the corresponding current output is
maintained at 2 mA.
- Turn the sensitivity potentiometer five times in the clockwise direction (using a
screwdriver).
- Adjust the DETECTOR ZERO.