!
!
! !
!
!
OligoMaker+DNA/RNA+Synthesizer+
OligoMaker+ApS!•!Kong!Georgs!Vej!12!•!DK-2000!Frederiksberg!•!Tel:!+45!321!322!00!!
www.oligomaker.com!•!email:!karl@ross.dk! !
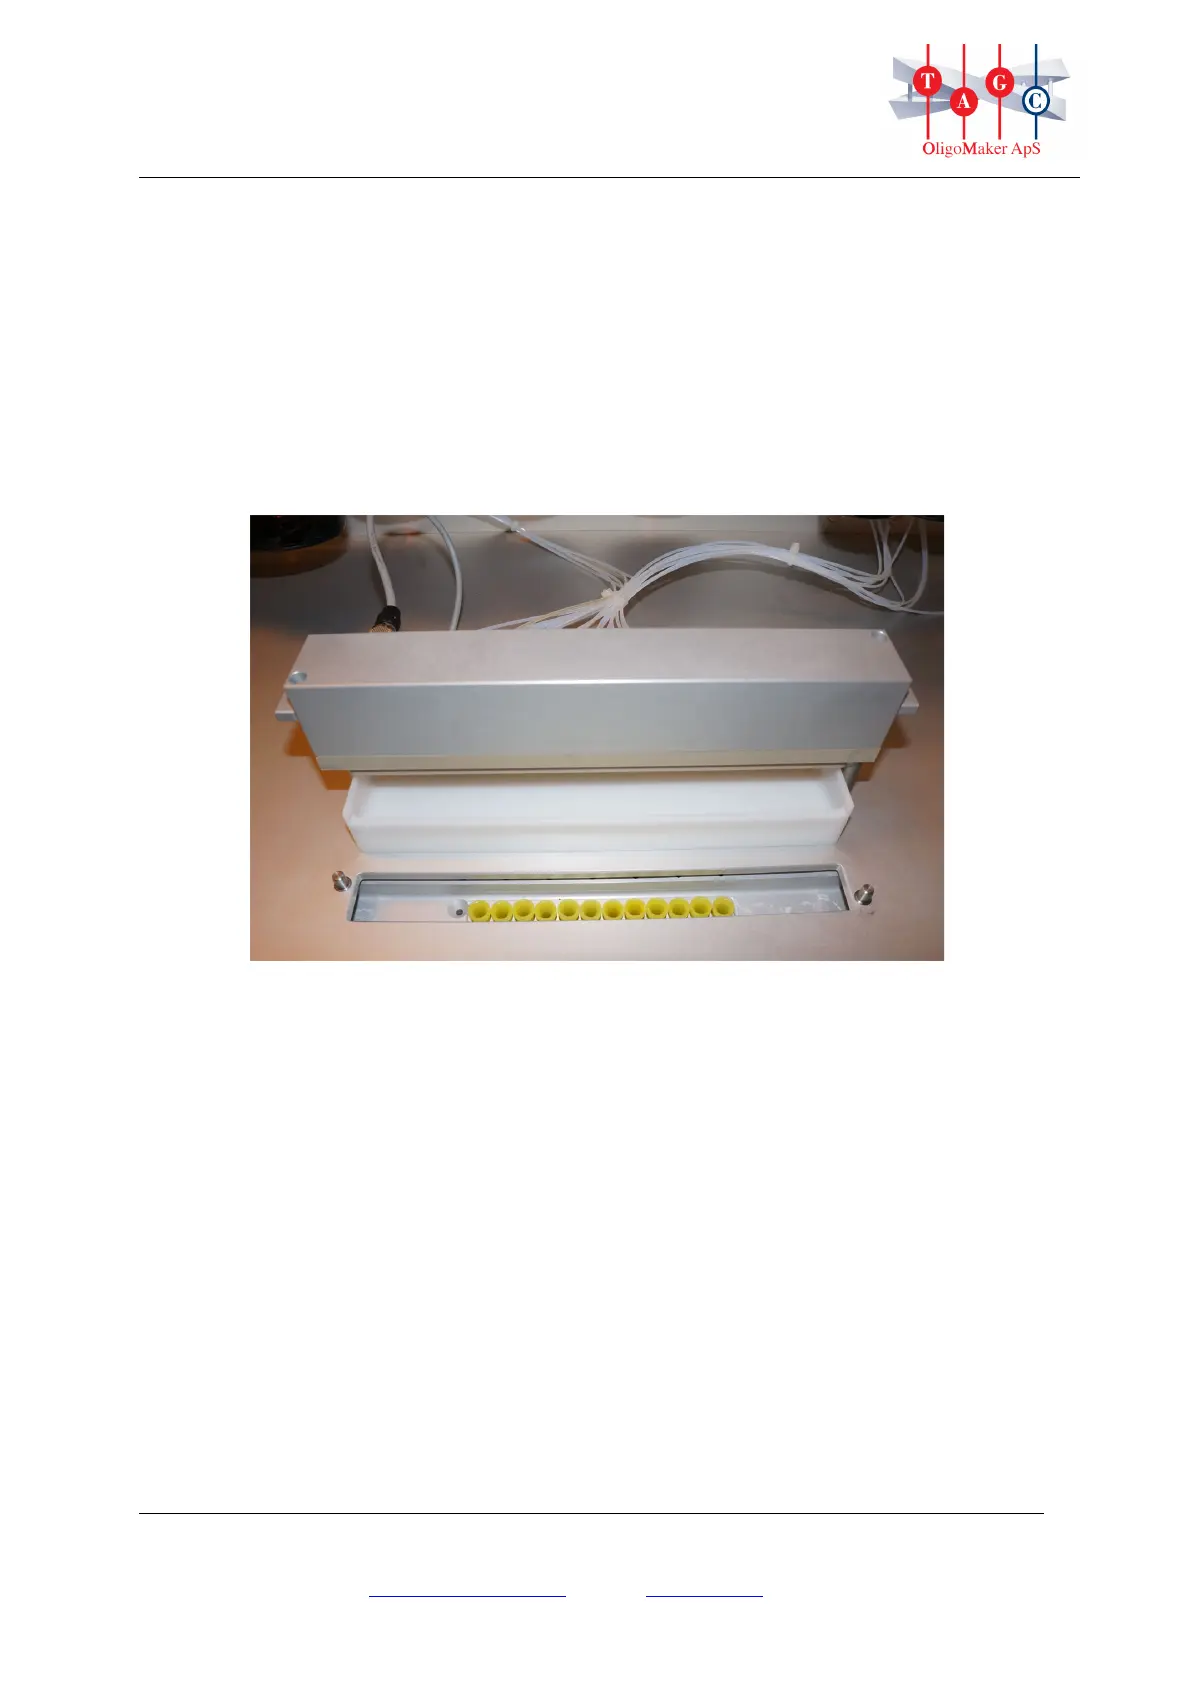
9.3 Priming
The Valve Manifold is placed in the Priming Position. If necessary the reagent tips
(Nozzles) are cleaned with ethyl acetate (or acetone) and a toothbrush. Touch the
button “Prime” on the touch screen. All positions and chemicals are shown on the
display and can be primed manually. Each chemical is shown on the display. Push the
“Prime”-button on the display until a straight beam shows from the reagent tip. It is an
option to push “Prime” and “Prime all”. Pushing the “Quit”-button terminates the
process.
Holder in Priming Position
If the reagent is not supplied during priming, the tube or the valve must be inspected
and if necessary replaced. If the tube is dripping, the valve, or the fitting, must be
inspected and possibly replaced. For other errors contact the supplier.
9.4 Reagent pressure and vacuum test
Before synthesis is initiated the Reaction Block has to be tested for being tight by using
the buttons “Manual Control” and “Pump”. When pushing the “Pump”-button on the
display, a slight whistle noise is heard. The tolerated range for the pressure of the
vacuum is between -0,2 bar and -0,4 bar. The tolerated range for the pressure for
Amidite and special amidite position is between 0,5 bar and 0,6 bar (P1).