33
3
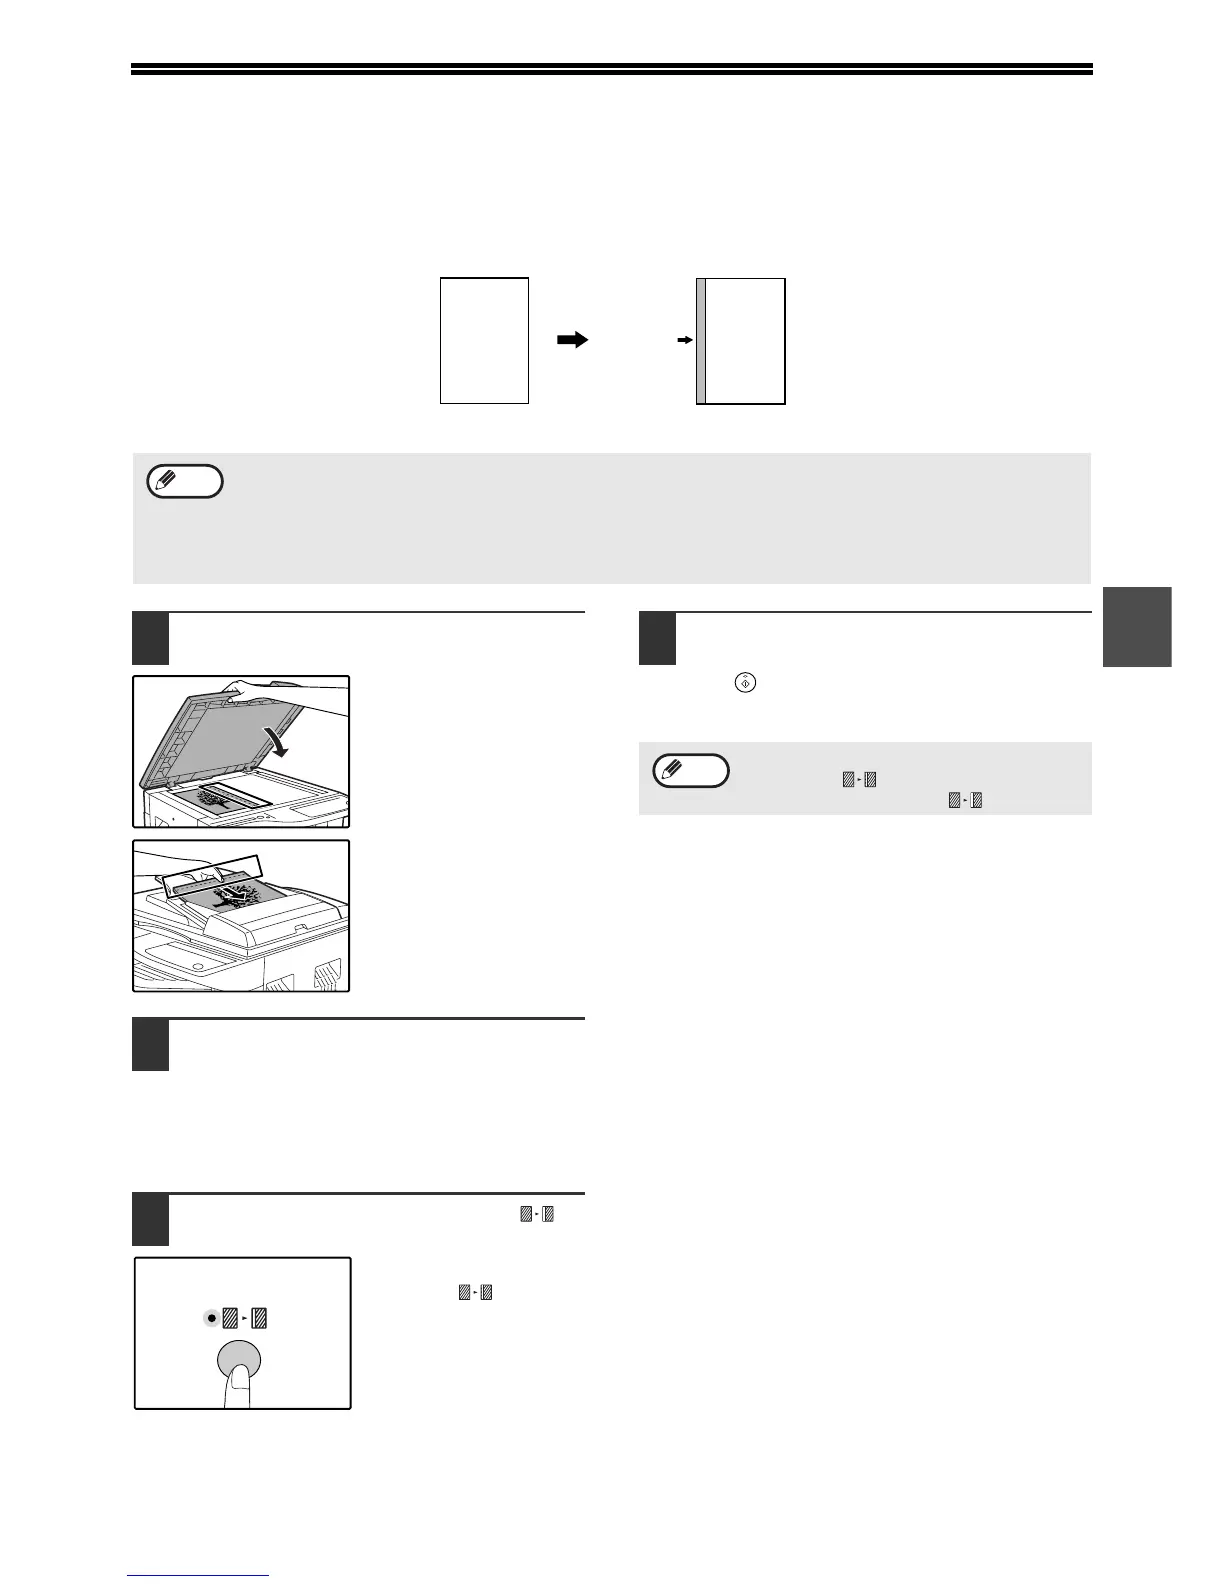
CREATING MARGINS WHEN COPYING
(Margin shift)
The MARGIN SHIFT feature, in its initial setting, automatically shifts the text or image to increase the margin by
approximately 10mm (1/2").
1
Place the original(s).
If you are using the
document glass, place
the side of the original
where you wish to create
the margin on the right.
If you are using the SPF,
place the side of the
original where you wish
to create the margin on
the left.
2
If the original is placed on the
document glass, select the original
size. (p.18)
When using the SPF, make sure that the same
ORIGINAL SIZE indicator as your original size
lights up.
3
Press the [MARGIN SHIFT] key ( ).
The MARGIN SHIFT
indicator ( ) lights up.
4
Set the number of copies and other
settings, and then press the [START]
key ( ).
The copy is delivered to the paper output tray.
A
A
Margin
Original
Left edge
• This feature cannot be used with the 2 IN 1 / 4 IN 1 feature or rotation copy feature.
• The margin width can be changed in the user programs. (p.41)
• Note that a margin is created by shifting the image, and thus if the image is shifted too far, the edge of the image
may be cut off.
• If the ORIGINAL SIZE indicator blinks when margin shift is selected, rotate the original so that it is in the same
orientation as the blinking ORIGINAL SIZE indicator.
Note
1
To cancel margin shift, press the [MARGIN
SHIFT] key ( ) repeatedly until the
MARGIN SHIFT indicator ( ) is off.
Note