Noise
Cancel
Function
Erasing
1
While
the
recorder
is
stopped
or
during
playback,
press
the
MENU
button
for
1
second
or
longer.
2
Press the +
or
- button
to
choose
"Noise
Cancel"
.
3
Press the
OK
or
~I
button.
The noise cancel setup process begins.
4
Press
the
+
or
-
button
to
choose
between
"High""Low"
and
"Off".
If
the recorder goes to the menu screen during
playback, move the cursor to change playback
sound accordingly.
5
Press
the
OK
button
to
complete
the
setup
screen.
6
Press the
STOP
button to close the menu.
The
1m
will appear on the display.
Noise Cancel
is
not available while the Fast
playback/Slow
playback
and
Voice
Filter.
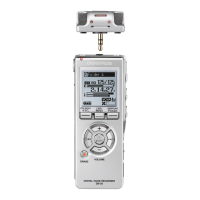
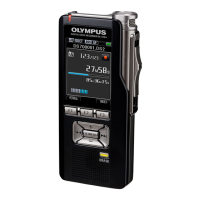
,--6
24
~
l=lr=lJ
~
fii~
1
(~m)
~
,
~~
~-
'V/
I~
3
IlJFolder A
011
21
~
DO"
00.
05500001
@+-11lI
"'Ii
6ft!
~
®
Noise
Cancel
indicator
IlJFolder A
1
Press the
FOLDER
button
to
choose
a
folder.
2
Press the +
or
-
button
to
choose
the
file you
want
to
erase.
3
Press the
ERASE
button.
The "Cancel" indicator flashes.
4Press the +
button
to
choose
"Erase".
5
Press the
OK
button.
The display
changes
to "File Erase!" and
erasing will start."Erase Done"
is
displayed
when the file
is
erased. File numbers will
be
reassigned automatically.
You
can erase all files
in
the folder. Refer
to
the
Reference Manual for more information.