40
EN
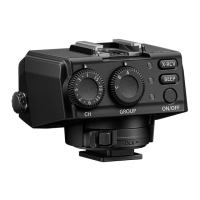
Attaching the fl ash to the camera Attaching the fl ash to the camera
x
Make sure that both the fl ash and the camera are turned off.
x
Dirt or moisture on the electrical contacts may cause a malfunction. Wipe off any
dirt or moisture before you attach the fl ash to the camera.
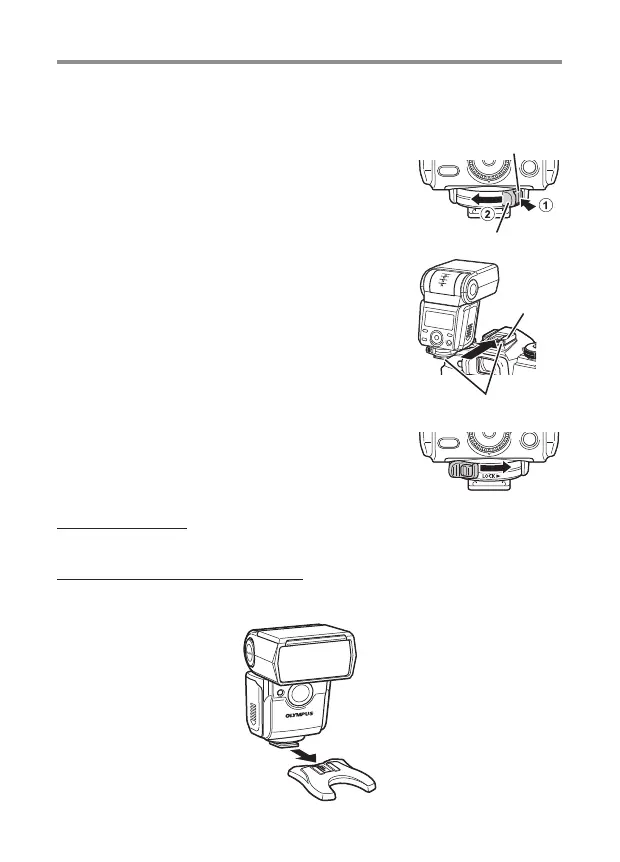
1
Hold down the latch release button (
1
), and slide
the latch in the direction of the arrow (
2
).
Latch release button
Latch
2
Insert the fl ash all the way into the hot shoe.
Hot shoe
Electrical contacts
3
Slide the latch in the direction of the arrow.
Removing the fl ash
Perform Step 1 of the above procedure and remove the fl ash from the hot shoe.
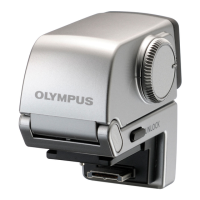
Attaching the fl ash to the fl ash stand
To attach the fl ash to the fl ash stand, follow the same procedure as “Attaching
the fl ash to the camera.”