2 Rotate the nut of the optical adapter clockwise until the
connecting screw thread passes over the first screw thread.
3 After passing the first screw thread, rotate the entire main body of
the optical adapter clockwise while pushing gently until the optical
adapter main body fits into the positioning groove of the insertion
tube and stops rotating anymore.
4 Rotate the nut of the optical adapter clockwise to attach the
connecting screw thread to the second screw thread. Tighten the
nut until it stops completely.
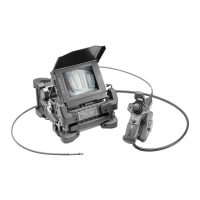
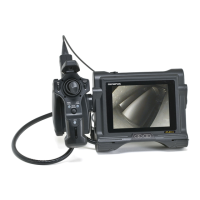
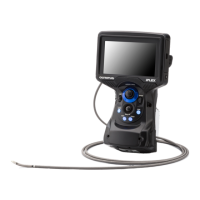
Optical adapter (main unit)
NOTE
●
If using the stereo optical adapter, please refer to the instruction manual of IPLEX G Lite.
4. Turning ON the power
Press the [POWER] button ( ) of the main unit for about 1.5 to 2
seconds. The 4 buttons light up and the power turns on. The light
automatically turns on when the power is turned on.
The display screen and menu operations become enabled approx.
10 seconds after the [POWER] button ( ) is pressed.
5. Selecting an optical adapter
A list of optical adapters is displayed when the power is turned on.
Select the optical adapter to use, and press the [MEAS/OK]
joystick.
3
Setup is now complete.
 Loading...