3-16
OEP-3 V1 (UC)
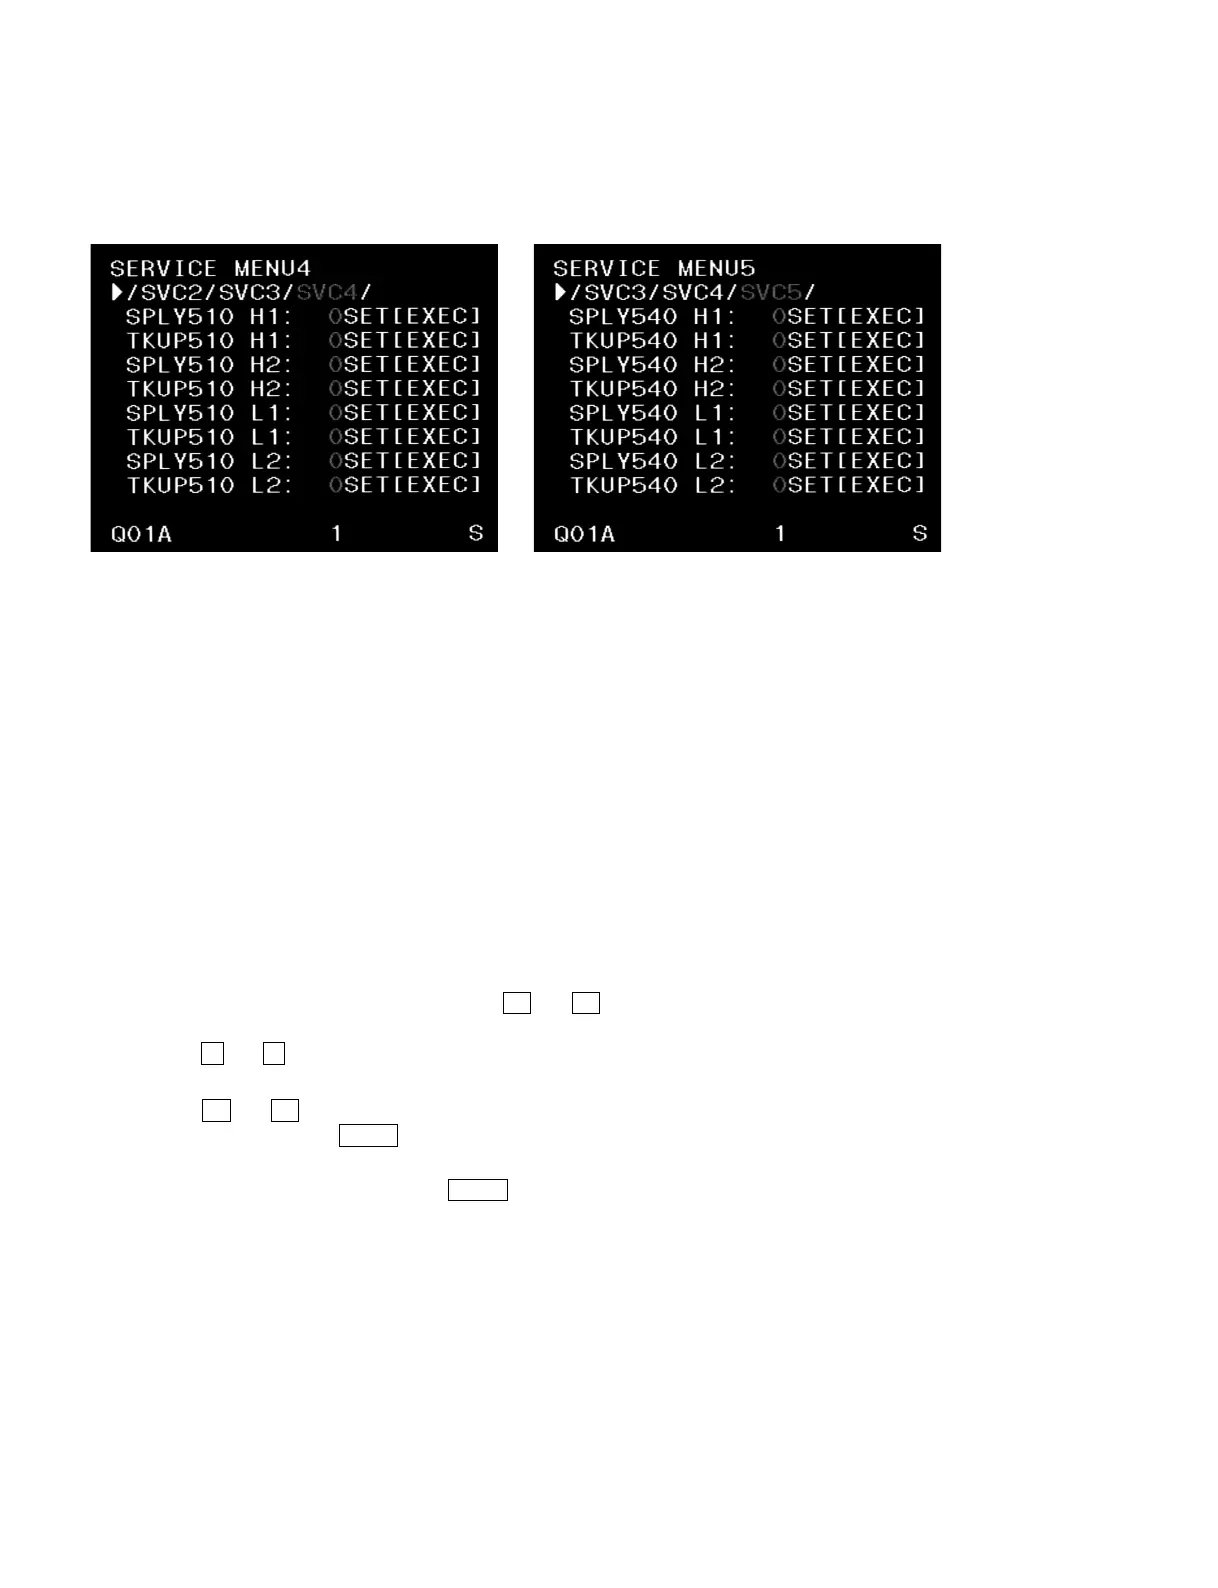
3-5-1. Ribbon Tension Adjustment Menu
[Service menu 4] [Service menu 5]
Description of display terms
SPLY: Ribbon supply
TKUP: Ribbon take-up
510: UPC510 (Standard media)
540: UPC540 (Lamination media)
H1: Speed print (1, 4, or 16 division mode)
H2: Speed print (2 or 8 division mode)
L1: Normal print (1, 4, or 16 division mode)
L2: Normal print (2 or 8 division mode)
(Example) SPLY510 H1: Indicates the “speed print (1, 4, or 16 division mode) adjustment of “UPC510
media” in a “ribbon supply”.
3-5-2. Adjusting the Ribbon Tension
1. Set the power switch to ON while pressing the ← and → keys simultaneously. The printer then
enters the service mode.
2. Press the ↑ and ↓ keys to move the cursor to the item to be adjusted in “SERVICE MENU4” (or
5).
3. Press the ← and → keys to increase or decrease a parameter. (The voltage increases or decreases
proportionally.) Press the EXEC key to define the voltage.
n
The parameter is not reflected when the EXEC key is not pressed.
4. Check the printing.
Standard of adjustment
Creases appear: Decrease the SPLY value and increase the TKUP value.
Spots appear: Increase the SPLY value.
Color shading occurs: Decrease the TKUP value.
Ribbon is caught: Increase the TKUP value.