4
Press the PRINT button.
The printout pops out on the paper cover.
The printing time depends on the type of paper and printer settings.
Notes
• Do not turn off the power during printing.
If you do so, paper may not be ejected and may jam in the printer.
• Do not pull the paper from the paper cover until printing has been completed.
• Do not leave more than 10 sheets of printouts on the paper cover. Doing so may
cause a paper jam.
• You can not change the printer application mode or settings on the WINDOW
SETUP menu during printing.
To stop printing
When you make one printout, you can not stop printing midway. Wait until a
printout pops out on the paper cover.
When you make multiple copies, reset the printout quantity to 1 while the first
copy is being printed. (See
“Making Multiple Copies of Identical Printouts
” on
page 28.)
If the printer does not print
The printer will fail to print in the following cases:
• While an error message is displayed on the video monitor screen and printer
window display.
— Proceed as described in
“Error/Warning Messages
” on page 134.
• When an image has not been stored in memory.
— Image data stored in memory is lost if you turn off the power. Capture the
image into memory again, then press the PRINT button.
To make a printout at high speed
Set PRN SPEED to HIGH in the PRINTER SETUP menu. (See page 35.)
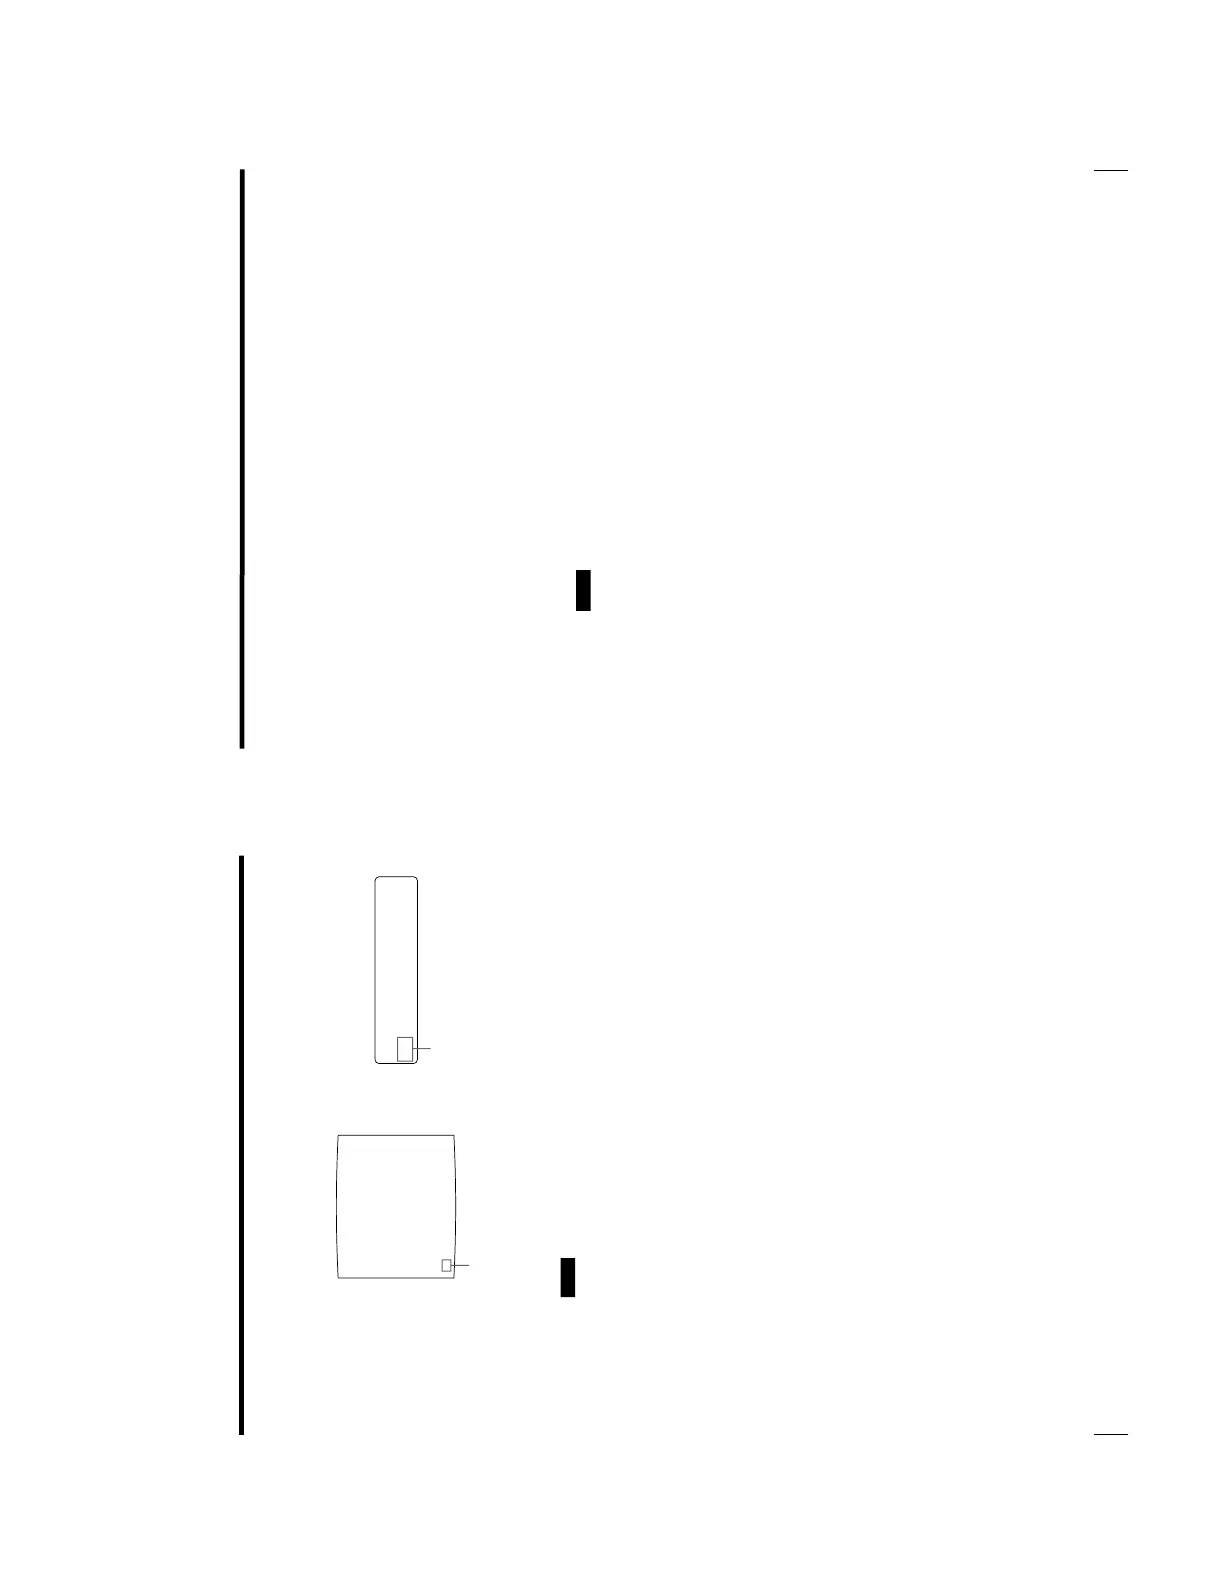
Blinks while printing
Changes as follows during printing:
Start printing t yellow t magenta t cyan
t printing ends
The color which is currently being printed is
displayed. This indication changes as printing
progress.
25
Operation
When you want to see an image that is hidden below a screen
message
You can erase the screen message (such as Q1, A and so on) from the video
monitor screen by pressing the DISPLAY button. The screen message disappears.
To display a screen message, press the DISPLAY button again. (See
“Erasing the
Screen Display on the Video Monitor
” on page 73.) You can also erase the
information about ink ribbon and paper by pressing the RIBBON REMAIN button.
(See “Displaying the Type and Remaining Amount of the Ink Ribbon
” on page 74.)
If a black line appears on the printout
Sometimes, a black line appears on the printout, although it does not appear on the
video monitor. This black line can be eliminated from the printout. (See
“Changing
the Printout Size/Printout Area
” page 101.)
If the color quality of printouts is not satisfactory
You can obtain the satisfactory color quality of printout by compensating for the
input signal and/or adjust the color quality of the printouts. (See
“Compensating for
the Input Signals
” on page 85, and “Adjusting the Printout Color
”on page 93.)
Notes
When storing your printouts:
• Avoid storing the printout in a location subject to high temperatures, high
humidity, excessive dust or direct sunlight.
• Do not stick tape on a printout. Also, avoid leaving a plastic eraser on a printout
or placing a printout in contact with materials which contain plasticizer (under a
desk mat, for example).
• Do not allow alcohol or other volatile organic solvents to come into contact with
the printouts.