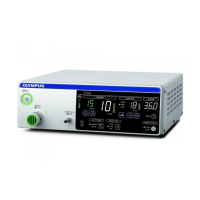
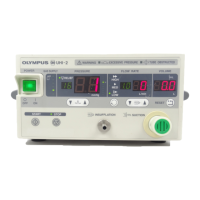
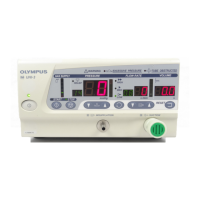
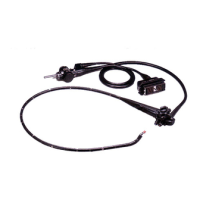
UES-40
ISSUE4 3-13 Disassembly and Reassembly Procedure
2-2-3 FRONT PANEL UNIT disassembly
(1) Remove the 7 SCREWS (CUKSK3x6SZ)
holding the FRONT CHASSIS, and remove
the FRONT CHASSIS.
Phillips screwdriver (No. 2)
Note: During reassembly, thread each of the
3 HARNESSES through the FRONT
CHASSIS holes.
(2) Remove the pushbutton switch from the
FRONT CHASSIS.
Note: During reassembly, insert the pushbut-
ton switch until you feel a click.
(3) Detach the E23 HARNESS from the J2 con-
nector of UPHF40EX00U (relay board), and
the E23F CABLE from the J1 connector.
FRONT PANEL
UNIT
FRONT CHASSIS
CUKSK3x6SZ
7 SCREWS
Pushbutton
switch
FRONT CHASSIS
UPHF40EX00U
(relay board)
E23 HARNESS
E23F CABLE
J2
J1
CORE
 Loading...