3
.·
Press the
OK
button to complete the setup screen.
. The clock will start from the set date and time. Press the OK button according
to the time signal.
Press the
STOP
button to close the menu.
• If you press the
OK
button during the setup operation, the recorder will save the items that were
set
to
that
point.
Changing the Time/Date
Press and hold the STOP button while this recorder
is
in
stop mode to display the
"Time
&Date". If the "Time &Date" is not correct, set it using the procedure below.
Time & Date
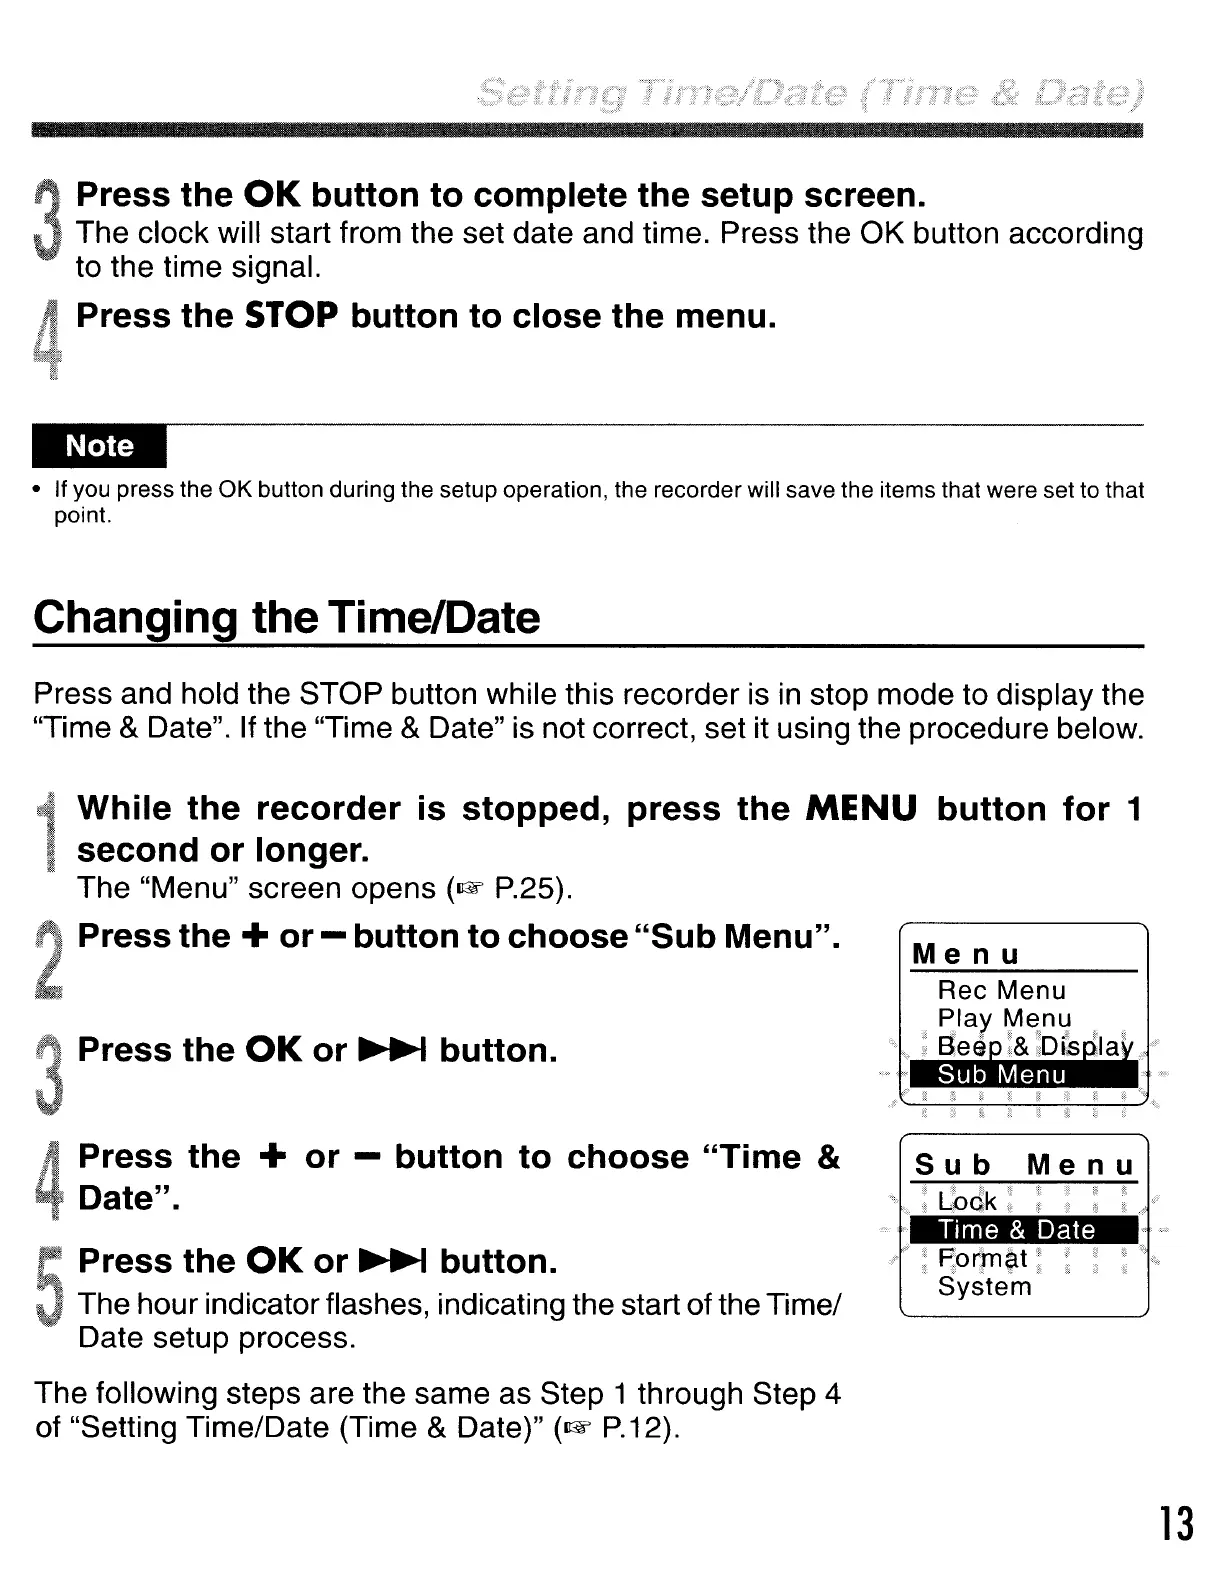
Sub
Menu
i Lbdk;
Menu
" "
Porm?lt
?
System
Press the + or - button to choose "Time &
Date".
Press the
OK
or
~
button.
While the recorder is stopped, press the
MENU button for 1
second or longer.
The "Menu" screen opens
(row
P.25).
Press the + or - button to choose"Sub Menu".
Press the
OK
or
~
button.
The hour indicator flashes, indicating the start of the Time/
Date setup process.
The following steps are the same as Step 1 through Step 4
of "Setting Time/Date (Time
& Date)"
(row
P.12).
13