8. MOVE the
selector switch
to the center
OFF position.
9. SWITCH off
the wall outlet
socket.
10. REMOVE
the wall power
supply from the
wall socket.
11. REMOVE the wall power supply connector
from the Omnilux clear-U.
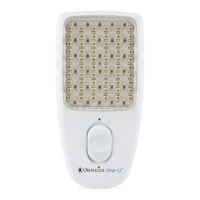
12. CLEAN the transparent lens of the Omnilux
clear-U with a damp (not wet) cloth or an
isopropyl alcohol wipe.
13. PLACE the Omnilux clear-U and the wall
power supply in a safe storage area.
PAGE 13
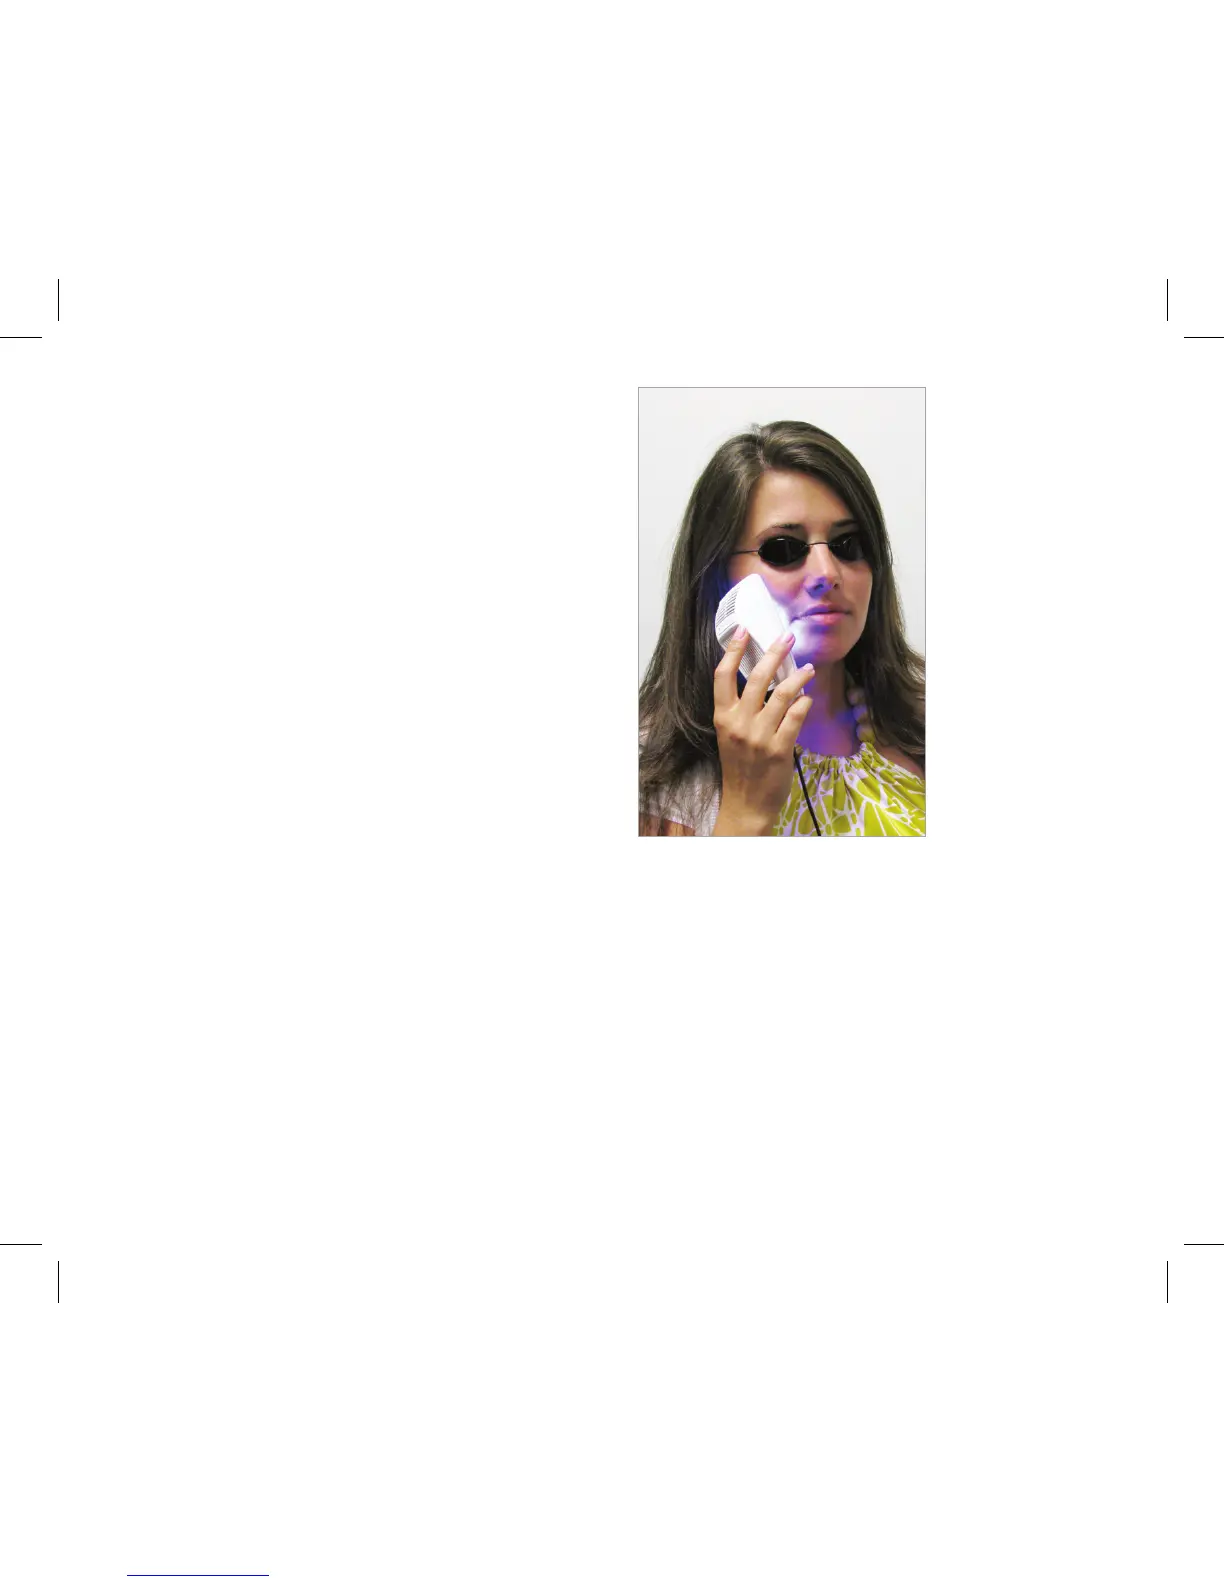
How to use the Omnilux clear-U
Before a treatment session ALWAYS wash the skin
with a suitable skin cleanser to remove all product
residues, pollutants, and any traces of make-up.
This will make sure that all the light from the
Omnilux clear-U reaches the skin.
1. ALWAYS switch the wall outlet socket off. If
you do not switch the outlet off there is a risk
that you may touch a live pin when plugging
the Wall Power Supply into the outlet.
2. PLUG the power supply mains cable into the
wall outlet socket.
3. PLUG the power supply connector into the
Omnilux clear-U.
4. SWITCH the wall outlet socket on.
5. OPERATE the selector switch on the front of
the Omnilux clear-U to turn on the correct
color LEDs for the treatment session.
(See ‘Treatment Recommendations’).
6. PLACE the transparent lens of the Omnilux
clear-U in contact with the treatment area.
7. REMOVE the Omnilux clear-U from the
affected area after the correct treatment time.
(See ‘Treatment Recommendations’).