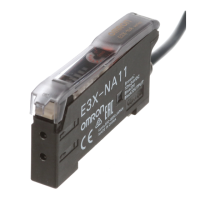
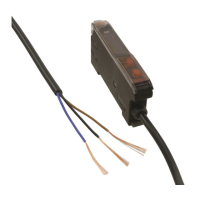
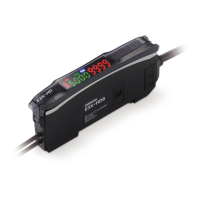
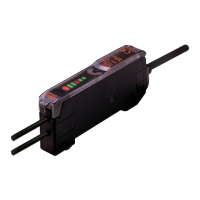
E3X-NH
E3X-NH
15
J ATTACHMENT UNITS
Applications
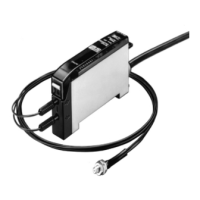
E39-F10 Fiber Connector
Use the following procedure (refer to the figure) to connect fibers
via the Fiber Connector.
Splice
Retention unit
Retention unit
Fiber Unit
Each Fiber Unit should be as close as possible before they are
connected.
Sensing distance will be reduced by approximately 25% when
fibers are connected.
Only fibers with a 2.2-mm dia. can be connected. (Refer to page
NO TAG for applicable Fiber Units.)
Protective Spiral Tube
Insert a fiber to the Protective Spiral Tube from the head
connector side (threaded) of the tube.
Fiber Unit
Protective spiral
tube
Push the fiber into the Protective Spiral Tube. The tube should be
straight so that the fiber is not twisted when inserted. Then turn
the end cap of the spiral tube.
Protective spiral
tube
Fiber Unit
Secure the Protective Spiral Tube on a suitable place with the
attached nut.
Mounting panel
Hexagon clamping nut
Fiber Unit
Toothed washerProtective spiral
tube
Use the attached saddle to secure the end cap of the Protective
Spiral Tube. To secure the Protective Spiral Tube at a position
other than the end cap, apply tape to the tube so that the portion
becomes thicker in diameter.
Saddle
End cap
Tube
J AMPLIFIER UNITS
Mounting
1. Mount the front part (see #1) to the mounting bracket (attach-
ment)oronaDINrail.
2. Press the back part (see #2) onto the mounting bracket or
onto the DIN rail.
Note: DO NOT mount the back part on the mounting bracket or
the DIN rail first and then mount the front part on the mount-
ing bracket on the DIN rail. This could decrease the mount-
ing strength of the Amplifier Unit.
(1)
(2)
DIN Rail
Removal
You can remove the Amplifier in one easy step:
1. Press the Amplifier Unit in direction (A) and lift the fiber inser-
tion part in direction (B) as shown here
(B)
(A)
DIN Rail
 Loading...