Adjust the meter settings to set the clock, ensuring that results stored in
the memory are shown with the correct date and time. You can also turn
the meter audio feature on or off. You need to adjust the meter settings
before you first use your meter.
You will need to set the clock settings after replacing the battery.
1. Press the S button to enter the meter setup mode. The meter will
automatically enter the setup mode when turned on for the first time
by any method.
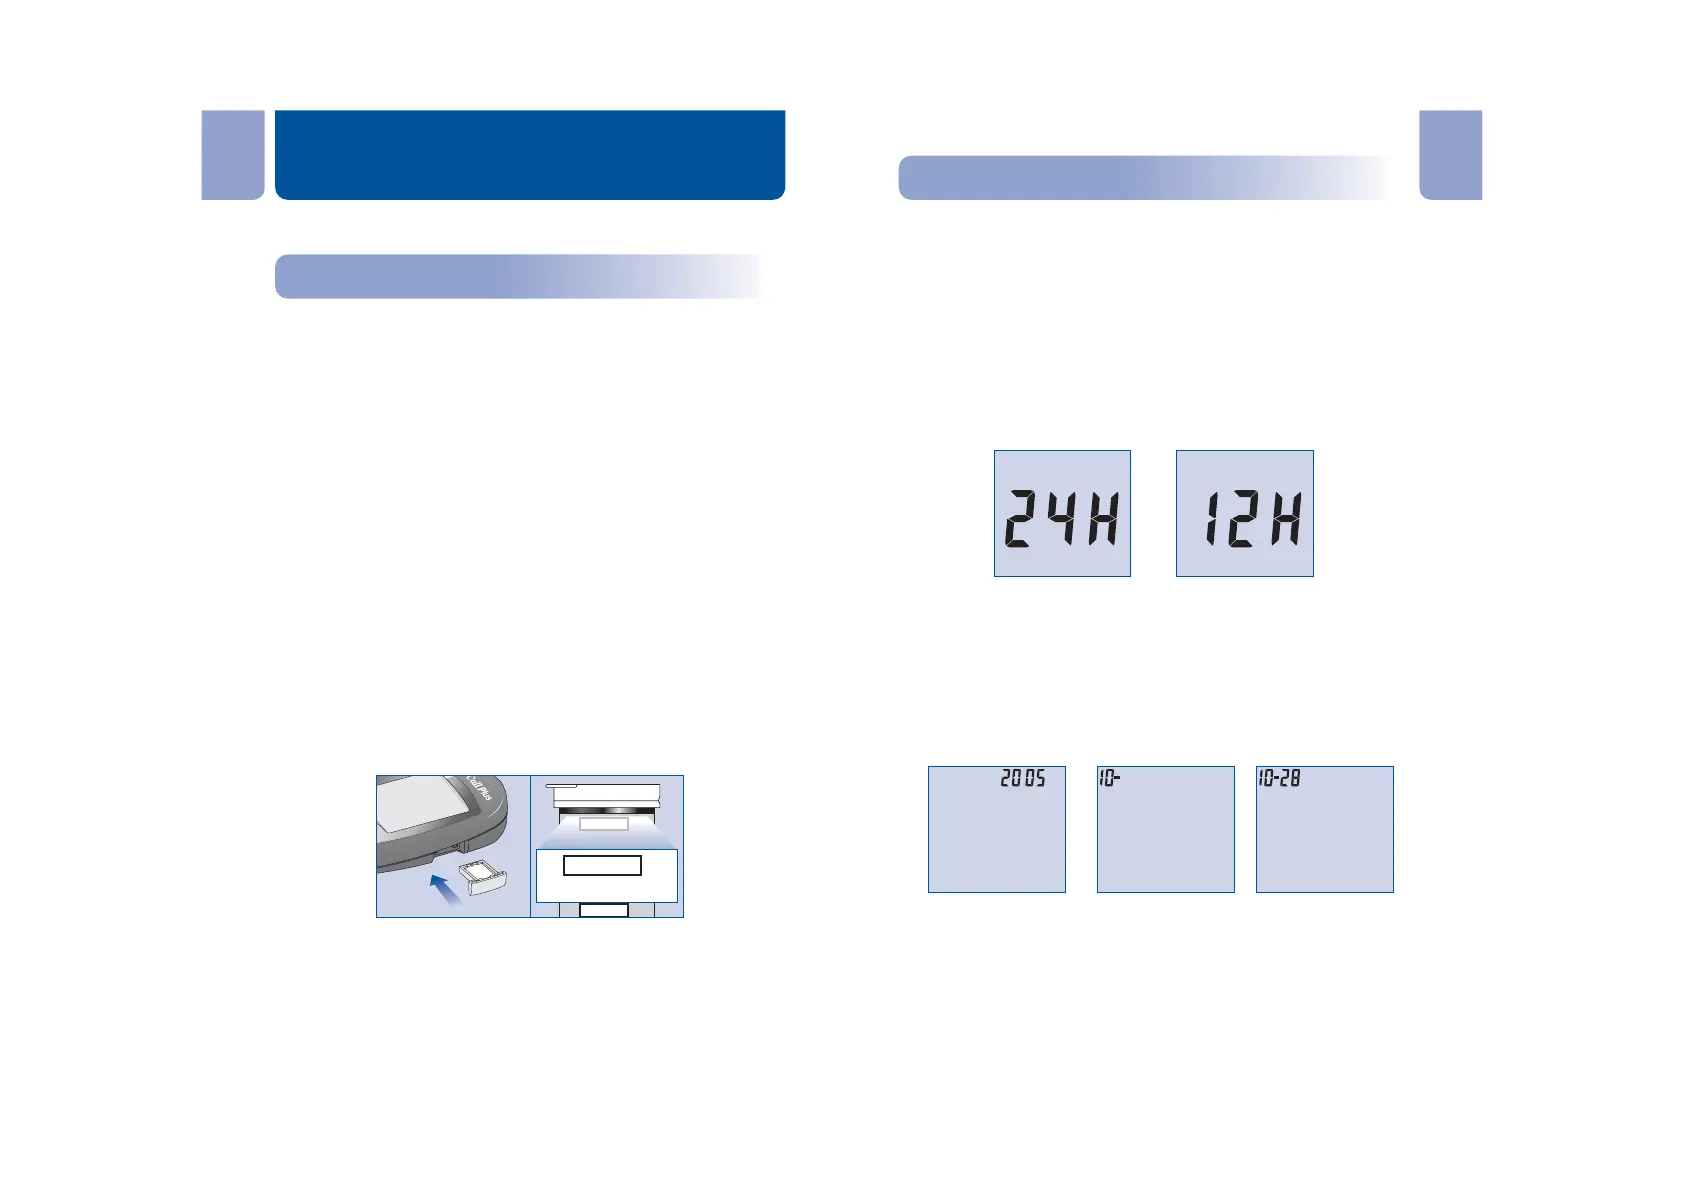
2. First, set the clock for either 12 or 24 hour mode. Press the M
button to switch between the two settings, then press the S button
to save your choice and start setting the year, month and date.
3. The year will appear at the top of the display. Press the M button
until the correct year is displayed. Once you have selected the
correct year, press the S button to save your choice and start
setting the month. Press the M button until the correct month is
displayed, then press the S button to save your choice and start
setting the date. Press the M button until the correct date is
displayed, then press the S button to save your choice and start
setting the time.
4. The hour will appear at the top of the display. Adjust the hour with
the M button until the correct hour is displayed. Press the S button
to save your choice and set the minutes. Press the M button to
change to the correct minute. Press the S button to save your
choice and move to set the audio feature.
Step 2 - Adjusting the Meter SettingsStep 2 - Adjusting the Meter Settings
OR
Year Month Date
11 12
En En
Before testing, the following steps should be followed:
Simply insert the code chip to code the meter. Every time you change to
a new box of test strips, you need to insert the code chip packed with
the new box of test strips. You can see the code number appears on the
meter. Make sure this number matches the code number printed on the
test strip vial label (or on the foil pouch) and the number printed on the
code chip.
You can easily find a code chip in your starter kit box. This code chip is
used with the test strip packed in your carrying case when you first
open the carrying case. If there is already one code chip inserted,
remove it and insert the new code chip.
1. Take the code chip from the test strip box. Compare the code
number on the code chip with the code number printed on the test
strip vial label (or on the foil pouch). If the two numbers are not
identical, you may get inaccurate results. If the code number on the
code chip does not match the number on the vial or foil pouch of
strips with which it was packaged, please contact Customer
Support at 1-800-838-9502.
2. With your meter turned off, insert the new code chip into the code
chip slot of the meter. It should easily snap into place. The code
chip should remain in the meter, do not take it out until you change
to another new box of test strips.
Note: If a test strip is inserted and no strip code is stored in memory, the
display will flash "- - - CODE".
Meter Setup Before Testing
Step 1 - Coding the MeterStep 1 - Coding the Meter
CTRL 2
CODE
135
CODE
135
135