Plus
Meter
en Sangre
lucose
Glucosa
Chip
Codificador
oratories, Inc.
sa RimRoad,
CA92121, USA
ort: 1-800-838-9502
iagnostic use only.
27 28
En En
Extreme caution should be used when clearing the memory. This is not
a reversible operation. To clear the memory:
1. With the meter powered off, press and hold
the M button for three seconds. This will turn
on the meter and enter the delete mode.
2. To clear the memory, press and hold both the
M and S buttons for two seconds.
3. The display will show "MEM" and "---", the
meter will clear its memory and after a
moment turn itself off.
4. If you entered the delete mode but want to
exit without deleting the recorded data, press
the S button. This will turn the meter off
without deleting any data.
MEM
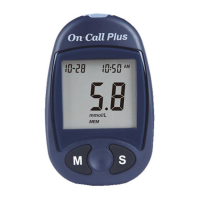
5. While in memory mode, press the M button to switch between the 7,
14 and 30 day averages. The meter will calculate the average that
you selected. The number of records used in the DAY AVG will also
appear in the display.
6. If there are fewer than 7, 14 or 30 days in memory, all the unmarked
readings currently stored in memory will be averaged instead.
If you are using the meter for the very first time, no value will appear
on the display. This means that no records have been stored in
memory.
7. Press the S button to turn off the display.
Note: Results from quality control tests will not be included in the
averages. When viewing results in memory, these values are
marked with a pound sign (#) to show that they will not be included
in the 7, 14 and 30 day averages.
mg
dL
l
Clearing the MemoryClearing the Memory
Proper maintenance is recommended for best results.
When the battery icon ( ) appears, it means the battery is running low
and you should replace the battery as soon as possible. An "E-6" error
message will appear if the battery is too low to perform any more blood
glucose tests. The meter will not function until the battery is replaced.
Instructions:
1. Make sure the meter is off before removing
the battery.
2. Pull the battery carrier on the left side of the
meter. The battery carrier should be easily
opened with you finger.
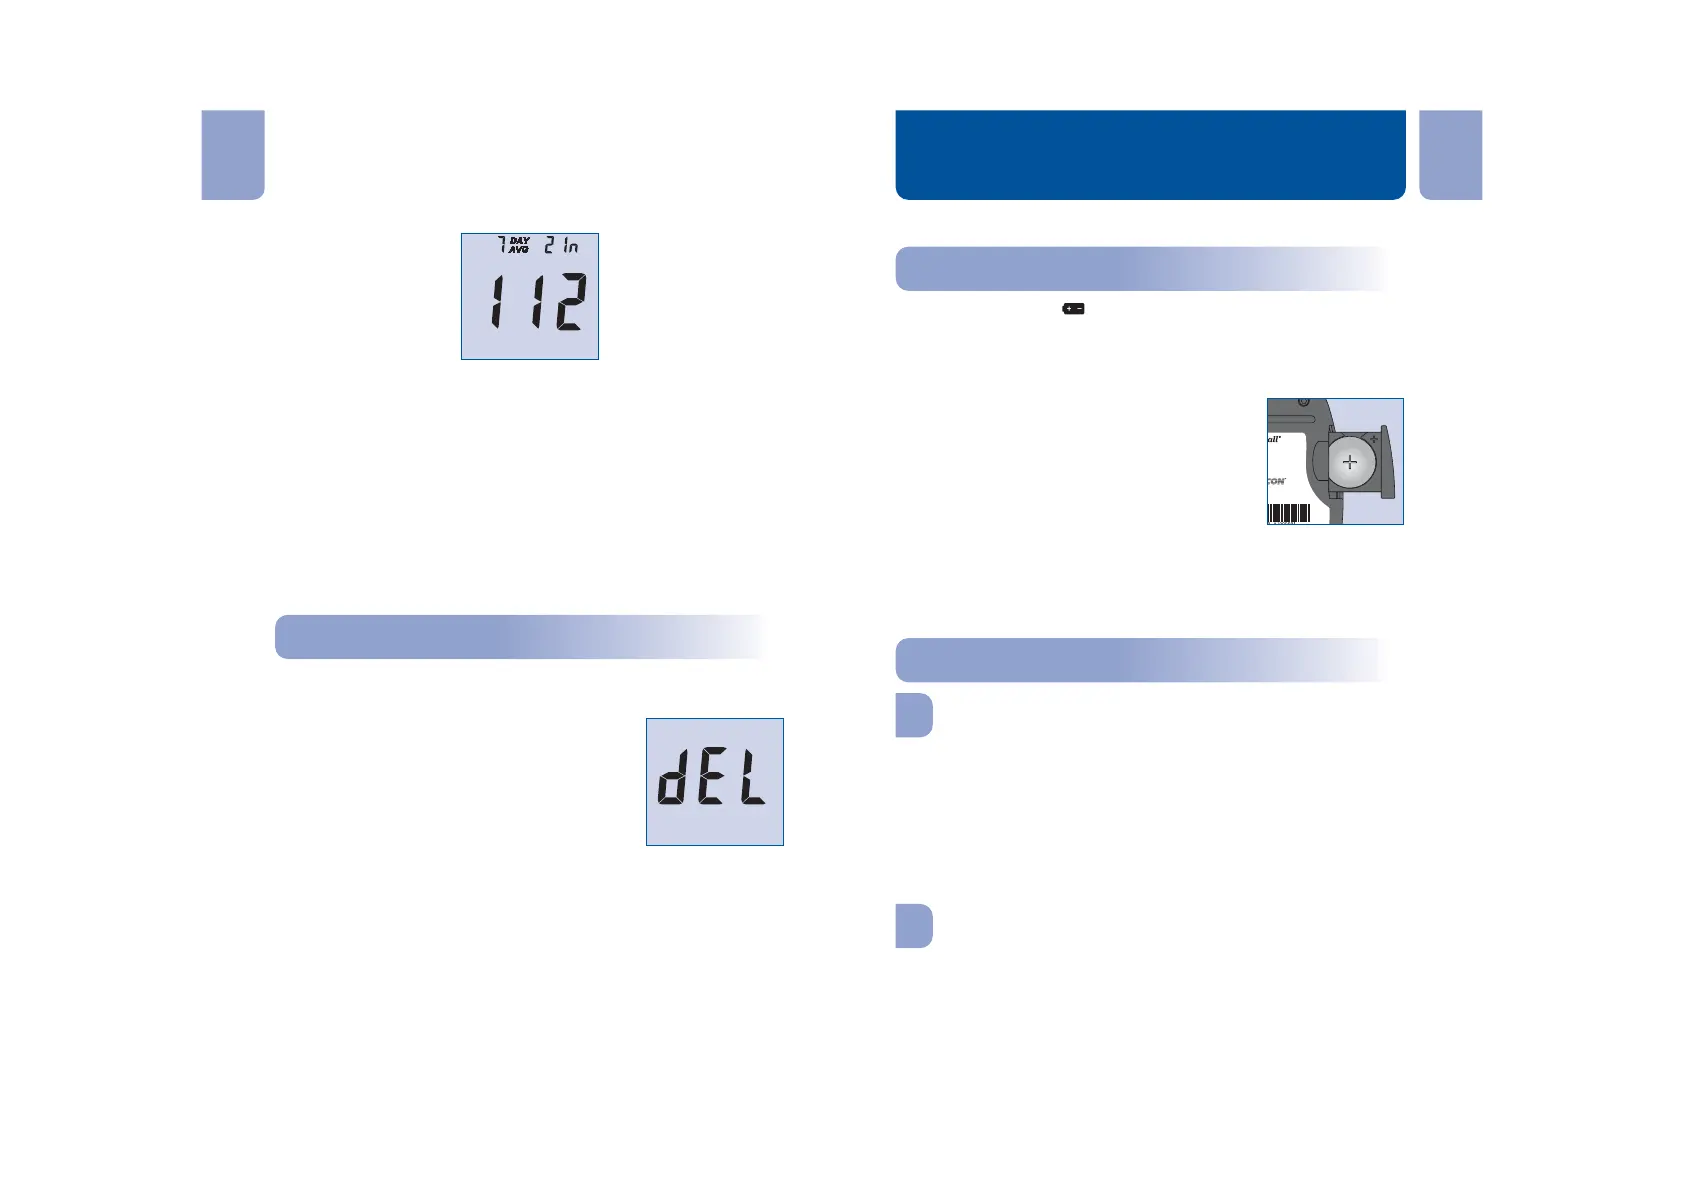
3. Remove and discard the old battery. Replace
it with a new CR 2032 3.0V coin cell battery.
Make sure it is aligned with the (+) side
facing up in the battery carrier.
4. Close the battery carrier and make sure that it snaps shut.
5. Recheck and reset the clock setting as necessary after battery
replacement to ensure time is set correctly. To set the meter clock,
see on page 11.
Your Blood Glucose Meter does not require special
maintenance or cleaning. A cloth dampened with water and a mild
detergent solution can be used to wipe the outside of the meter. Take
care to avoid getting liquids, dirt, blood or control solution into the meter
through the strip or data ports. It is recommended that you store the
meter in the carrying case after each use.
The is a precision electronic
instrument. Please handle it with care.
Use mild soap and warm water to clean with a soft cloth as required.
Carefully dry the device thoroughly. Do not immerse the lancing device.
Please refer to the lancing device insert for more details.
Meter Setup Before Testing
On Call Plus
On Call Plus
®
®
Blood Glucose Meter
Maintenance
Blood Glucose Meter
Lancing Device
Replacing the BatteryReplacing the Battery
Caring for Your
Blood
Glucose Monitoring System
On
Call Plus
®
Caring for Your
Blood Glucose Monitoring System
On Call Plus
®