DV-SP500
SERVICE PROCEDURES-2
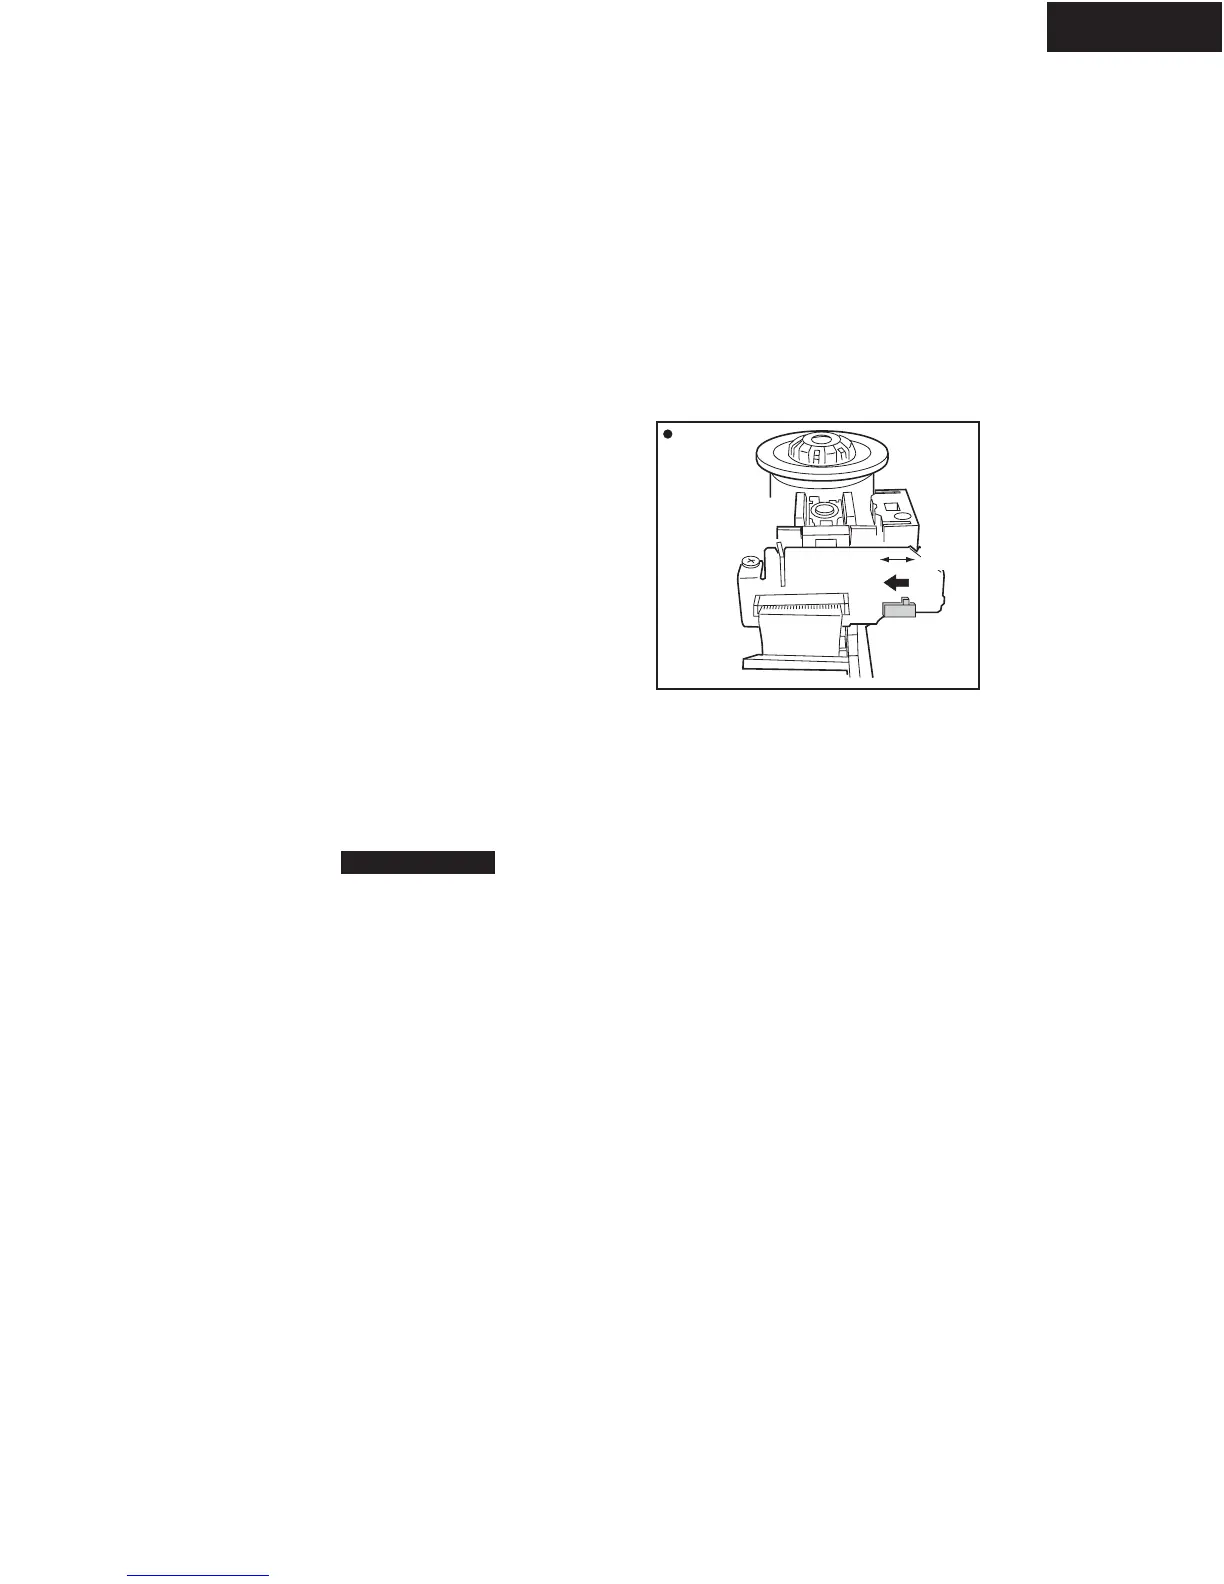
4. Remove the solder of Laser Diode shorting
1-1 Connect Pickup and DVD main circuit PC board by FFC(3 pcs).
1-2 Fix it with the DVD Mechanism
1-3 Remove the solder of Laser Diode shorting on Pickup.
1-4 Connect total unit of DVD Mechanism (DVD Main PCB + Mechanism) to output terminal.
5. Key check mode
Press the [STOP] and [SKIP UP] keys at the same time .
FL display light up, and check the FL display. (about 2 second)
To cancel this process, Please press the [STOP] and [DISPLAY] keys at the same time again.
6. Factory setting (Initial setting)
3-1 Push the power switch "ON" (Mechanical switch)
3-2 Press the [STOP] and [STANDBY ON] keys at same time, and
it waits until the display of FL tube will be the display of "No Disc" from "Loading".
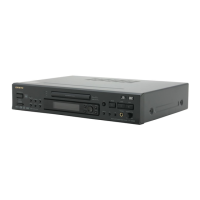
Rear View
Short
DVDM Assy
Side
Short SW
Open

 Loading...