11
En
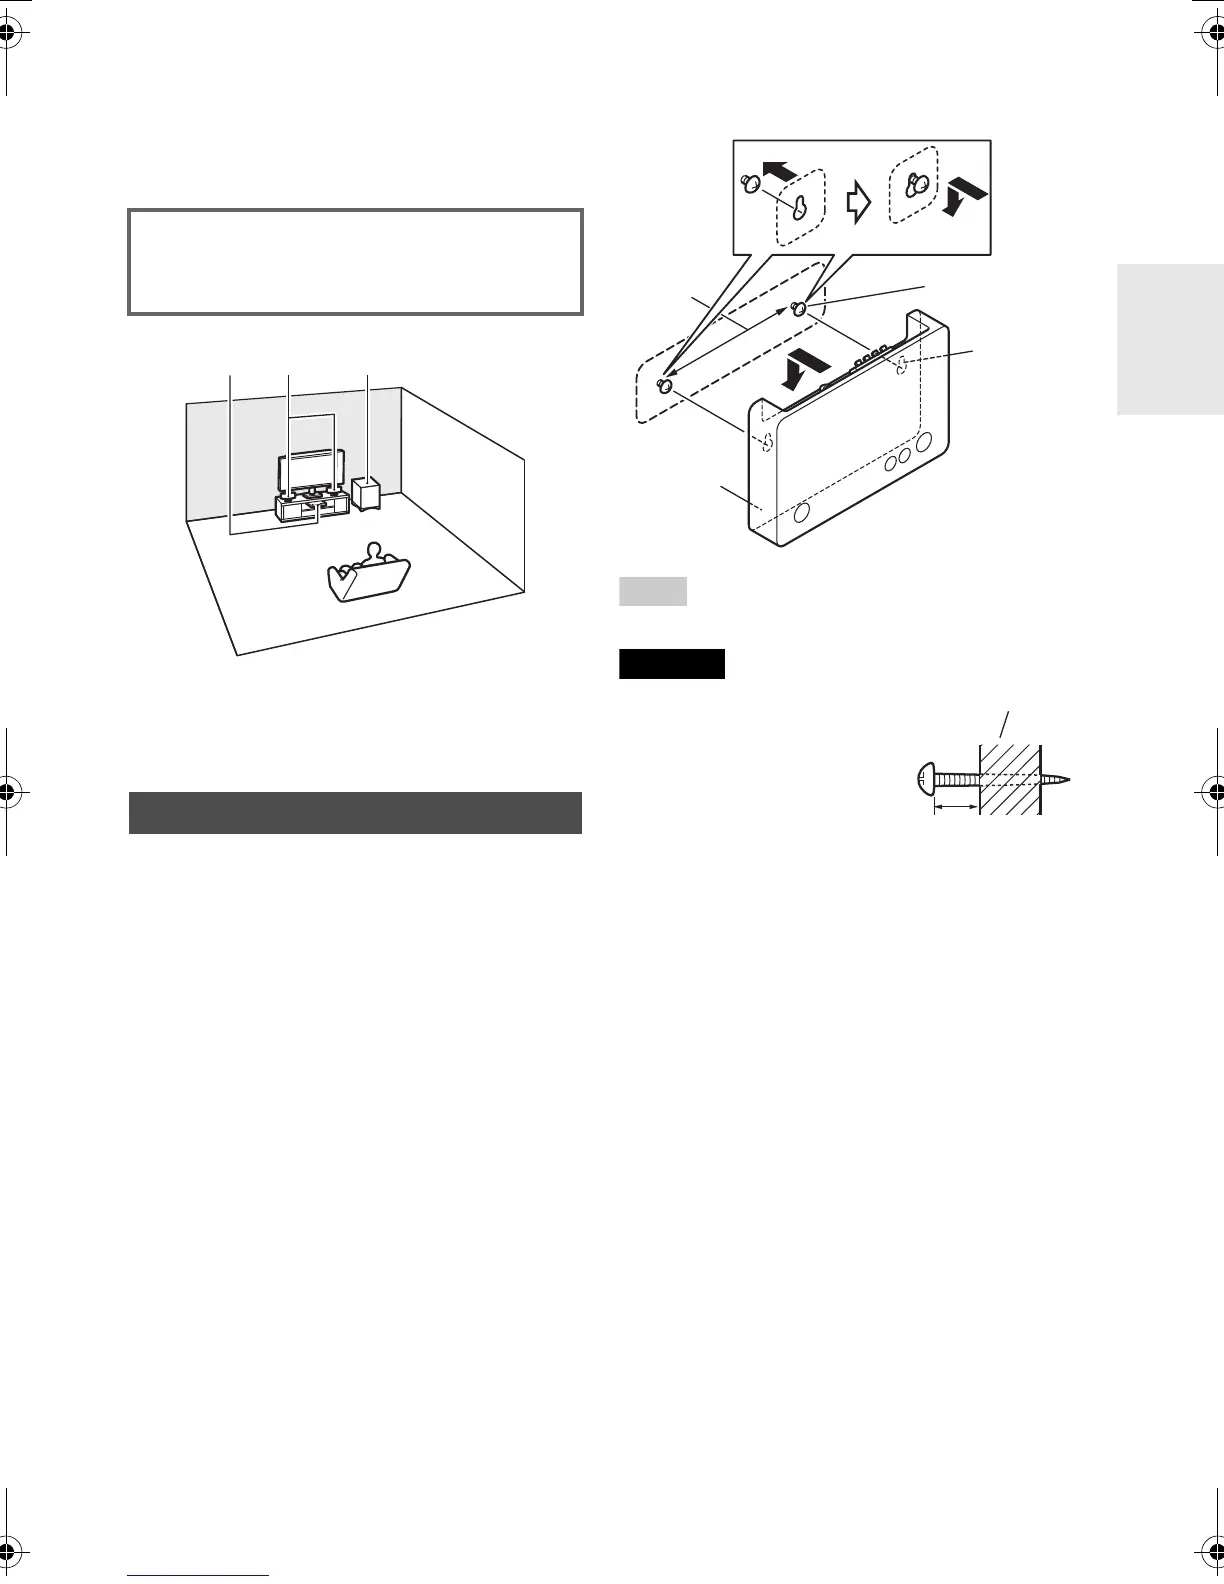
Placement
This section explains how to mount/place the
controller, the front speaker and the subwoofer.
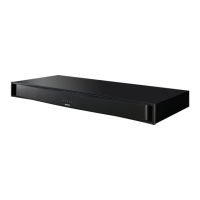
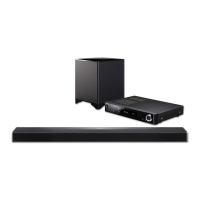
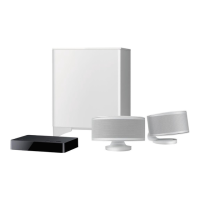
1 Sound System Controller (LAP-302)
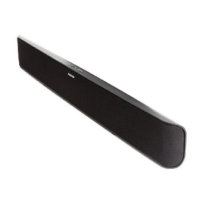
2 Front speakers (SLM-302)
3 Subwoofer (SKW-B50)
The controller can be placed on a flat surface,
and also mounted to the wall by using a
commercially available wall-mounting screw.
Wall mounting
• The controller can be mounted upside-down.
• For mounting the controller,
use a screw with a head
diameter of 1/4" (6 mm) or
more and 2/32" (7 mm) or less,
and a shank diameter of
1/8" (3 mm) or more and
5/32" (4 mm) or less. The
screws as thick and long as
possible are recommended.
• Leave a gap of between 3/16" (5 mm) and 1/4"
(6 mm) between the wall and the base of the screw
head, as shown (We recommend that you consult a
home installation professional).
• Mount the controller as close as possible to the TV
set without hiding the remote control sensor for the
TV remote controller.
• Mount the controller in a well-ventilated place.
• When using an appliance which uses 2.4 GHz
frequency range such as wireless LAN device,
microwave, or digital cordless phone near the
LAP-302, the controller may not be operated
normally by noise or interruption caused by radio
wave interference. To avoid these issues, place the
controller away from other appliances.
In this instruction manual, Sound System
Controller (LAP-302) is described as
“controller”.
Mounting the Controller
1
Mark the point of the wall by using
WALL MOUNTING TEMPLATE
(Æpage 27)
Mark the two points by using a pencil so
that the controller can be mounted
horizontally.
2
Insert a commercially available wall-
mounting screw into the mark and
screw it.
3
Insert the head of the screw into the
keyhole slot on the bottom of the
controller and fix it firmly.
Please confirm that the head of the screw
is at the top of the hole.
Keyhole
slots for
wall
mounting
Bottom
of the
LAP-302
Screw
5-11/16"
(145 mm)
Wall
3/16" to 1/4"
(5 to 6 mm)
LS3200_En.book 11 ページ 2015年5月13日 水曜日 午後5時51分
 Loading...