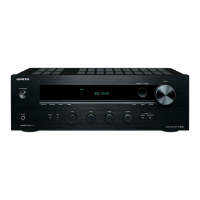
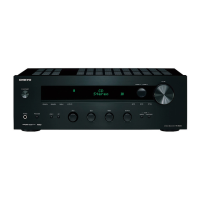
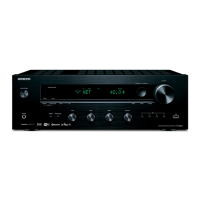
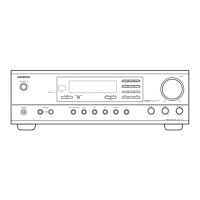
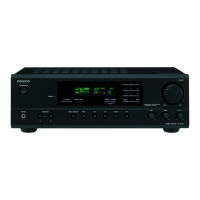
TX-DS898
ADJUSTMENT AND CONFIRMATION PROCEDURES 3
Test Mode
1. Turn POWER button on.
2. Press and hold down CD button, then press DISPLAY and STANDBY/ON buttons.
3. After "TEST-1" on the FL tube is displayed, press CD button to set the unit to the test mode of FL tube.
Note: VIDEO 1:TEST-1 VIDEO 2 :TEST-2 ZONE2: UP
VIDEO 3 :TEST-3 VIDEO 4:TEST-4 REC OUT: DOWN
Test-X YZ
Item
FL TUBE
The segments of even
number light on .
All segments
light on.
"FEDCBA987654321"
light on.
"AA BB CC DD EE"
light on.
Test mode of FL tube
REC OUT
ZONE 2
Press POWER button
to finish the test mode of FL tube.
AA:Model "89":TX-DS898 "79":TX-DS797
BB:Video Mode "NS": NTSC "PL": PAL AUTO
CC:12V TRIGGER "TR": Available " ":No available
DD:RDS "RD": Available " ":No available
The segments of odd
number light on .
Confirmation of voltage sensor
1. Set the unit to TEST-3-4.
2. Apply the signal 1kHz, -15dBV to the MULTI-CH
input. Confirm that the FM STEREO is displayed.
Confirm the all channels except SUBWOFFER.
3. When connect the resistor 1.2 kohm/1 W between
the terminals COM and TH1 of P6401, confirm that
"MEMORY" light on.
Note: No input signal.
4.When change set the unit to "TEST-4-39,confirm
that the speaker relays of RL6901 and RL6902
turn off.
Note: No input signal.
EE:Tuner band EU:Europe US: USA SA:Worldwide JP:Japan