Orion Pulse Arc Welding Workbook
8
Using a more technical description – during the welding process the weld spot becomes a liquid
pool of metal. e impact of the welding plasma causes vibrations on the molten pool’s surface,
much like a stone causes ripples on the surface of a still body of water. When in the arc screen,
your Orion gives you the freedom to ramp down the weld energy at the length you desire. We
recommend that when you are starting out that you keep the length at its max time for most
welding applications. is gives the molten metal vibrations time to smooth out before the
metal re-solidifies. After you feel comfortable welding we suggest you experiment welding
some applications with different length settings.
In addition, a longer weld length will also help prevent cracking in some metals as the extended time and longer
discharge curve allows the molten pool to cool slower. When the energy is cut off suddenly (by shortening the time
setting) the liquid metal “freezes” in place. is rapid freezing can cause micro stresses in the weld spot and may make
the metal more prone to cracks under additional stress such as hammering.
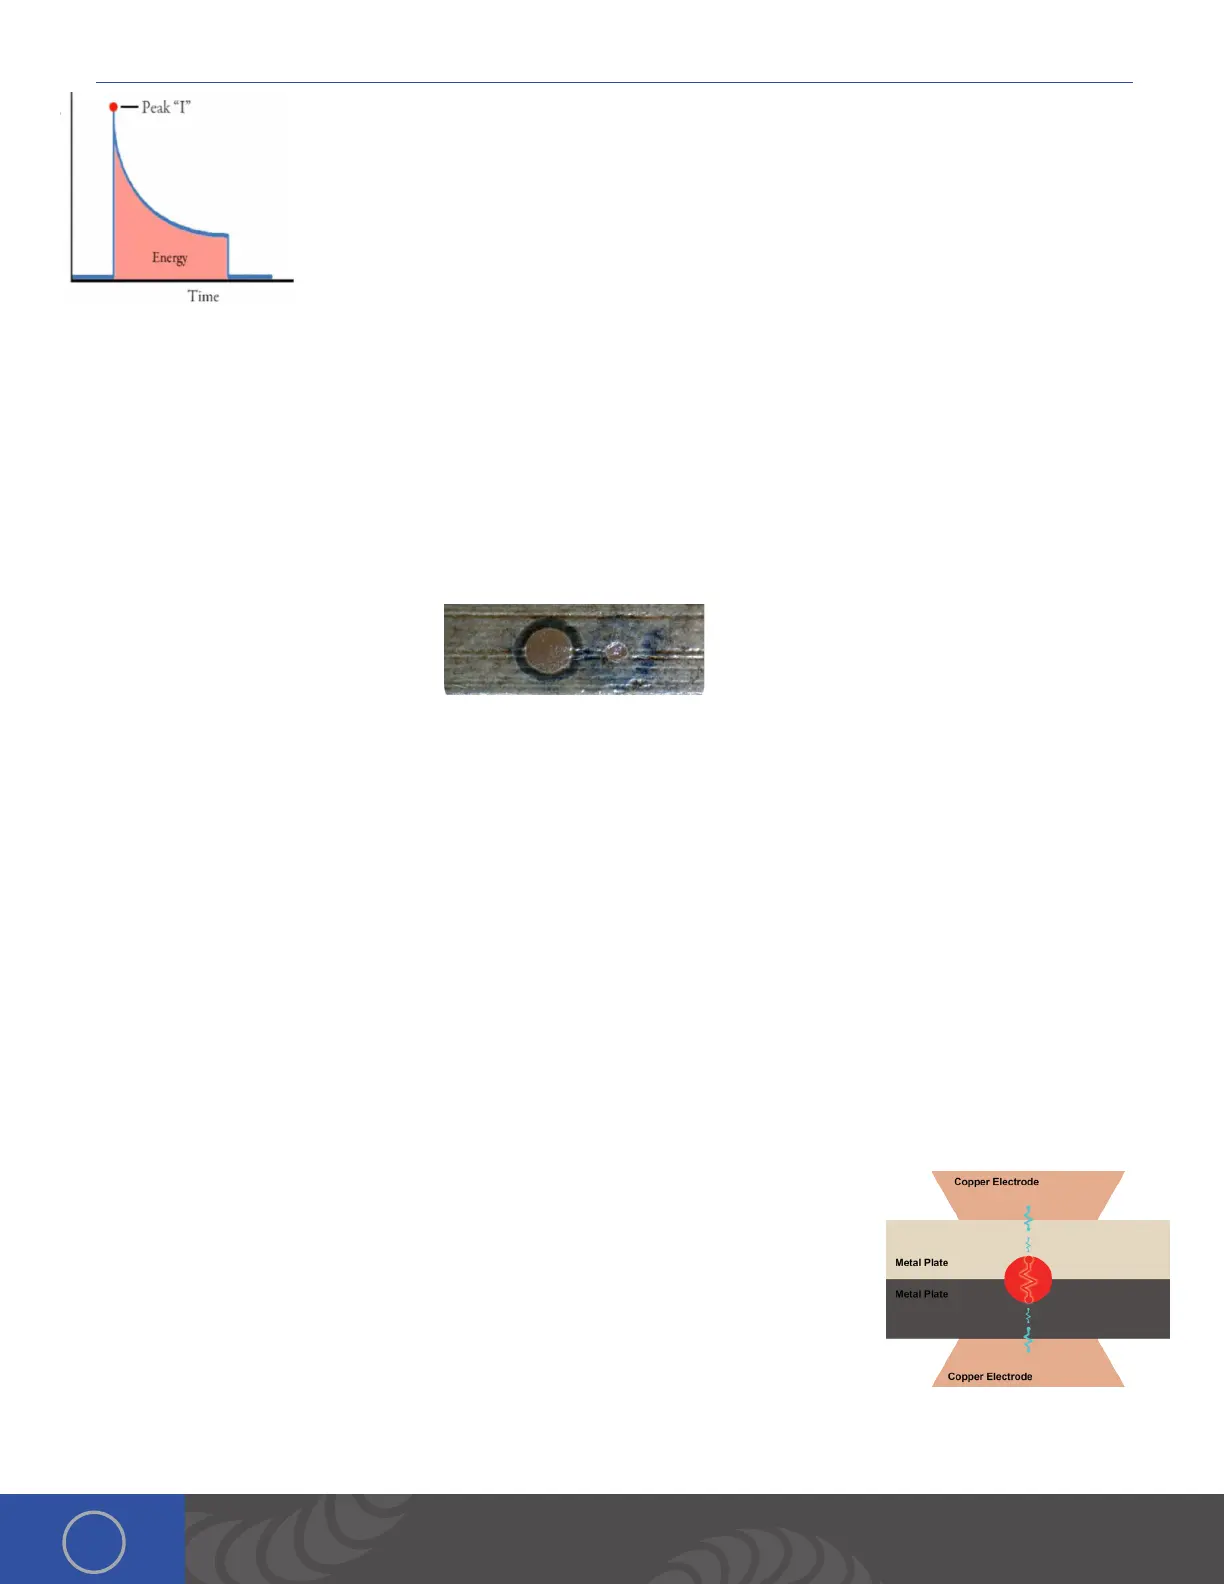
In most cases it is recommended to leave the weld length at max time with one important exception. If welding a very
small part at less than 5 Ws of energy, it is very helpful to turn down the length. By turning down the length the arc will
still ignite easily but the energy that the welder allows out during the weld is limited by the shorter amount of time. e
larger weld in this image was done at 5 Ws for energy and 15ms for length. e smaller weld on the right was done at 5
Ws and 3ms.
Alternatively, you can sharpen the welding tip to a very fine point to help ignite the welding arc at very low energy
levels.
HANDS ON: Try making a small weld spot using 5 Ws of energy and maximum length, and then 5 Ws of energy and
minimum length. Now, with a very sharp electrode, try making a weld spot at 1-3 Ws of energy and maximum length.
You will see different results with each method. Take note of the results in order to help you when you begin work on
your own applications.
Chapter 2: Resistance Welding (Tack Mode)
is section applies to Orion welders that have the Tack welding feature. If you do not have the Tack feature this is still good
welding knowledge to have.
What is Resistance Welding (Tack Welding)?
Resistance welding, often called tack or fusion welding , takes place using a very different
process from that of Pulse Arc (TIG) welding. In resistance welding a large electrical current
is passed through two workpieces to join them together. At the contact point between the
two materials there is a resistance to the flow of the electrical current. As electrical current
is passed through this contact point, resistive heating takes place. When enough current
passes through the workpieces, the temperature (especially at the interface between
the two pieces) can become hot enough to melt the metal in a spot. e terms resistance
welder and spot welder are descriptive of this process.
If you limit the amount of energy and electrical current going into the weld you can create a temporary or weak weld called
a “tack” weld. It provides the ability to temporarily position a part before permanent welding. is ability opens a multitude