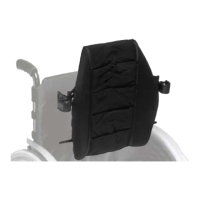
Service work
B-Series Ottobock | 25
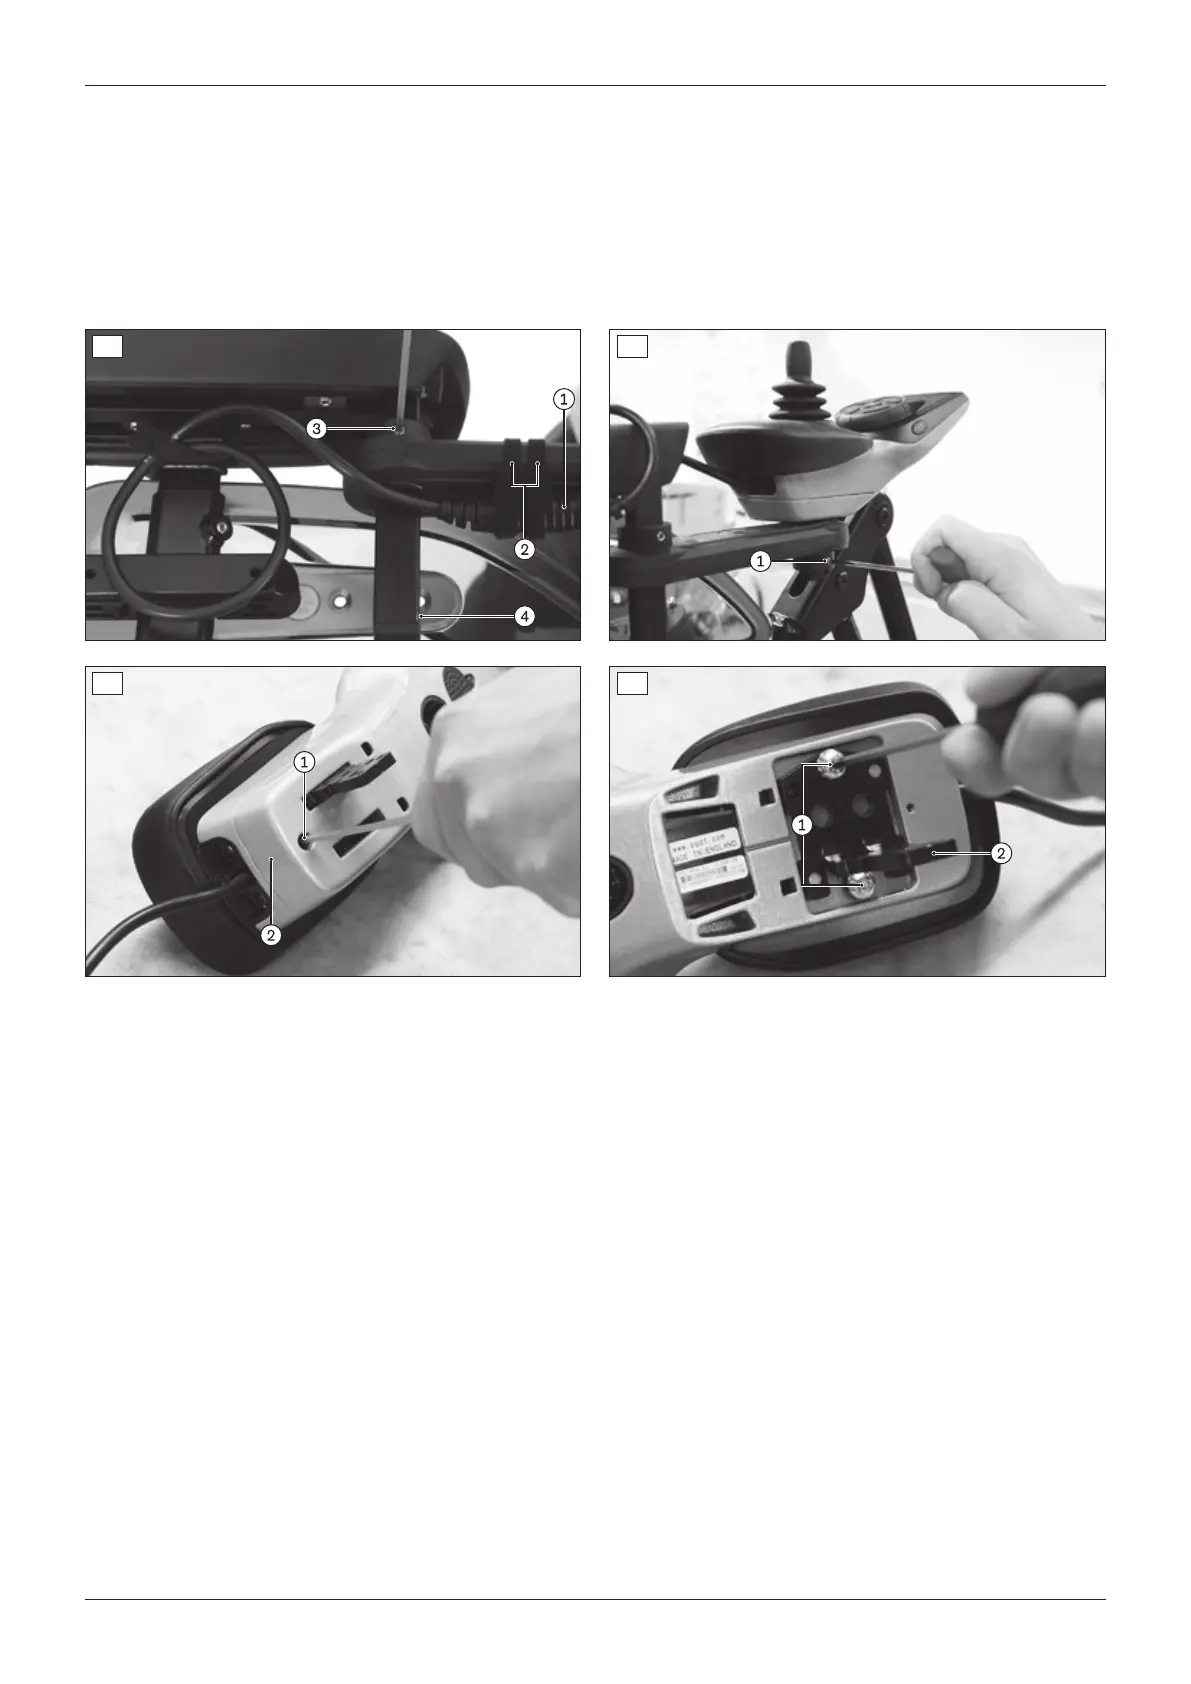
3) Insert and rmly tighten the 2 screws in the retaining plate and the bottom of the control panel (see Fig. 36,
item 1).
4) Place the cover on the bottom of the control panel (see Fig. 35, item 2).
5) Insert and rmly tighten the Torx screw in the cover under the control panel (see Fig. 35, item 1).
6) Insert the control panel into the swivel arm from above.
7) Firmly tighten the 2 set screws on the swivel arm under the control panel to 3 Nm (see Fig. 34, item 1).
8) Connect the cable of the control panel to the cable extension (see Fig. 33, item 1). Reattach the loosened cable
attachments when doing so (see Fig. 33, item 2).
33
34
35
36
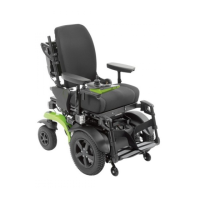
4.8.6 Replacing the VR2 control panel
f Prerequisites:
Switch off the control unit and deactivate the main fuse (see Seite 12).
f Tools: Allen wrench size3
Removing the VR2 control panel
1) Disconnect the cable of the control panel from the cable extension (see Fig. 37, item 1).
2) Loosen and remove the screws between the control panel rail and control panel (see Fig. 37, item 2).
3) Remove the control panel from the control panel rail.
4) If necessary: Remove and replace the control panel rail (see Fig. 37, item 3).
INFORMATION: All instructions for the control panel rail are included in the instructions for use (user).
Installing the VR2 control panel
1) If necessary: Attach the control panel rail in the desired position (see Fig. 37, item 3).
INFORMATION: All instructions for the control panel rail are included in the instructions for use (user).
2) Set the control panel onto the control panel rail.
3) Insert and rmly tighten the screws between the control panel rail and control panel (see Fig. 37, item 2).
4) Connect the cable of the control panel to the cable extension (see Fig. 37, item 1).
 Loading...