31
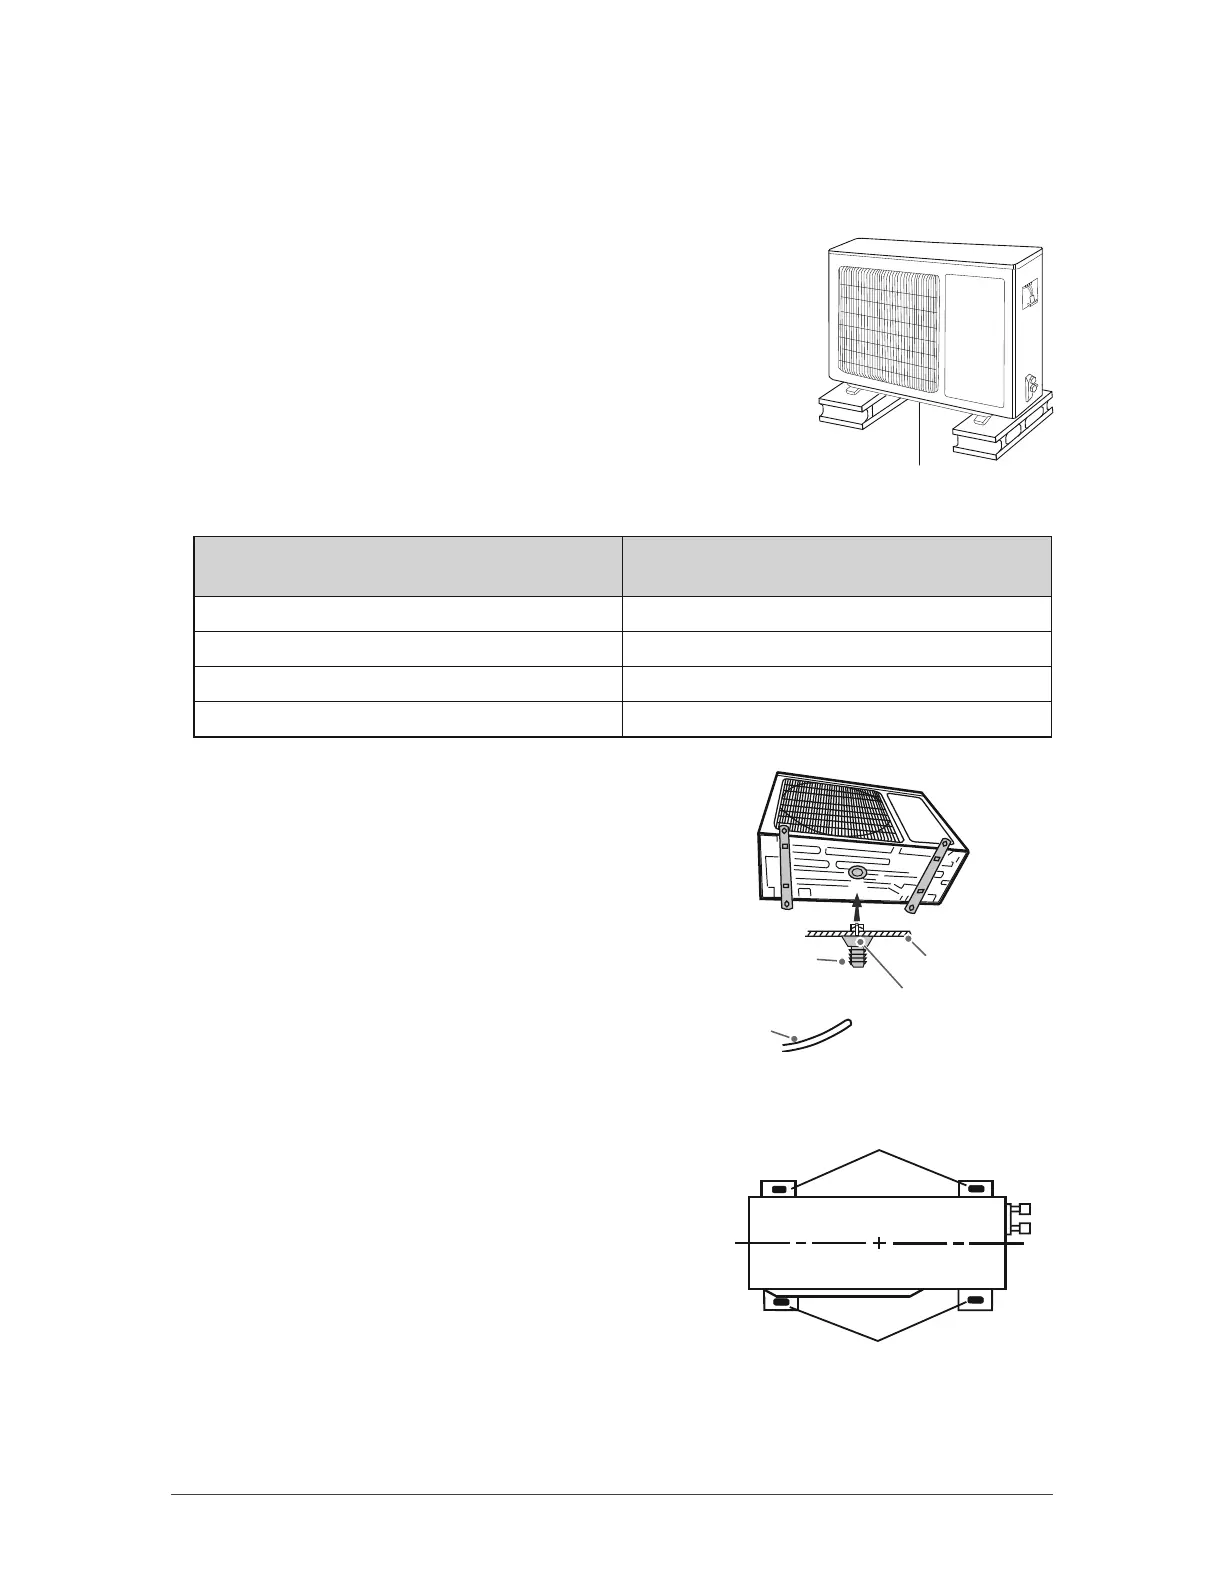
INSTALLATION OF OUTDOOR UNIT
Step 1: Fix the support of outdoor unit
(select it according to the actual installation situation)
• Select installation location according to the house structure.
• Fix the support of outdoor unit on the selected location with expansion
screws.
Notes:
• Take sufficient protective measures when installing the outdoor unit.
• Make sure the support can withstand at least four times the unit weight.
• The outdoor unit should be installed at least 3 cm above the floor in
order to install drain joint.
• Expansion screws needed per type of unit :
Cooling capacity
BTU/hr (W)
No Number of screws
9000 (2637) 6
12000 (3516) 6
18000 (5274) 8
24000 (7032) 8
Step 2: Install drain joint
• Connect the outdoor drain joint into the hole
on the chassis, as shown in the picture below.
• Connect the drain hose into the drain vent.
Step 3: Fix outdoor unit
• Place the outdoor unit on the support.
• Fix the foot holes of outdoor unit with bolts.
at least 3 cm above the floor
drain vent
drain hose
chassis
outdoor drain joint
foot holes
foot holes
 Loading...