17
18
17
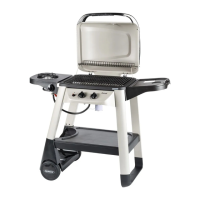
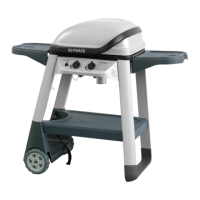
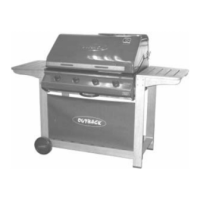
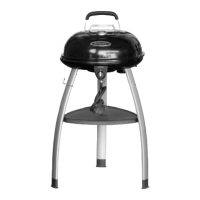
Excel 100T Excel 200T Excel 300T
Excel 100T Excel 200T Excel 300T
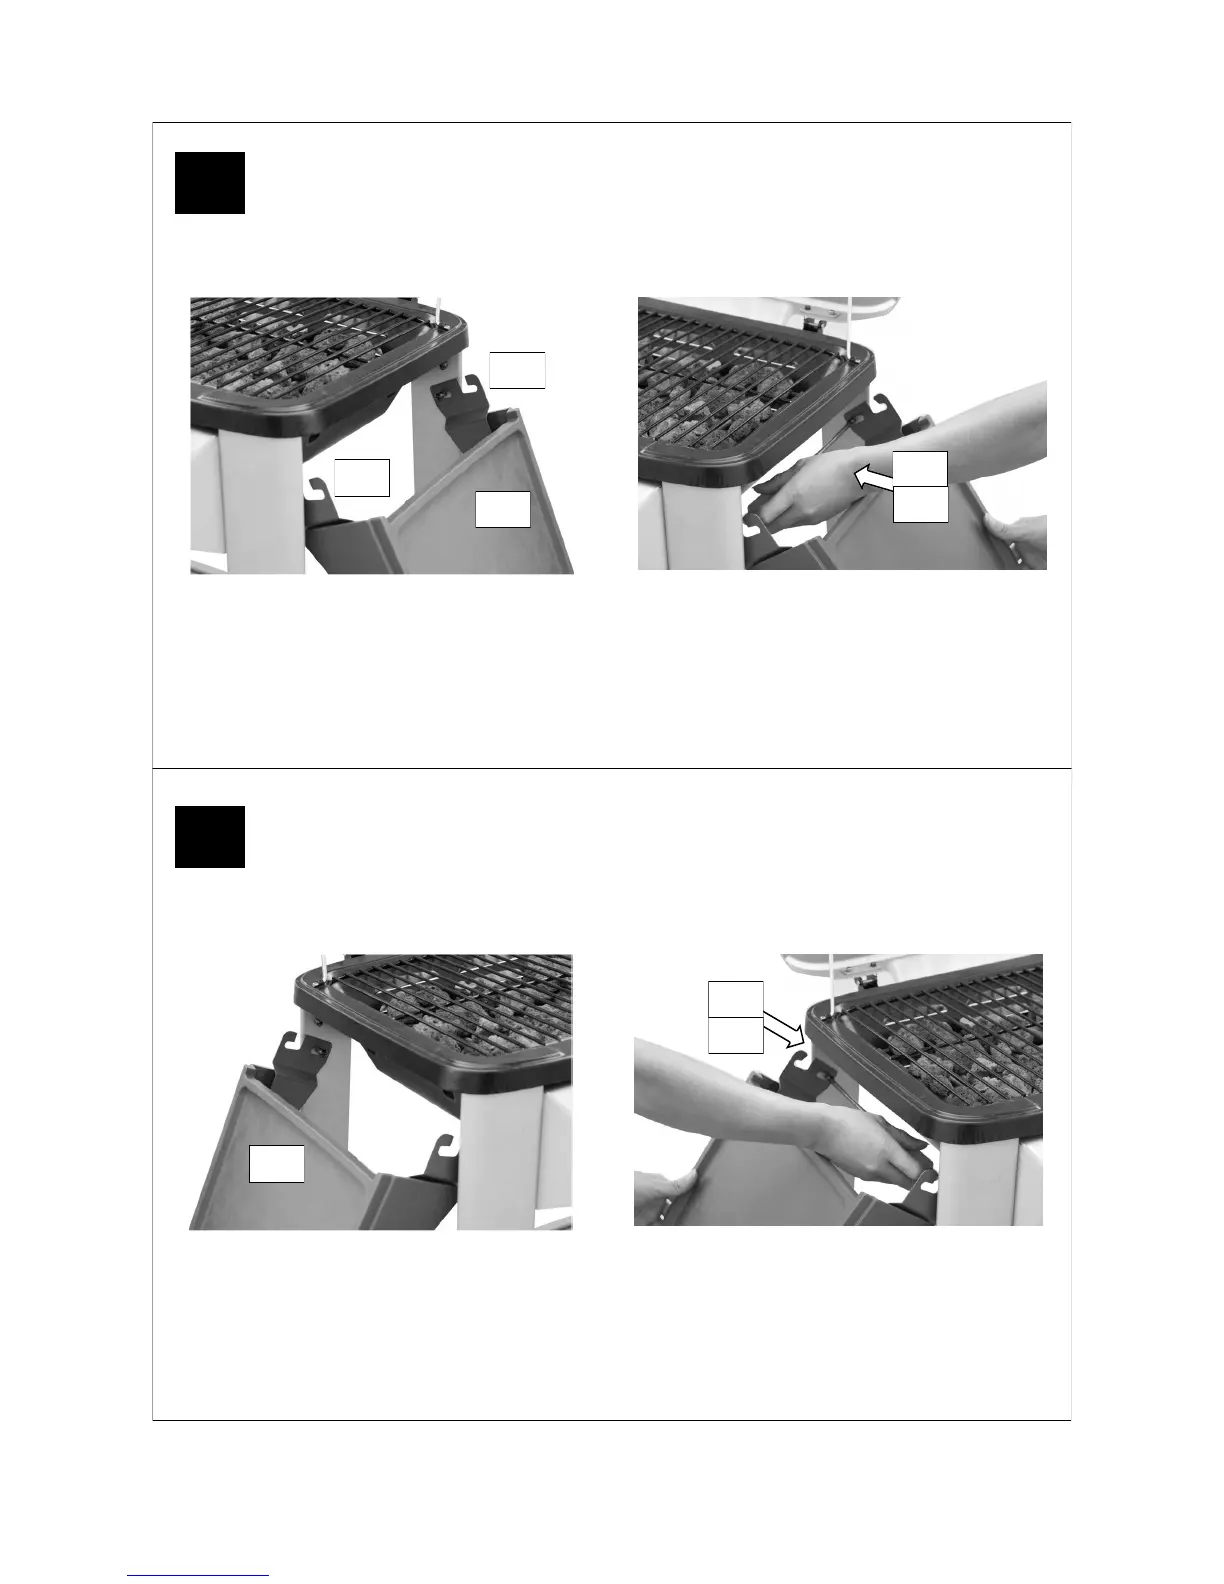
Attach the previously assembled Side Shelf (C2) to the left hand side of the barbecue by sliding a Shelf
Spacer (D9) onto a M6x15 Bolt (D1) and fitting the shelf to the lower fixing point on the rear leg as
shown. Repeat for the front leg. Slide a Shelf Spacer (D9) onto a M6x15 Bolt (D1) and screw it into the
upper fixing point on the rear legs as shown. Repeat for the front leg.
Hook the shelf onto the upper pins to extend it to its normal horizontal position.
C2
D1
D9
Attach the assembled Side Shelf (C3) to the right hand side of the barbecue by sliding a Shelf Spacer
(D9) onto a M6x15 Bolt (D1) and fitting the shelf to the lower fixing point on the rear leg as shown. Re-
peat for the front leg. Slide a Shelf Spacer (D9) onto a M6x15 Bolt (D1) and screw it into the upper fix-
ing point on the rear legs as shown. Repeat for the front leg.
Hook the shelf onto the upper pins to extend it to its normal horizontal position.
C3
D1
D9
Excel 300T users, skip this step and proceed directly to step 19.
C4
C5