6. The installed drives are ready to be formatted. Please move onto S ection 2.4
"Hardware RAID Configuration" or Section 2.5 “Software RAID Configuration Options”
for instructions on how to format and configure the OWC Gemini.
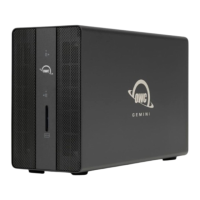
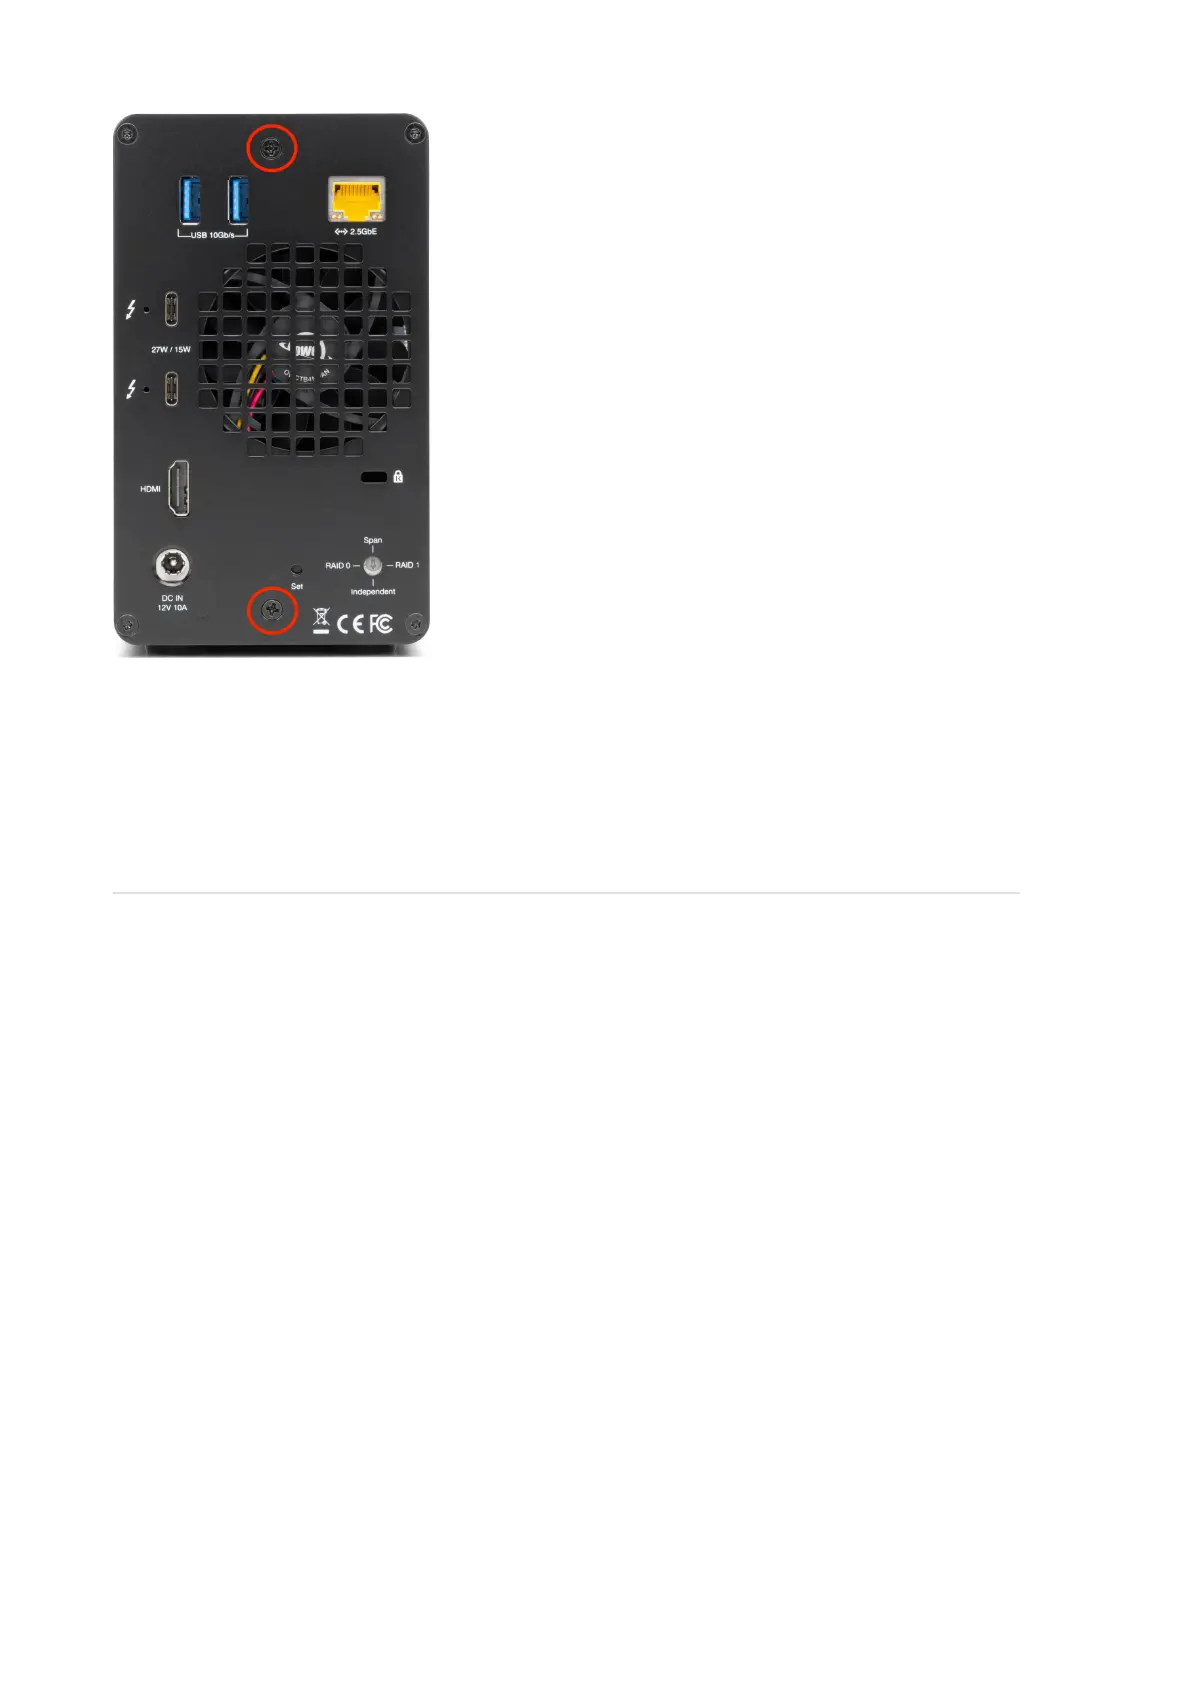
2.4 Hardware RAID Configuration
This section describes the process of configuring or reconfiguring the OWC Gemini
RAID mode.
NOTE : If there is any data on the drives being installed, changing the RAID
mode will result in data loss.
NOTE : Hardware RAID configurations are not supported with NVMe U.2 SSDs.
NVMe U.2 SSDs can be formatted as an individual drive.
Plug the power cable into the OWC Gemini DC IN power port located on the back and
into a power outlet. The Power LED will illuminate a solid white.
1.
Connect the included Thunderbolt cable into one of the two Thunderbolt 3 ports
located on the back of the OWC Gemini and into a system. The Power LED will
illuminate a solid blue.
2.
NOTE
: The OWC Gemini has (2) 40Gb/s Thunderbolt 3 ports with 27W Dynamic Power
Delivery. 27W of power is delivered to the first connected system or device. 15W of
power is delivered to the second connected system or device.