Begin by verifying that the power cable is connected to the Gemini and to a power
source. If the power cable is connected to a power strip, make sure that the power
strip switch is in the ON position. Next, verify that each end of the data cable is
properly plugged into the computer and the Gemini, respectively. If you are still having
trouble, try connecting a different Thunderbolt 3 cable and see if the Gemini works
properly; you can also connect the device to a different computer.
•
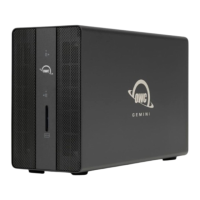
If one of the drive LEDs (Drive 1 or Drive 2) lights up a solid red, then that drive has
failed, is not fully connected, or is missing. If you purchased the Gemini as an empty
enclosure, or the enclosure shipped with drives installed but is past the three-year
warranty period, unmount the disk from the OS, power off, and replace the drive as
outline d in Section 2.3 “Assembly Steps”. If the Gemini is configured as a RAID 1
and the rebuild LED is pulsing, please wait for the rebuild process to complete. If the
rebuild LED is still blinking after more than 48 hours, or if you still need assistance for
other reasons, please contact our Support team.
•
If issues continue to occur, please know that OWC support is here to help. Contacting
support information can be found in Section 4.4. Please have your serial number
ready which is located on the bottom of the OWC Gemini and printed on the original
packaging
•
4.2 Online Resources
Gemini Product Page:•
go.owc.com/gemini
Gemini Installation Video:•
go.owc.com/gemini/install
SoftRAID Quick Start Guide:•
go.owc.com/softraid/qsg
SoftRAID Knowledgebase:•
go.owc.com/softraid/faq
SoftRAID Mac to Windows Guide:•
go.owc.com/softraid/convert-ntfs