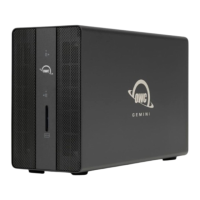
This section describes the process of installing drives into the OWC Gemini if
purchased as a bare enclosure. For maximum performance install identical drives,
then configure them using SoftRAID.
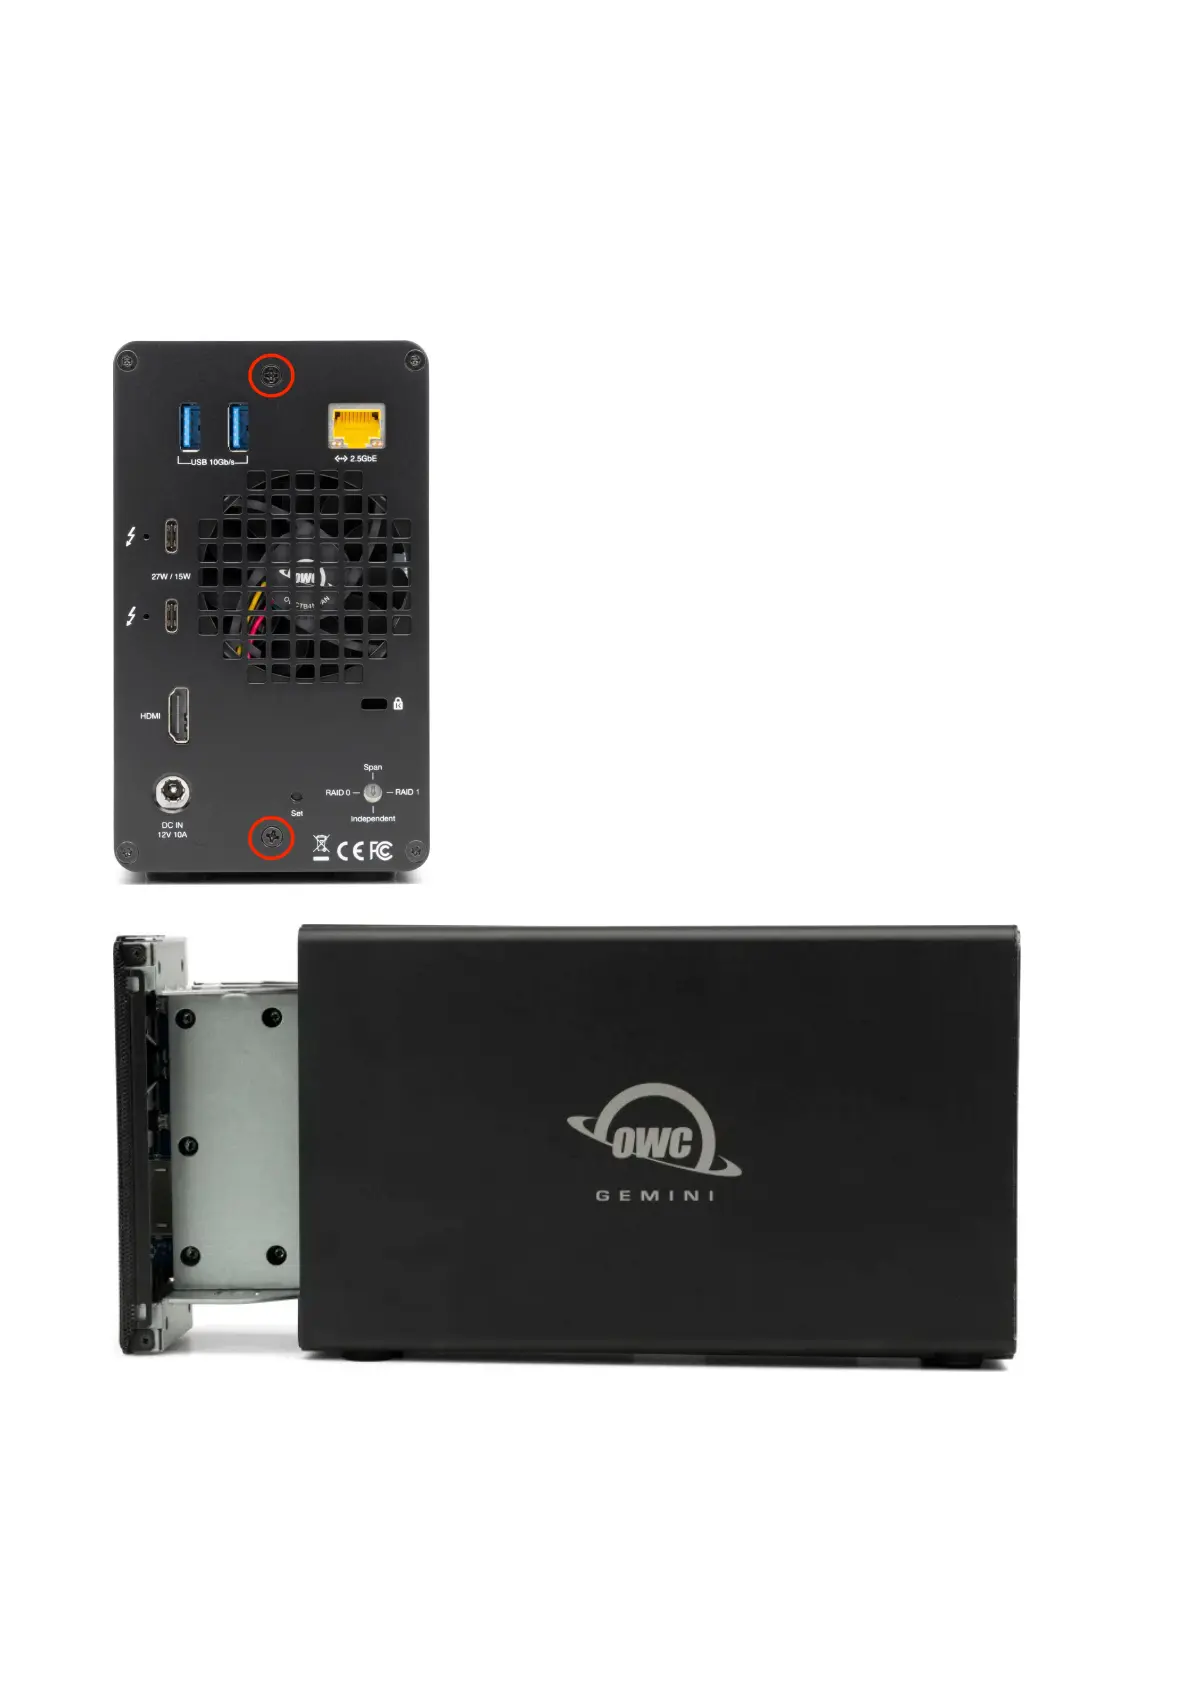
1. Begin by placing the device on a static free work surface and remove the two
screws from the back of the enclosure. Store the screws for reassembly. Pull on the front
edge of the enclosure so the inner chassis slides out until fully removed.
2. Set the inner chassis flat on the work surface and place a 3.5”/ 2.5” SATA or U.2
drive/adapter into the drive housing. The label should be facing upwards. Carefully seat the
drive. Minimal force is needed.
NOTE : If there is any data on the drives being installed, changing the RAID mode will
result in data loss.