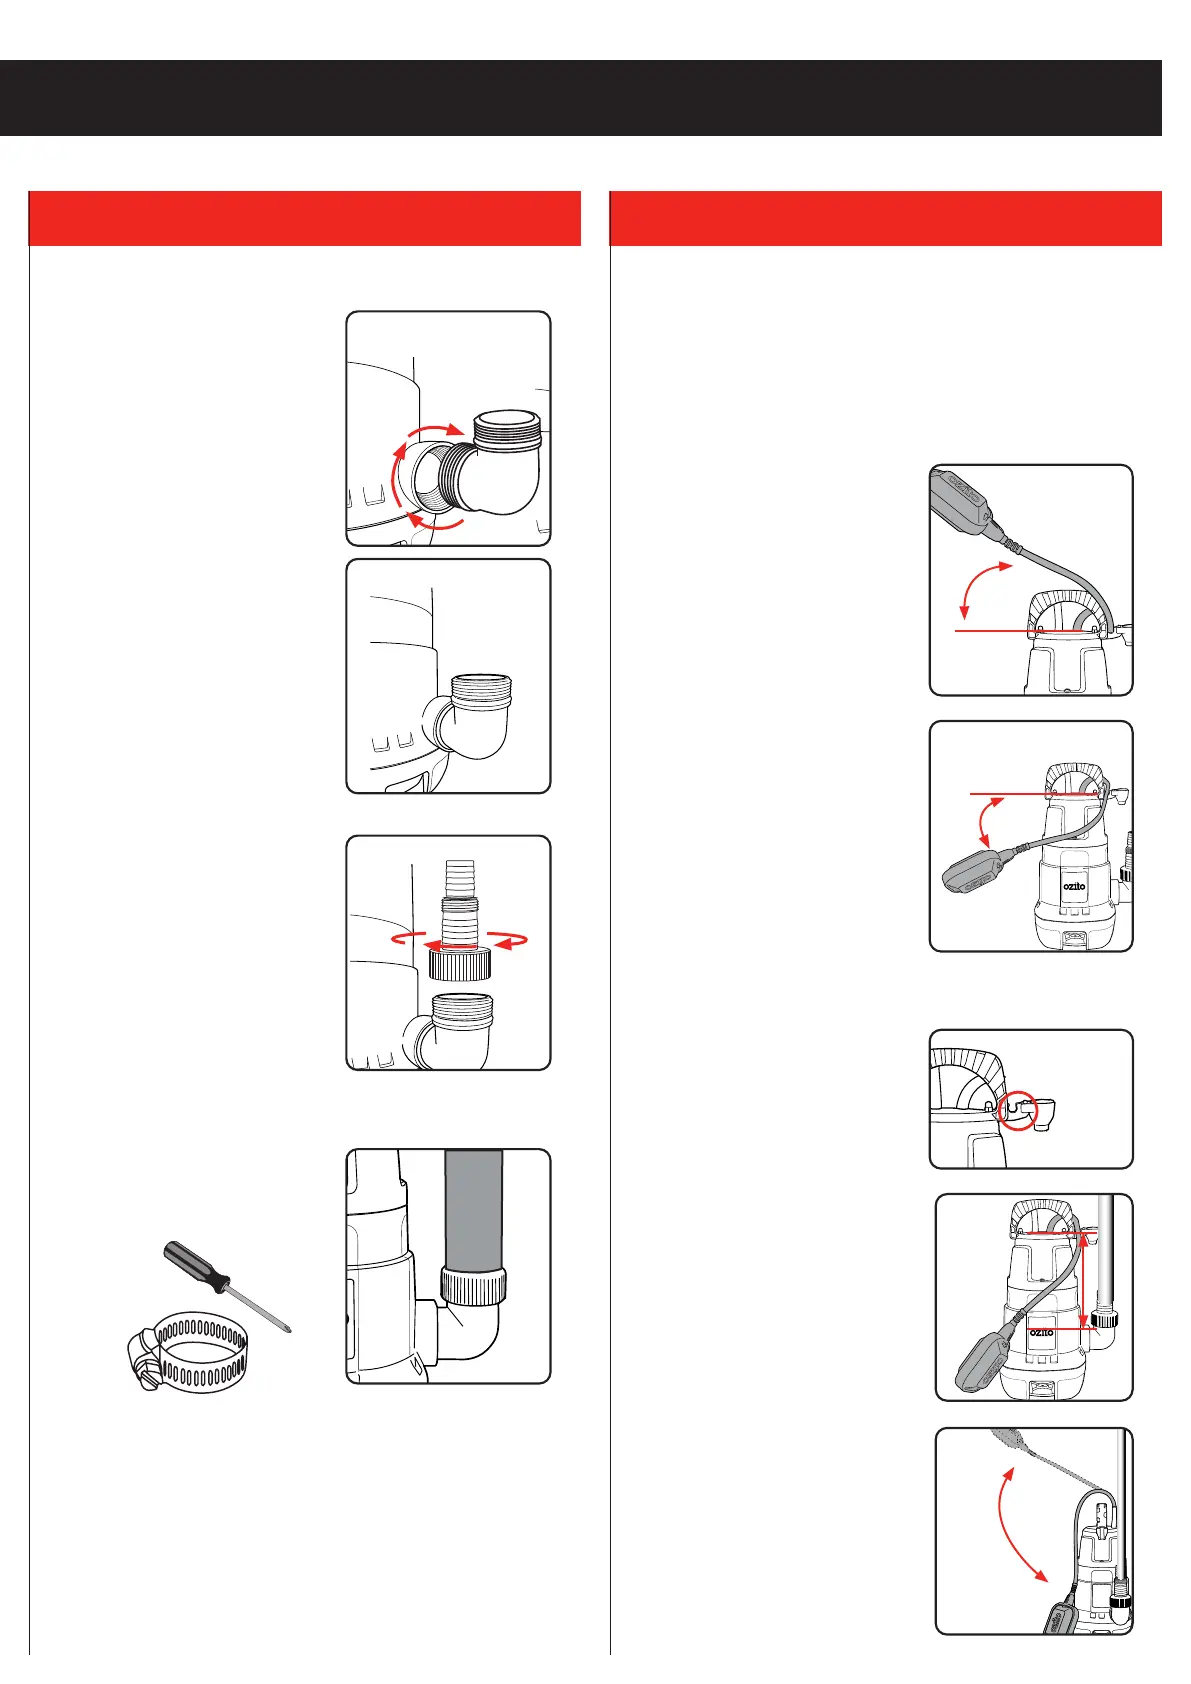
Installing The L-Shape Connector
1. Screw the L-shape connector into
the pump housing by rotating in a
clockwise direction
2. Make sure the L-shape connector
is firmly tightened so that the
O-ring is compressed between the
pump housing and the L-shape
connector. This ensures no
leakage will occur at this point.
3. Screw the prepared universal
adaptor clockwise onto the
L-shape connector.
Note: The hose/tube/tap adaptor should not be connected at this
stage.
4. Securely attach the hose/tube/tap
adaptor to the universal adaptor,
fit hose clamps if you are using
flexible hose or tube, and tighten
well.
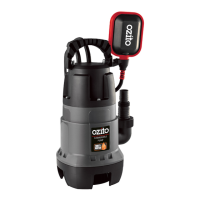
Using The Float Switch
The pump is fitted with a float switch, which controls how the
pump switches on and switches off.
Automatic Mode
When the pump is plugged into an outlet and left unattended it will
turn on when the float switch turns on
1. When the float switch is about
30° higher than horizontal (start
up level) or above the handle, the
pump will turn ‘on’ and operate
(water depth of 500mm).
2. When the float switch is 30° lower
than the horizontal or below the
handle, the pump will turn ‘off’.
(water depth of approximately
150mm).
Note: There must be a minimum of 100mm of cable from the
adjuster to the float.
3. To set the pump to switch off at a
higher water level, insert the float
switch cable into the adjuster.
Note: There must be a minimum
of 100mm of cable from the
adjuster to the float.
4. When the float switch cable is
able to move freely the pump will
function down to a water depth of
50mm and automatically shut off.
2. ACCESSORIES 3. CONTROLS
OPERATION
 Loading...