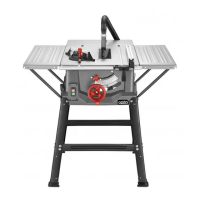
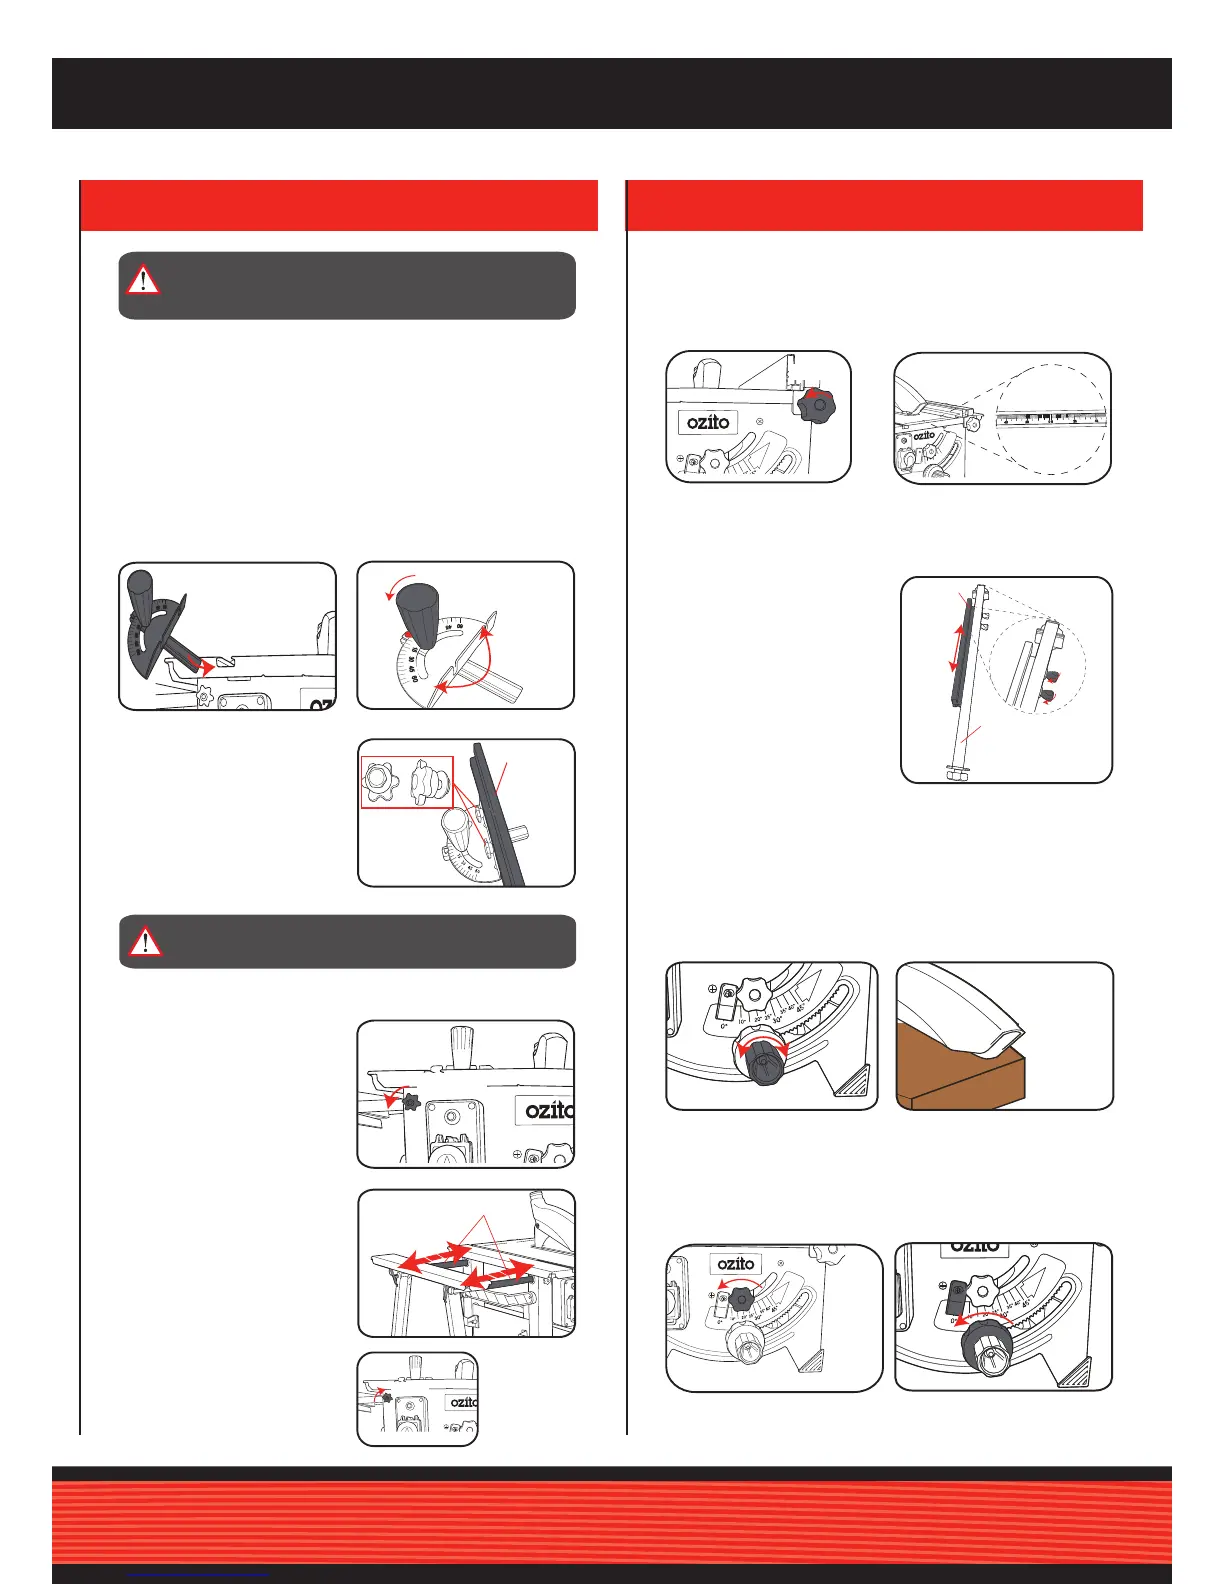
2. SET-UP AND ADJUSTMENTS
1. Loosen both rip fence
lock knobs.
2. Using the scale on the table
top as a guide, slide the rip
fence to the required width.
The depth of cut can be
adjusted by turning the blade
depth knob, anti-clockwise
increases the cutting depth,
clockwise decreases the
cutting depth.
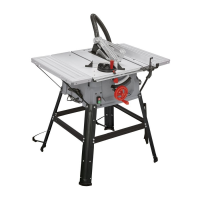
Integrated Extension Table
1. Loosen the 2 locking knobs
located on the front and rear
of the table.
2. Slide the extension table
to the desired distance to
support a larger workpiece.
3. Tighten both locking knobs
(front & rear) to secure in
place.
Rip Fence
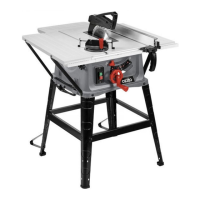
Note: For mitre cuts the mitre gauge turns to 60° in both directions.
Mitre Gauge
Depth Of Cut
Extrusion
Rip Fence
WARNING!: ENSURE THE TOOL IS DISCONNECTED
FROM THE POWER SUPPLY BEFORE MAKING ANY
ADJUSTMENTS.
WARNING!: WHEN CUTTING WITH THE MITRE GAUGE
THE LOCKING HANDLE MUST BE FIRMLY TIGHTENED.
Note: The rip fence must be parallel with the saw blade before
being locked into position.
3 Tighten the rip fence lock knobs to clamp the fence in position.
Note: By loosening the 2 rip
fence extrusion locks the fence
extrusion can be removed or
shifted.
Angle Of Cut (Bevel)
1. The mitre gauge is inserted into the table slot from the table’s
front edge.
2. Loosen locking handle and turn the mitre gauge until the arrow
points to the required angle then tighten.
1 Loosen the bevel lock
knob anti-clockwise.
2 Rotate handwheel until the
desired bevel angle is found.
3 To keep the set bevel angle changing during cutting, it must be
locked again by the bevel lock knob. Lock in the bevel position
by rotating lock knob clockwise
Ensure the table saw it set up on a level work bench or sturdy table
The base of the saw has four bench mounting holes (1 each corner,
inside leg) that can be used to mount it to a workbench if desired.
Use four screws or bolts (not included) to secure.
Note: To extend the mitre
gauge, you can use the fence
extrusion from the rip fence
by using mitre gauge knobs
supplied.
Note: The saw blade’s cutting
height needs to be adjusted to
the workpiece height: the blade
guard shall rest with its front
edge on the workpiece.
 Loading...