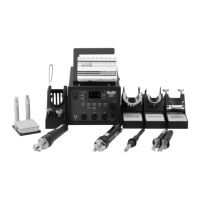
Handpieces
The following "Heater Assembly Checkout Procedures" (Table 4) are applicable to all PACE handpieces except for
the TT-65 ThermoTweez & DTP-80 Dual ThermoPik handpieces. Refer to the respective handpiece manuals for
troubleshooting procedures pertinent to those handpieces. Use the Digital Readout Message Codes ("E-1", "E-
2", "E-3" or "E-4") listed on Table 4 (under "POWER SOURCE") as a guide to pinpointing any malfunction
associated with the handpiece.
Perform the "Heater Assembly Checkout Procedures" shown below with the handpiece (and heater) at room
temperature. If the handpiece is warm, resistance reading will be different from those shown in the table below.
Symptom Checkout Procedure Cause Solution
Check resistance - Pin 2 to Pin Open Heater Replace heater
Refer to "Heater Specifications" .
If resistance is high
SX-80 = 8 - 10 ohms
PS-90 = 8 - 10 ohms
TP-65 = 9 - 11 ohms
TJ-70 = 6 ohms
Check resistance - Pin 3 to Pin Open Sensor Replace Heater
If circuit reads open
Handpiece Check resistance - Pin 3 to Pin Shorted Sensor Replace Heater
overheating If less than 105 ohms -
Fuse blows Check resistance - Pin 2 to Pin
when unit is Refer to "Heater Specifications"
turned on. column. If resistance is low -
Solder short in Remove Short. Replace
Handpiece. Heater Assembly & Fuse
Shorted Heater Replace Heater Assembly
Fuse F1.
No Ground Check resistance - Pin 4 to
on Tip. NEW Tip. Resistance should
less than 2 ohms. If not -
Oxidation Clean heater bore
in Heater Bore. proper wire
Defective Heater Replace Heater
Table 5. Heater Assembly Checkout Procedures
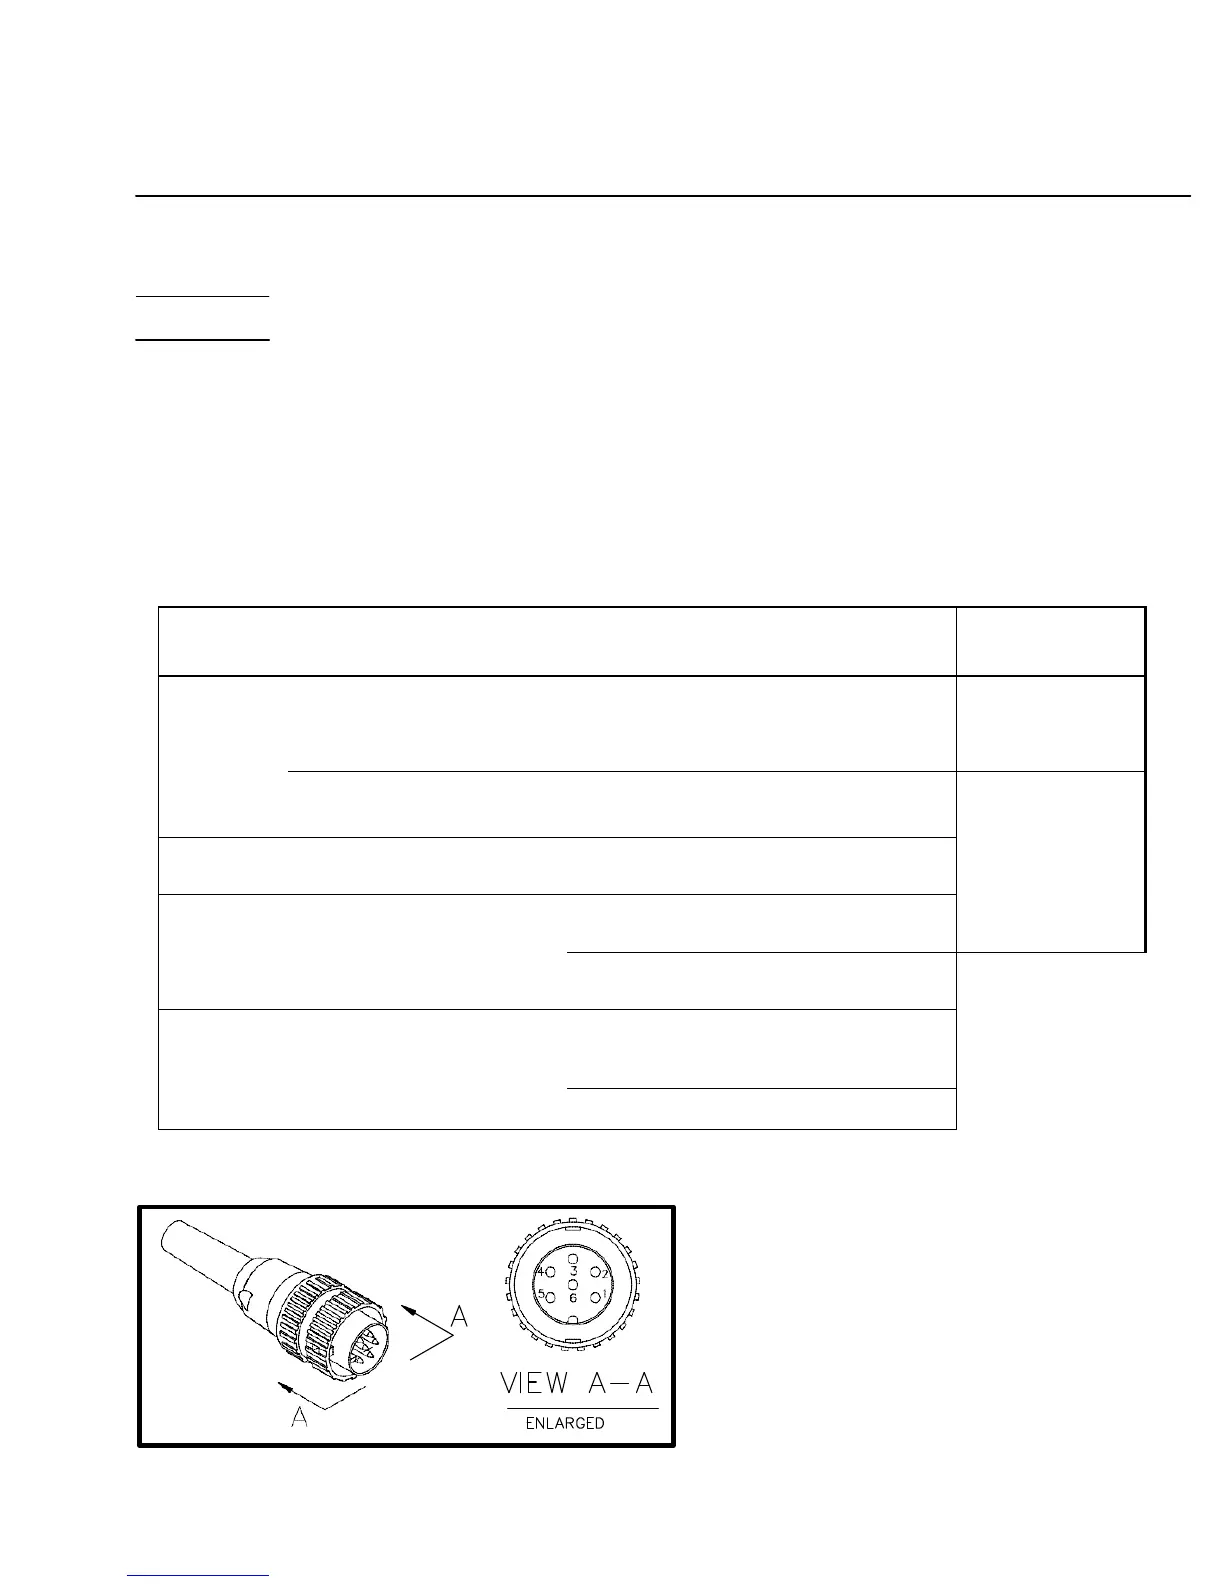
Figure 26. Handpiece Connector Plug
53