3
X-SERIES SWITCHES QUICK START GUIDE
PREPARING TO INSTALL THE SWITCH
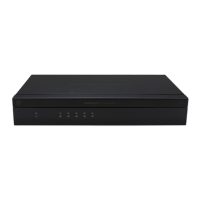
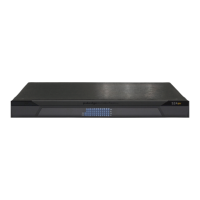
Installing any of the X-Series switches is similar to installing any other Pakedge switch. If you have installed a
managed switch before, the process will be very similar. The GUI for all of the X-Series switches will be the
same so the configuration steps discussed later in this quick start guide can be used on any of the switches.
Tools required:
• Philips Screwdriver (if using rack-mount brackets).
• PC or Laptop with ehternet interface and a web browser (an integrated DB-9 port or USB-to-Serial adapter
may be necessary if you would like to use the console interface).
• Ethernet Cable.
INSTALLATION
1. Open the box and remove the unit.
2. Optional: If mounting the switch in a standard 19” AV rack, attach the rack-mounting brackets that come
with the switch to the sides. If not rack-mounting, ensure that the switch is physically mounted near power
and network connections (i.e, backbone switch or firewall/router).
3. Connect power to the device.
4. Connect an ethernet cable from your computer to any LAN port on the X-Series switch.
5. You are now ready to configure the switch to an IP address that matches your network.
 Loading...